Blacksmithing and Reenactment
My Books, Smithing, Merchanting, and Reenactment, are all intermarried, but I'm featuring each individually here on the website.
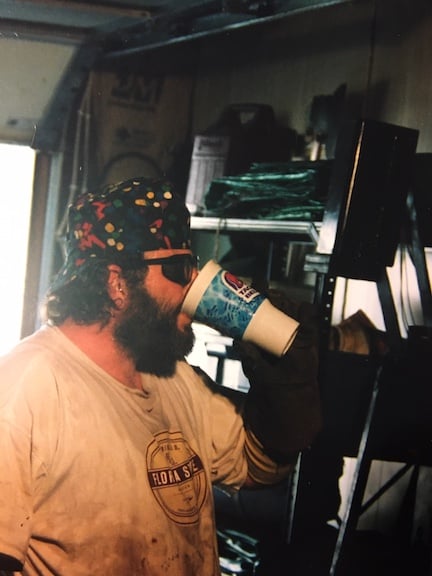
Warning! Never turn me loose with red paint.
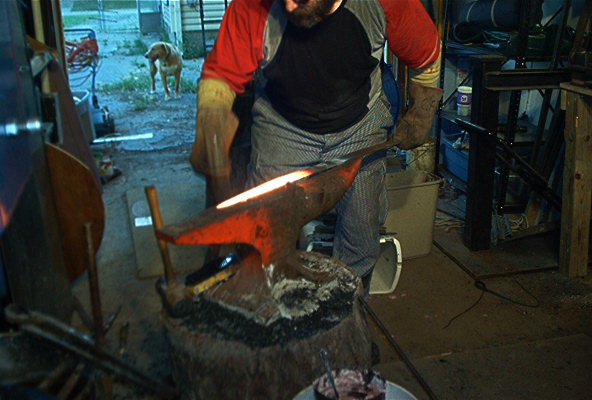
 (Photo courtesy Ms. Ruth "The Free" Kingman)
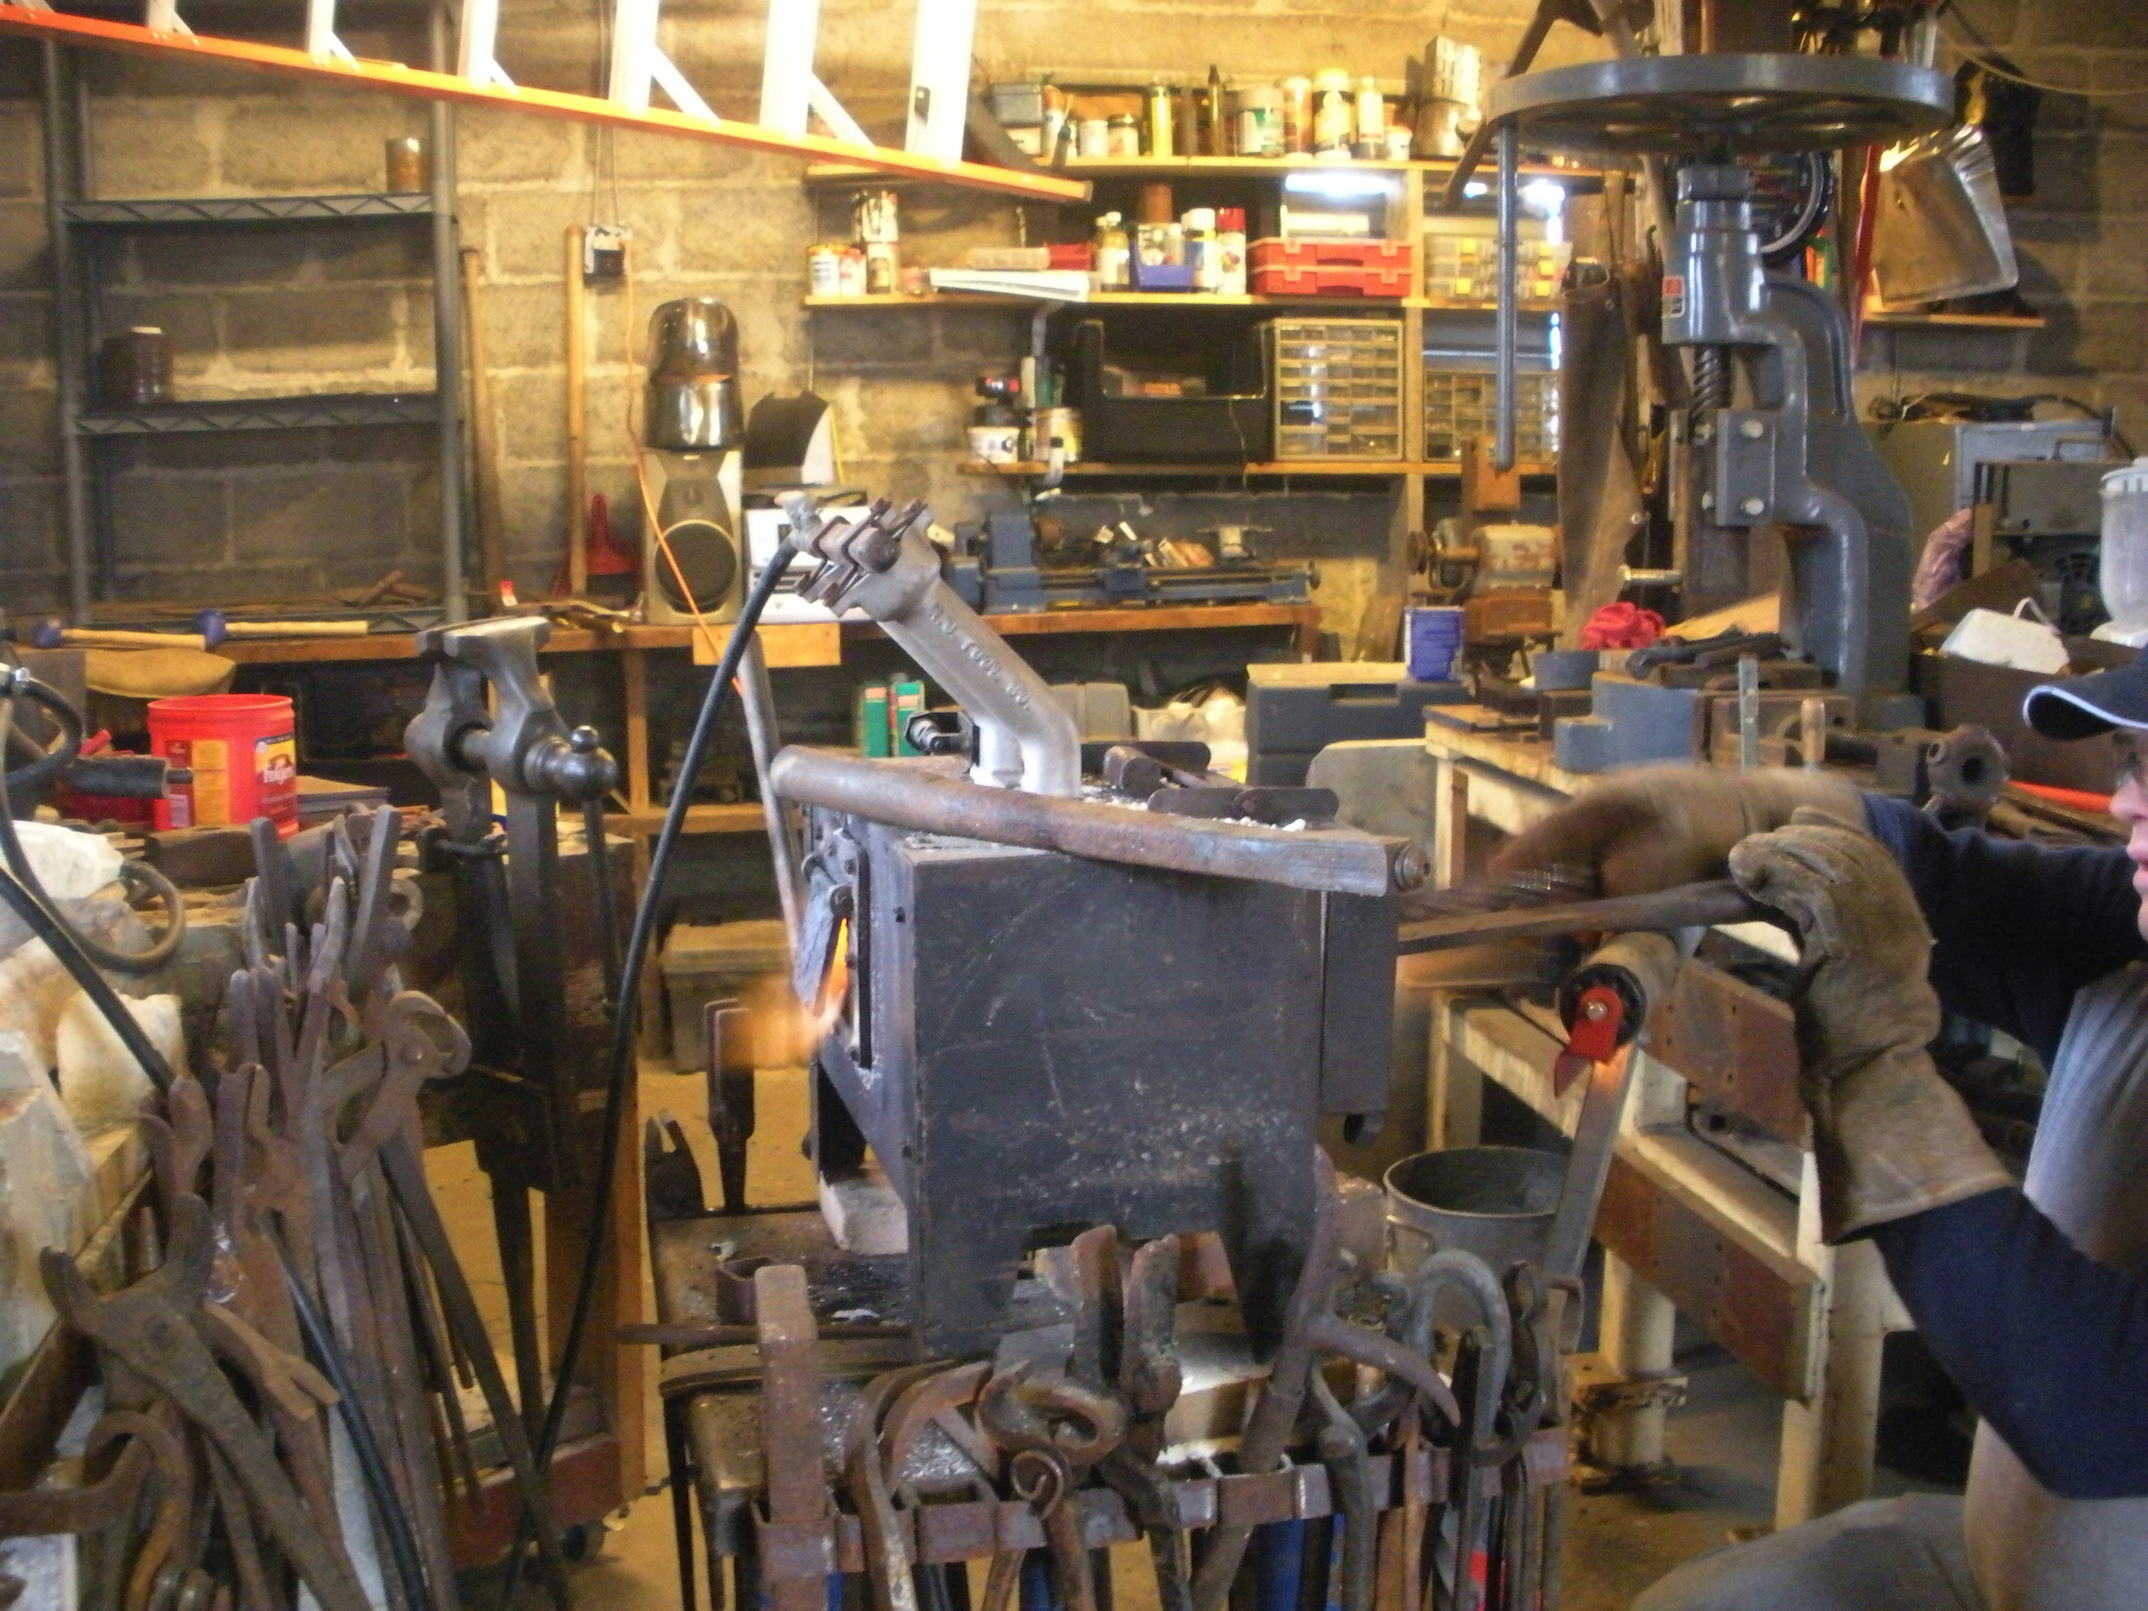
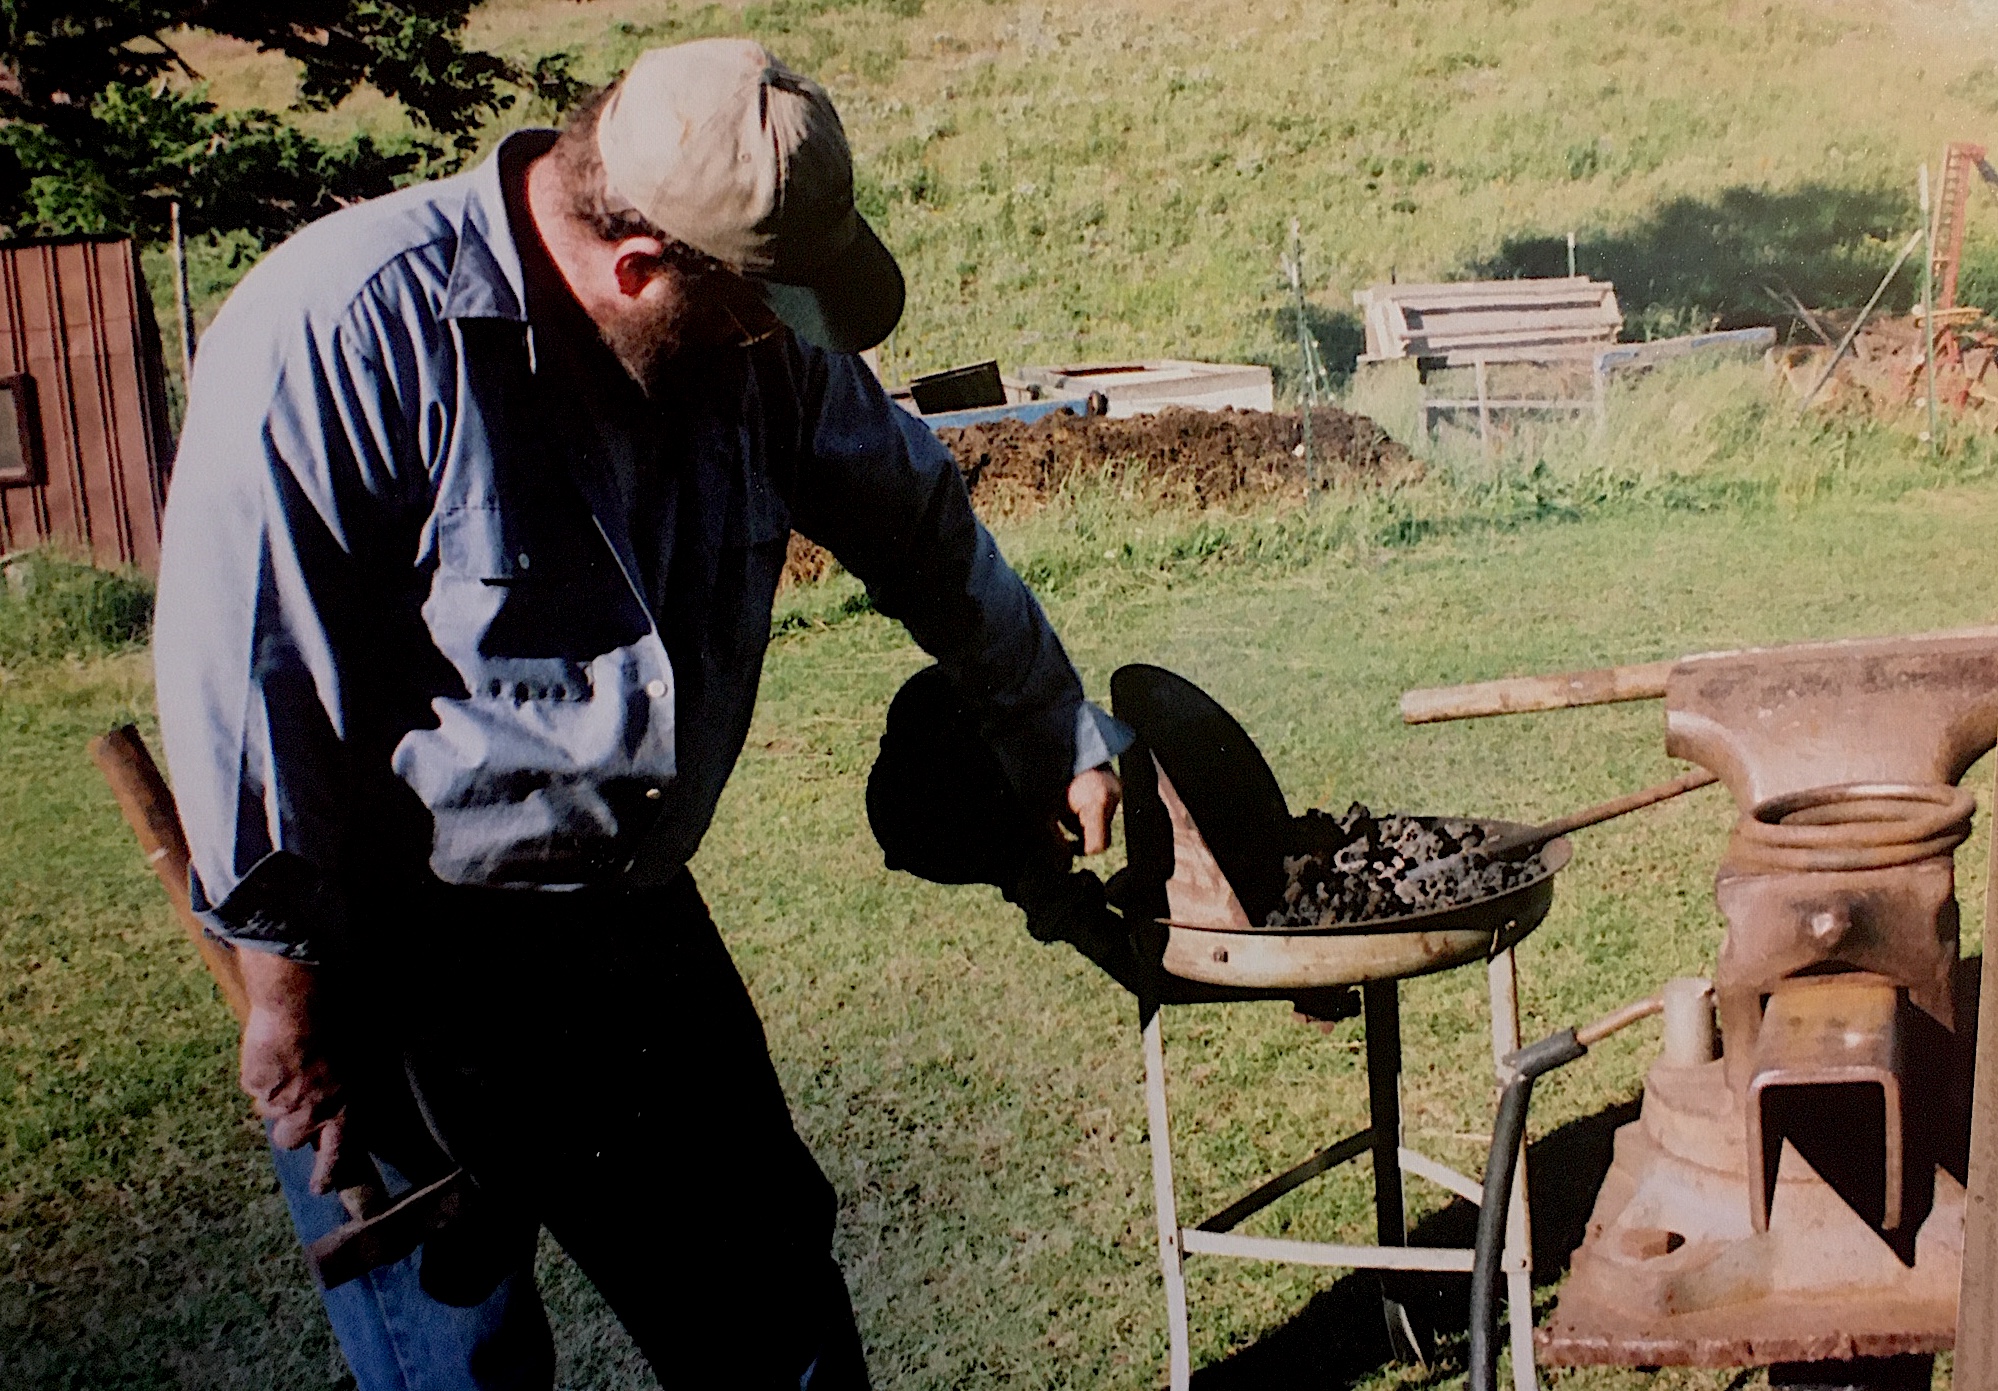
The Blacksmith Shop
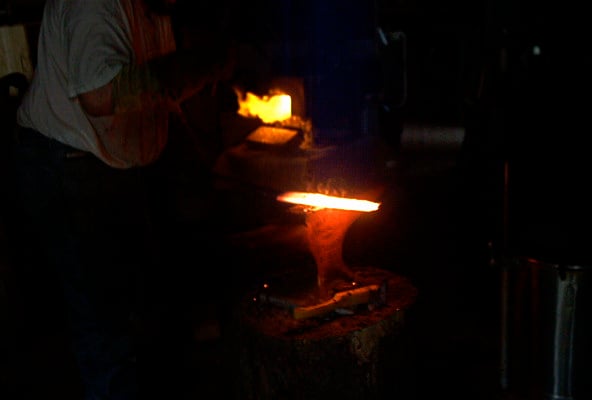
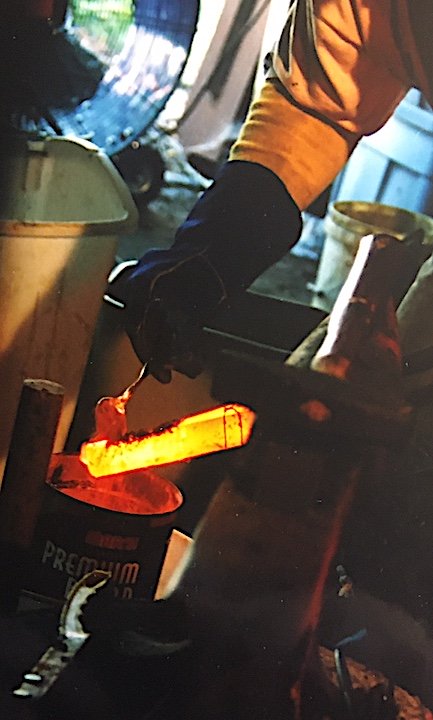
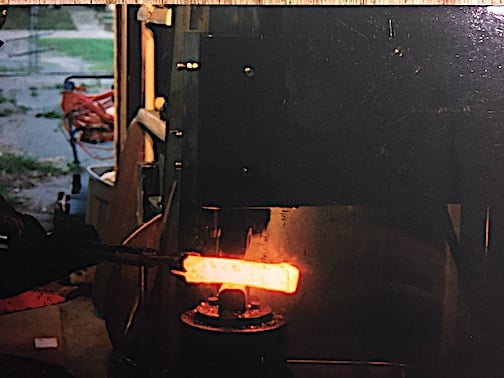
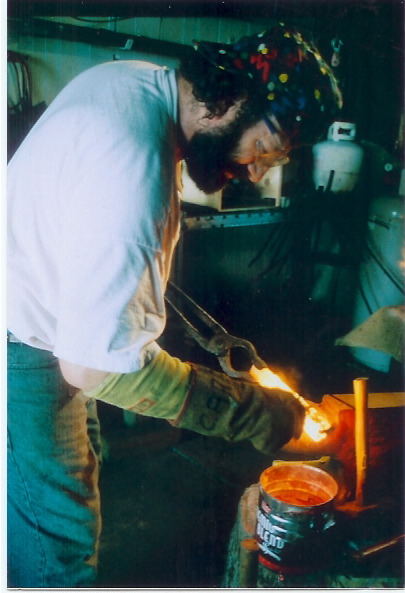
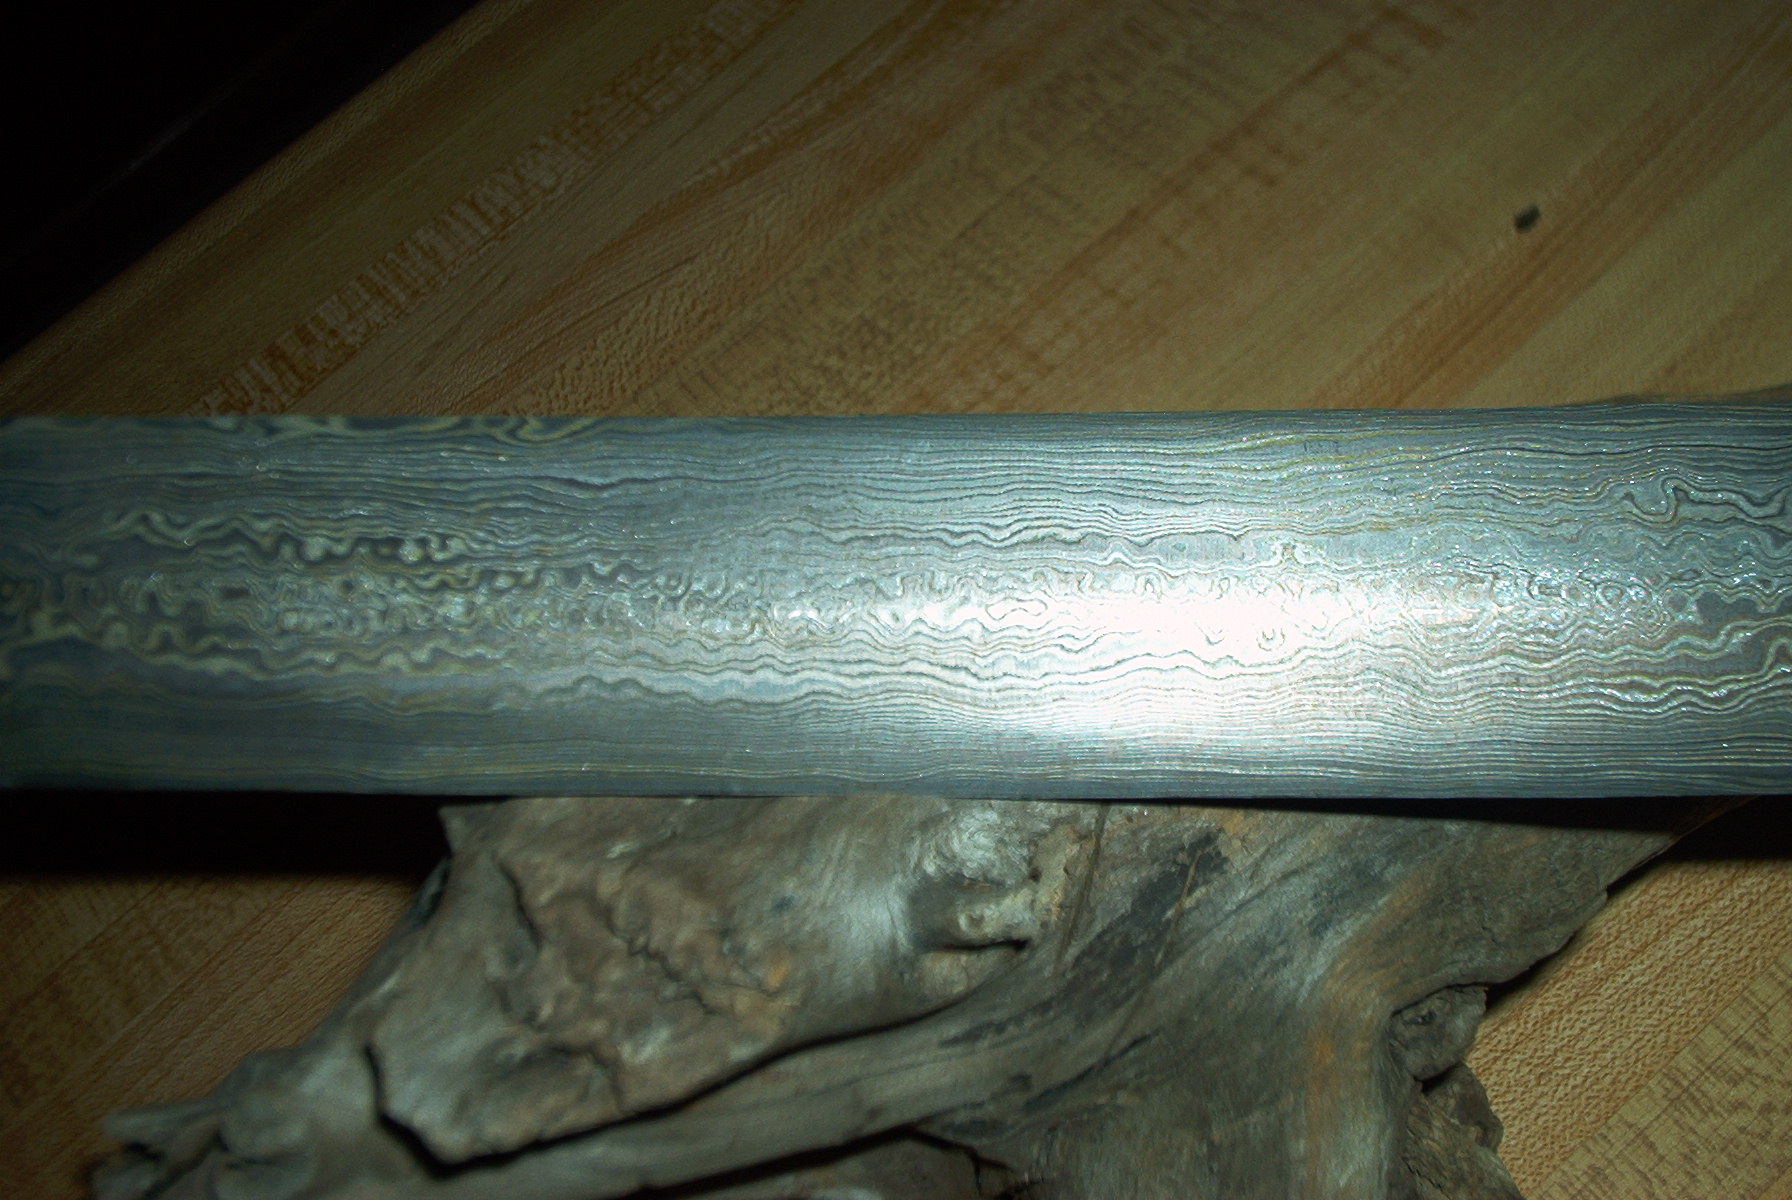
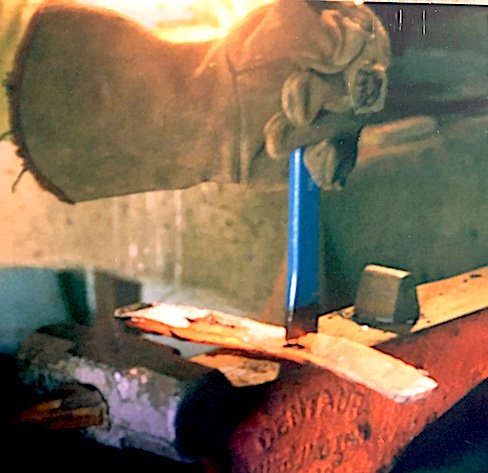
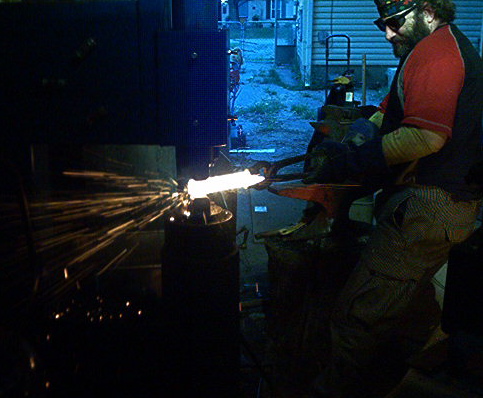
The shop is dark during forge-welding so you can see your welding heat has no dark spots, so then as well hardening, and tempering colors are evident through didymium glasses. The hot light orange billet is smoking, and your welds are solid. Life is good.

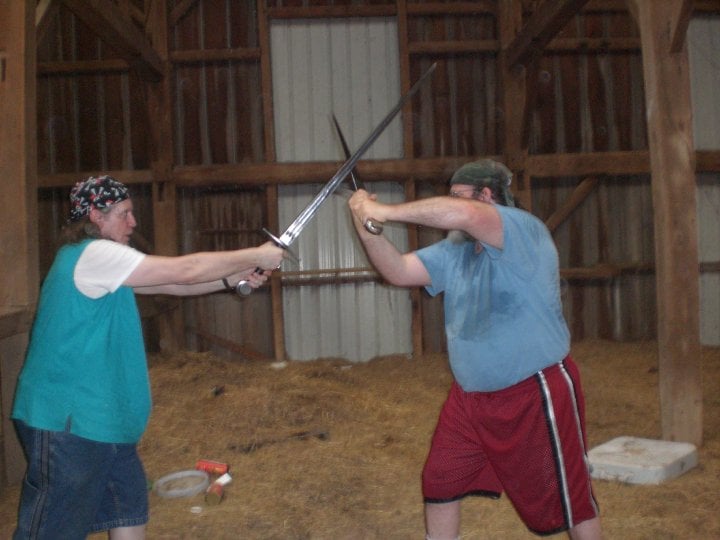
For me blacksmithing was a means to and end, to be able to make for myself, what I couldn't afford to buy at the time, and that end was realized in various Reenactment crafts. I had heard of Renaissance Fairs, but in my late twenties, and early thirties, the fantasy based roll play didn't appeal to me. But once introduced to full contact fighting, in actual and real armor/armour in the SCA I was hooked. Wuffingas, The SCA, and Living history organizations were the launching pads and catalysts, and my own personal desire for perfection, and excellence in the Craft was the fuel that set me on this path. But I reached way beyond either common general Hobbyist Blacksmithing, and sought out many genres within this medium, and in conjunction with the iron game. I delved into jewelry, leatherwork, illumination, sword smithing, and munitions grade armour. I worked in linked-maille, scale, and lamellar. I tried my hand at wrought iron design, and made a lot of garden gates, fence, and modern cutlery.
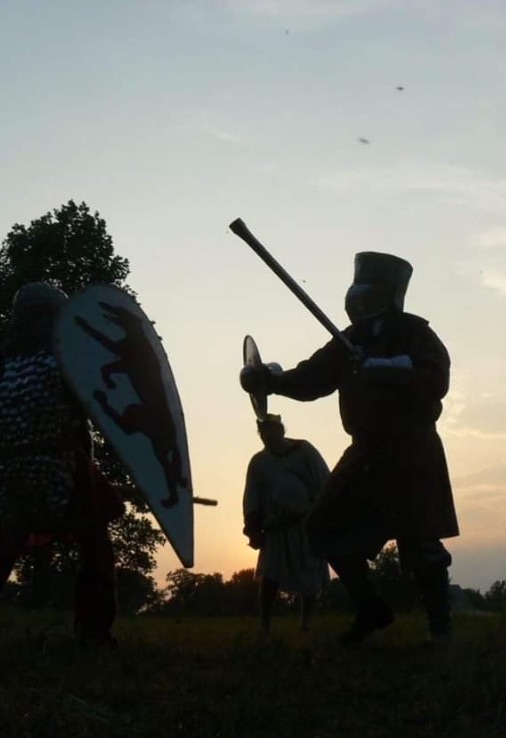
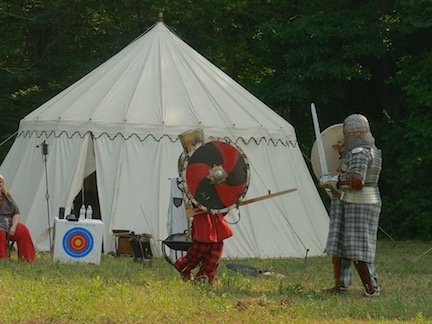
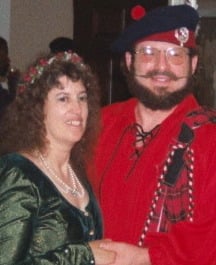
This is a Wuffingas event in 2011.
Photo Courtesy of Ms. Ruth Kingman

Logo of Hammer Forge and File, Inc.
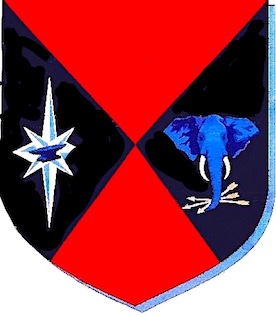
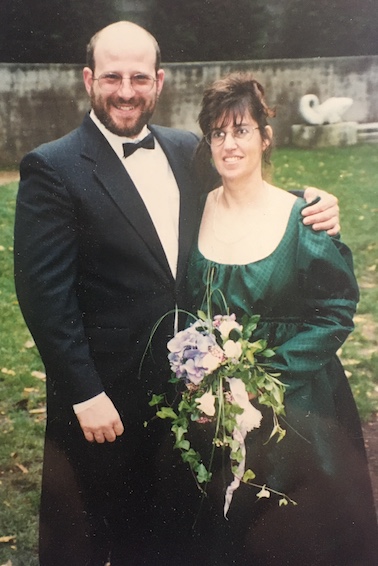
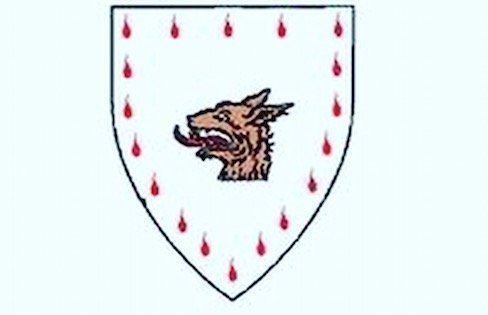
The unofficial conjoined arms of Lord Oenghus Garthnait Maqq Lok fili Cruithni, and Lady Robyn Wylderkyn.
(Robert P. and Melissa R. Shyan-Norwalt.)
The blazon isn't historically inaccurate, but the symbolism is very much dear to my wife and I. The anvil of course stands for my profession, and the star for my Savior the Lord Jesus Christ, and the elephant is for my wifes field of study, as her Phd is in Animal Cognition, and the three golden arrows are for her achievements in the Greenwood Company in Archery within the SCA.
Hammer Forge and File, Inc. started off as a Generalist Hobby Smithy in 1988, and went full time in the summer of 1999. I was in the SCA from march of 1992 until I left in July of 2005, to pursue fighting with steel swords. The fruit of the next ten years is the Reenactment manual (See Reenactment Blog) we used to run Wuffingas Historical Reenactment Club, Inc. A real-steel-sword full contact historical group.
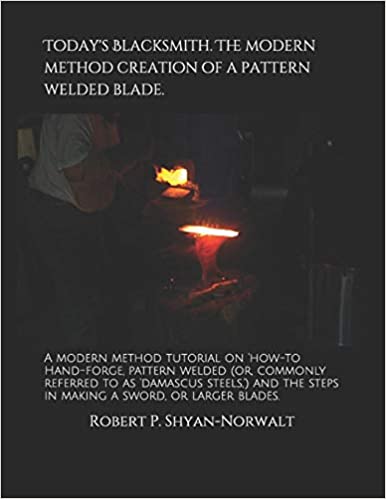
 Link, to Today's Blacksmith: The Modern
Method Creation of a Pattern Welded Blade.
My first Iron Tutorial is titled: 'Modern methods of pattern welded blade.' By that I mean it's not done in a purely historical accurate purist procedures. Most young inspiring Smith's start out with very few tools, and only a dream, many from the city's have no knowledge of the genre, and most rural farming these days is completely mechanized. This is how it's done with what one can garner at the junk yard, or scrap metal from around the farm with. the most basic tools.
This is the first of five books planned in the 'Today's Blacksmith' series 'How to' books: coming later in the blacksmithing genre; 'Historical Method Damascus Steel' being the star of the show to be precise. I'd been introduced to the art of pattern welding in the winter of 1999, and by 2002 was confident to produce my own swords, daggers, and accoutrements. Below see the scrapbook of many pic's, some that were rejected in the book for bad lighting, blurriness, or color problems due to my red green color challenges.
I want to do in the future books on 'Purist Historical Methods of Pattern welding.' 'Smelting iron, and making it steel.' 'Iron and carbon content in the properties of historical blades,' and lastly; 'Making 'Period Steel, for pattern welding or commonly falsely called 'damascus.''
Link, to the Kindle version of Today's Blacksmith Volume One.
Link, to the Paperback version.

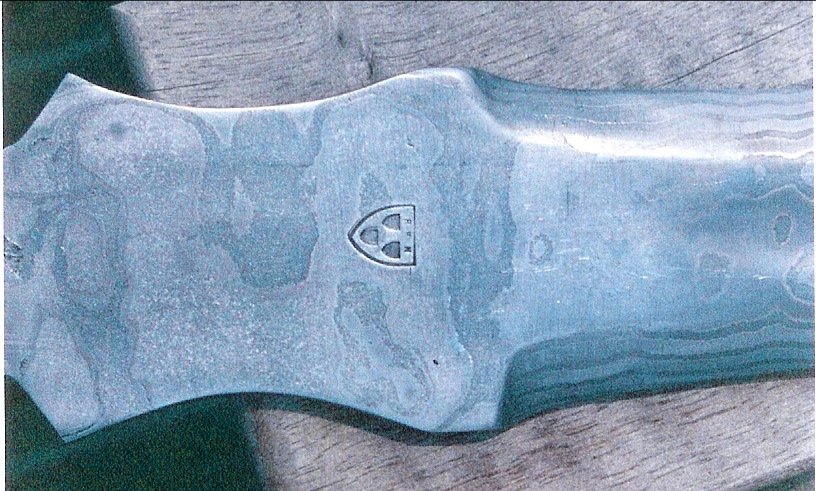
My touch mark.
My Scrapbook
In the following scrapbook I'm going to publish never before seen pics of things I did in the past that failed, or the photography was crap. But I'm sixty now, and not as tender about what someone might think about me. Maybe someone can learn from my mistakes? Either way I really do enjoy the thought of being a blessing to a young up and coming smith. Enjoy.
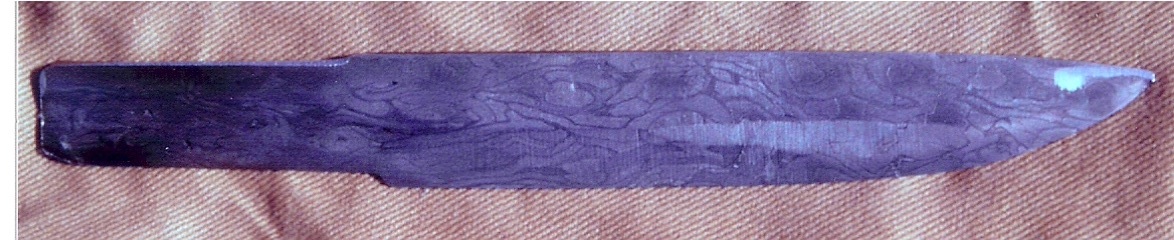
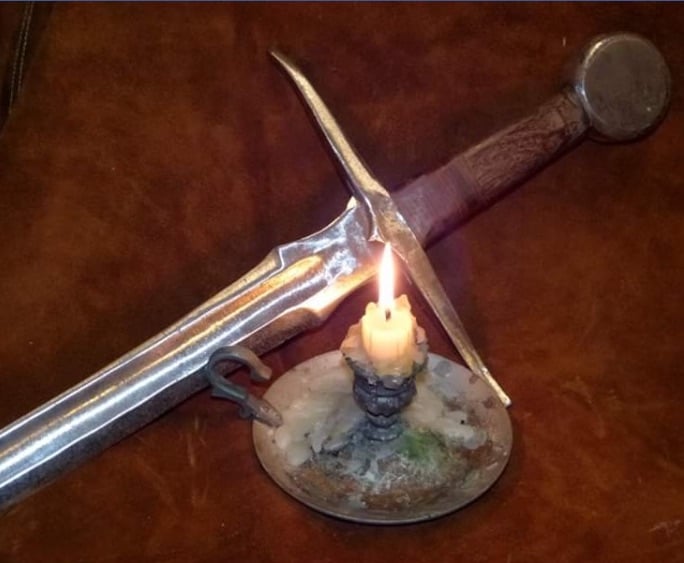
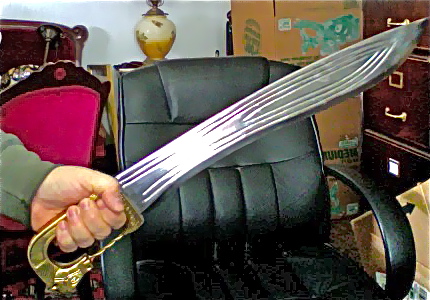
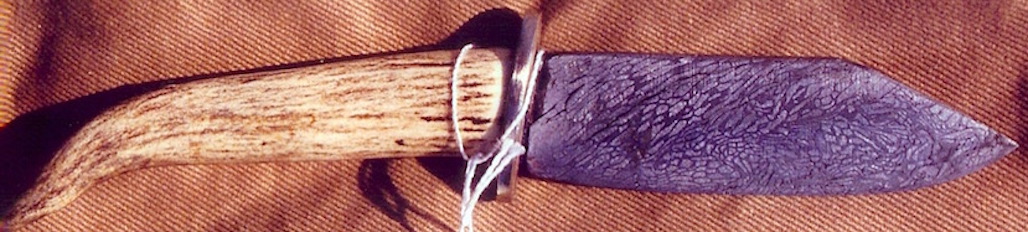
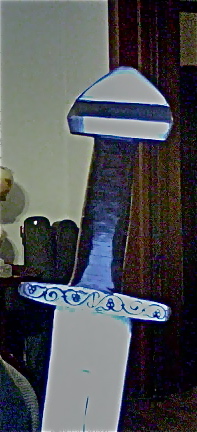
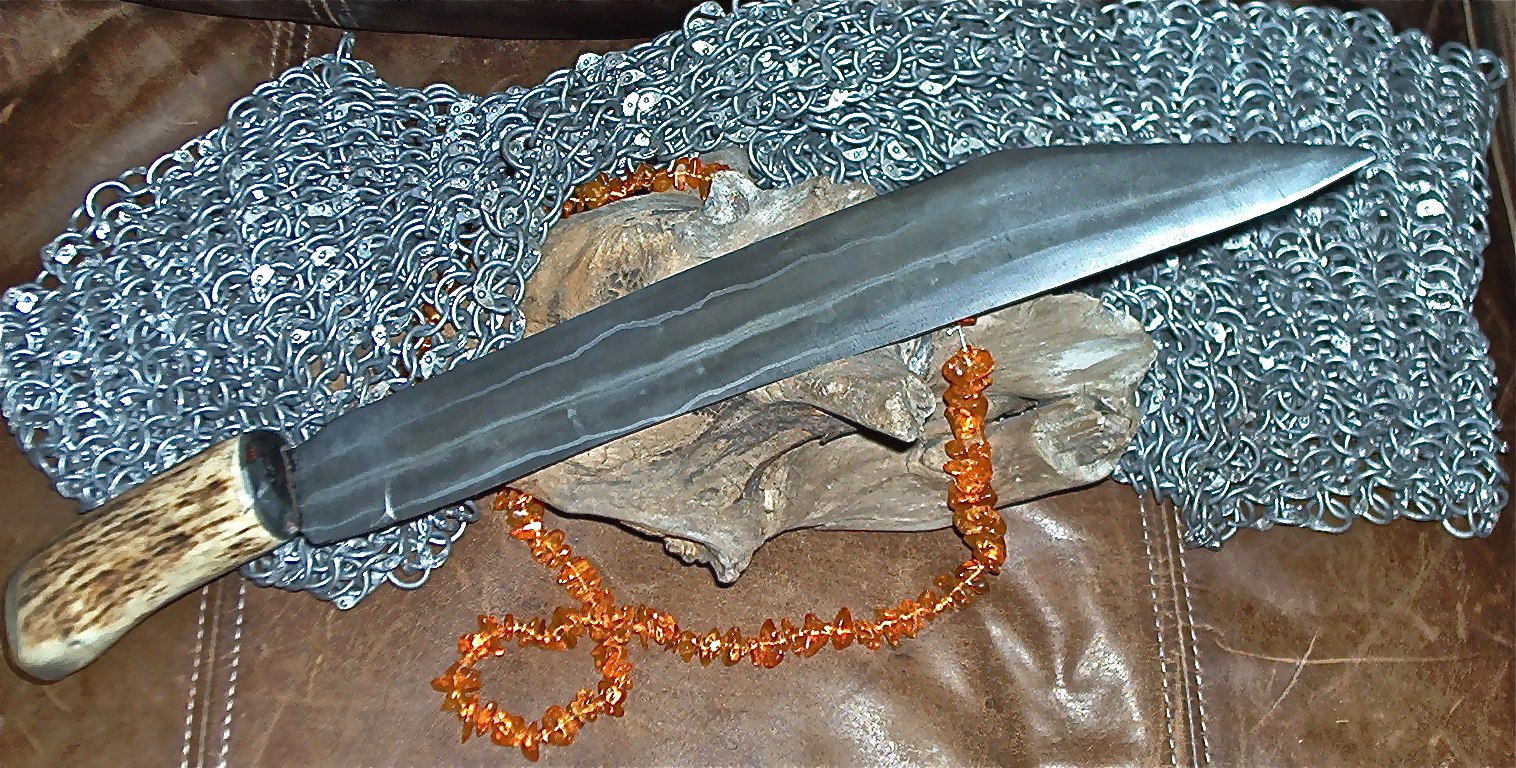
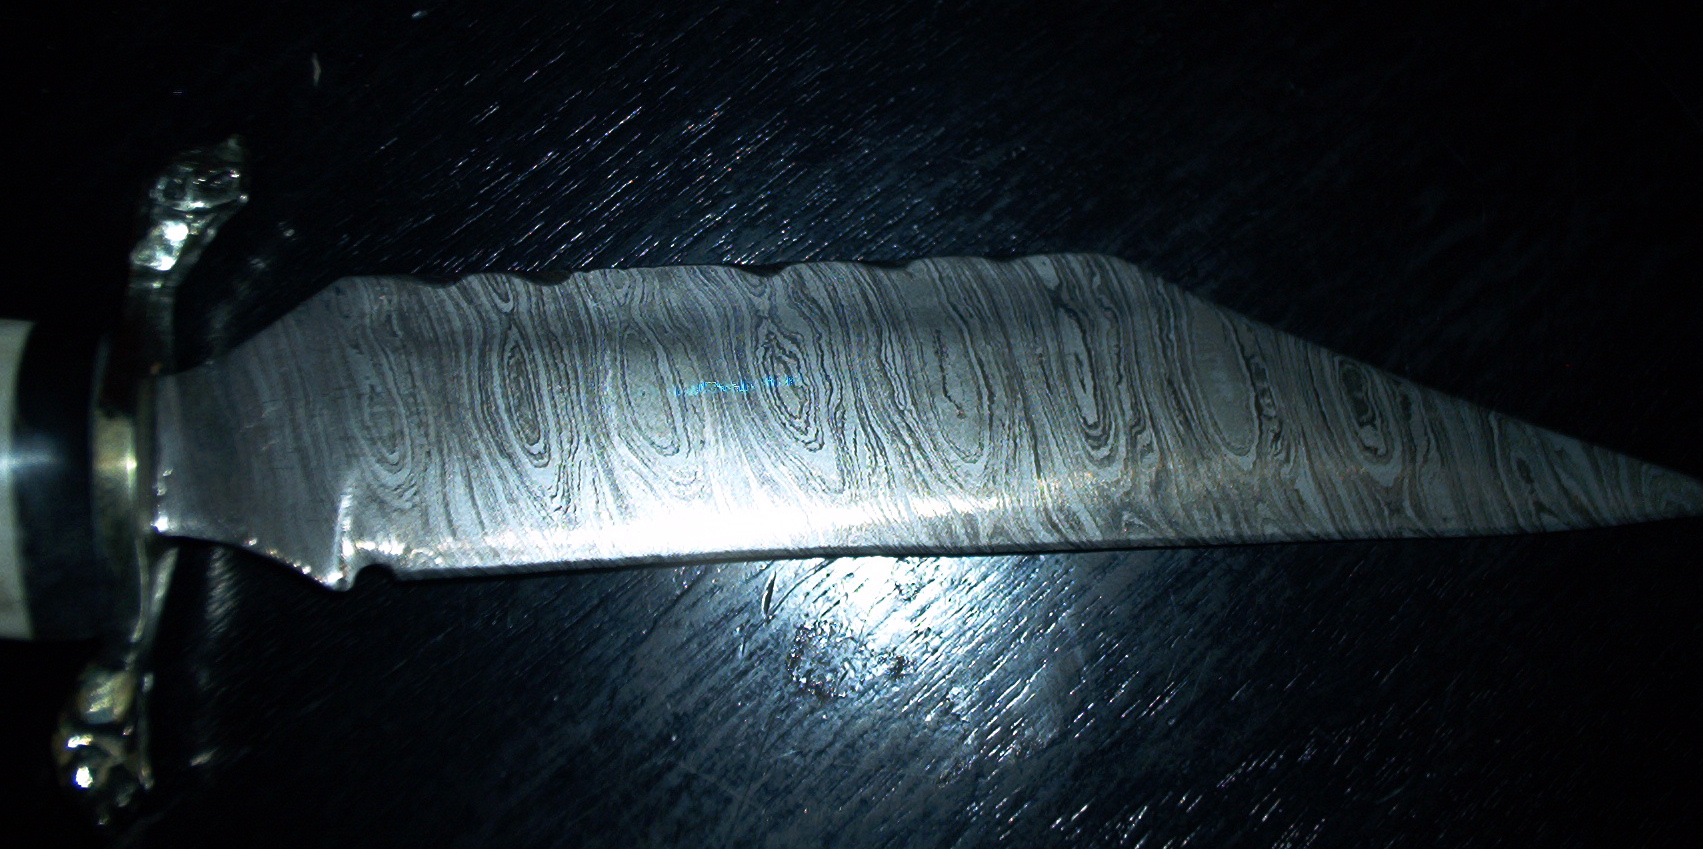
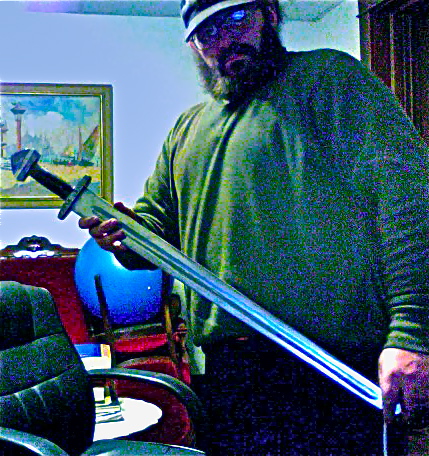
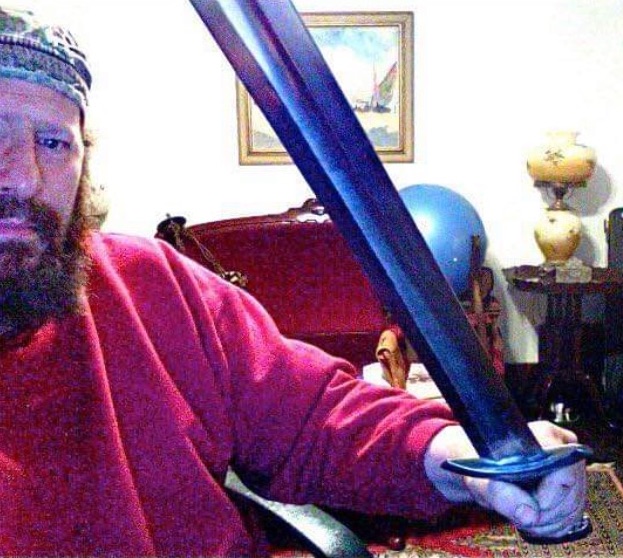
Here I am at a Viking Festival in Ohio, with one of my personal swords. Low layer count (about 25 layers) damascus table knife. The inspiration
comes from the Maciejowski Manuscripts.
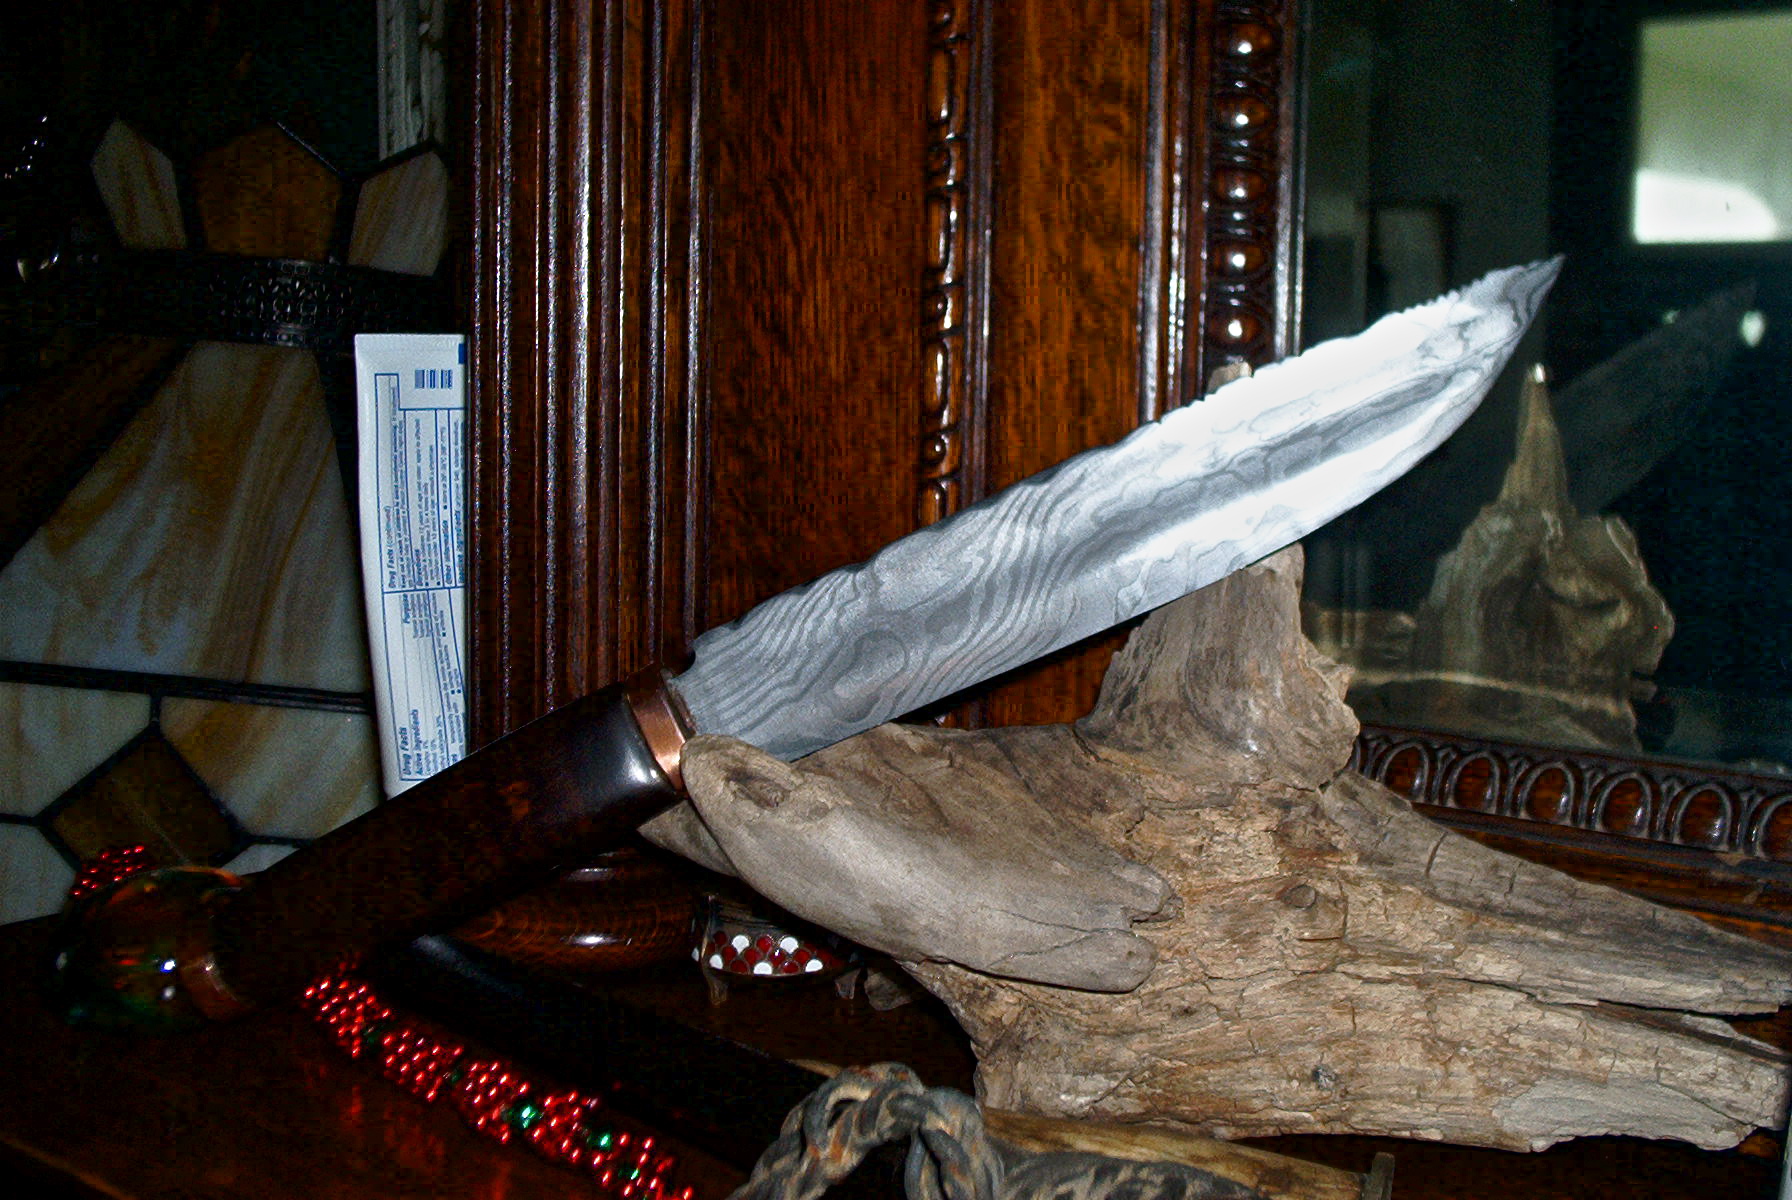
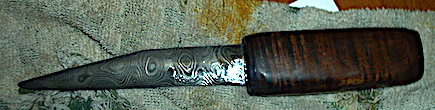
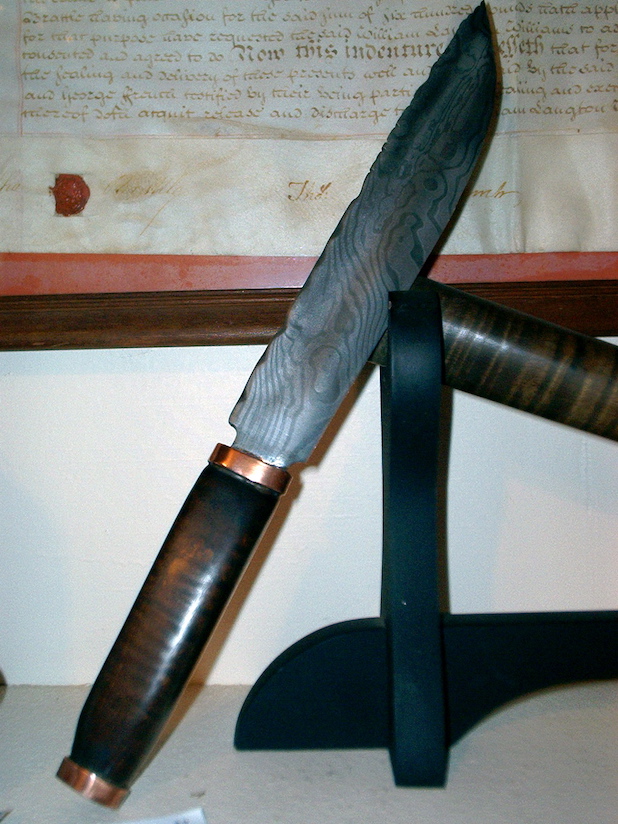
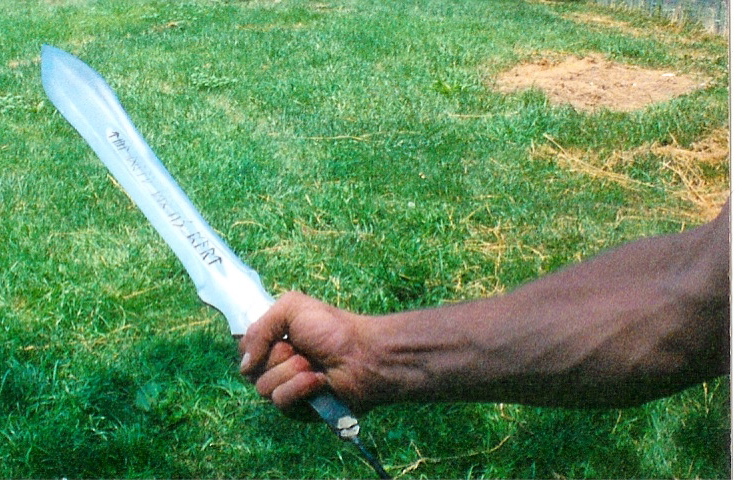
Same blade different setting. Blued 'wire,' or cable-damascus' blade I sold at Pennsic War 29, Nice little utility seax with tiger maple handle.
or 30? Before I owned a touch mark.

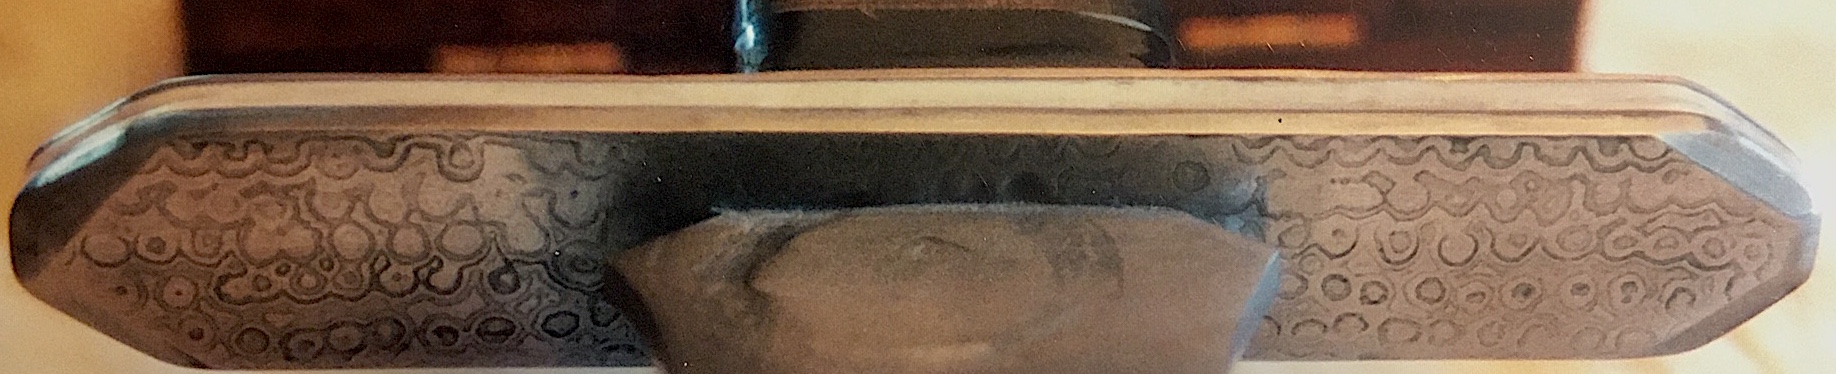
I put nine different metals in this very fantasy based tanto. It turned out
that all the low to medium carbon carbon steels all etched at almost
the same shade of gray, but the black iron and nickel gave it cool contrast.
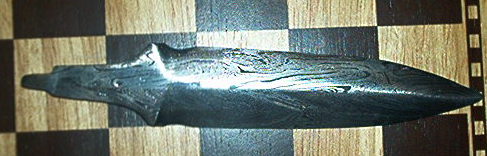
The tip end of seax made of 1095 and 15 n 20.
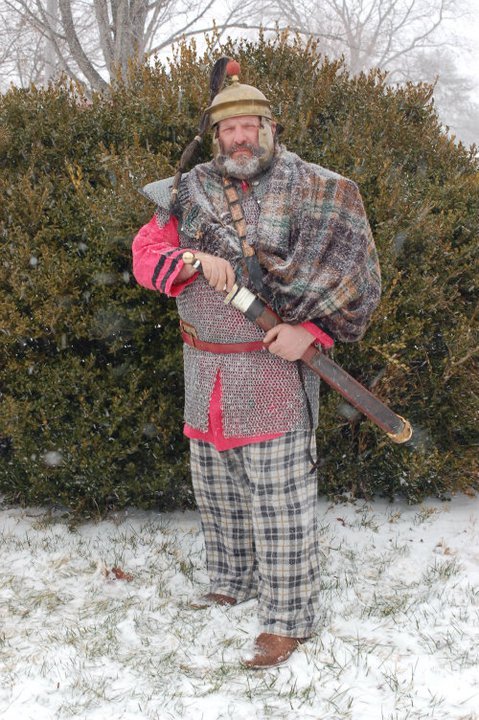
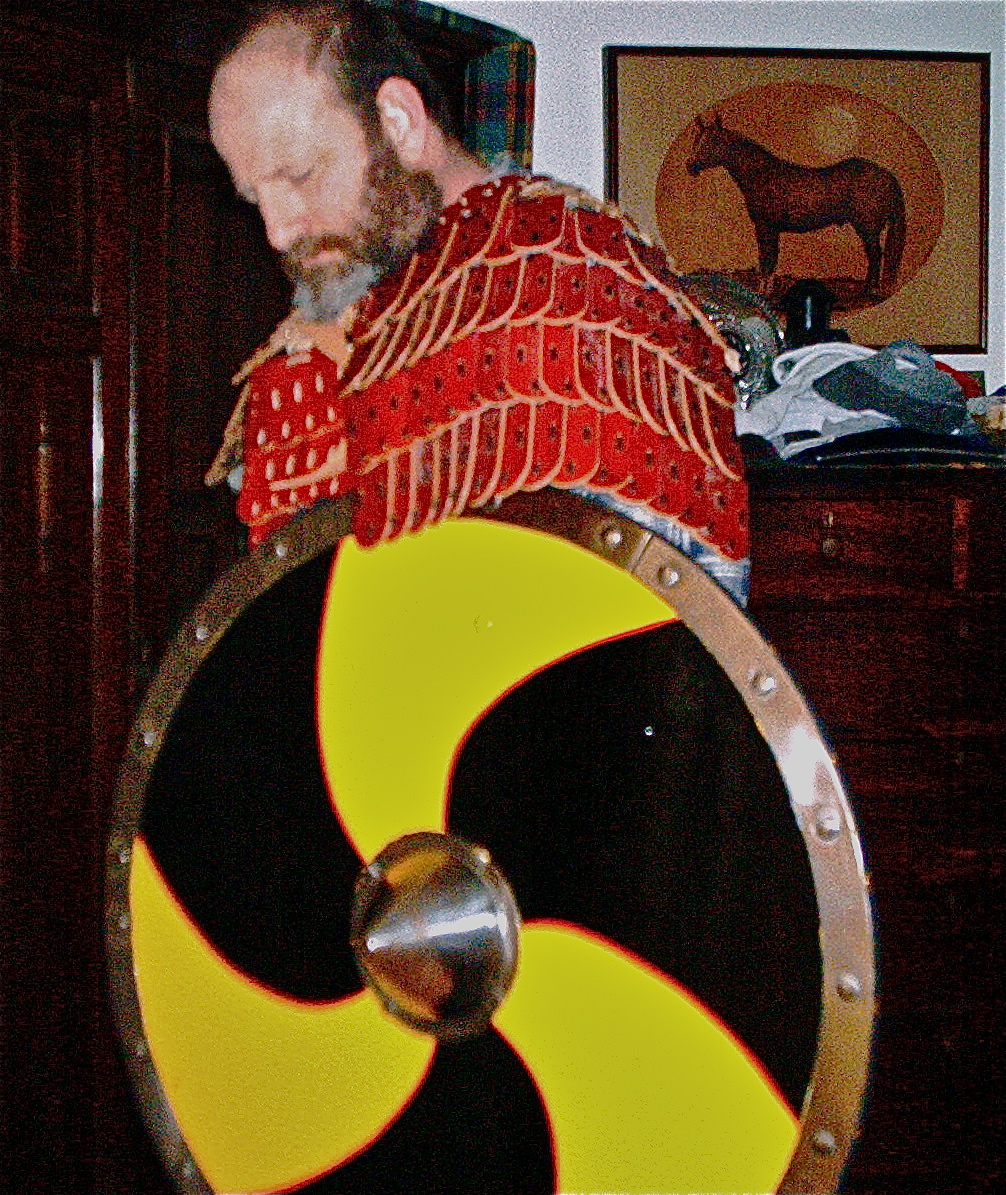
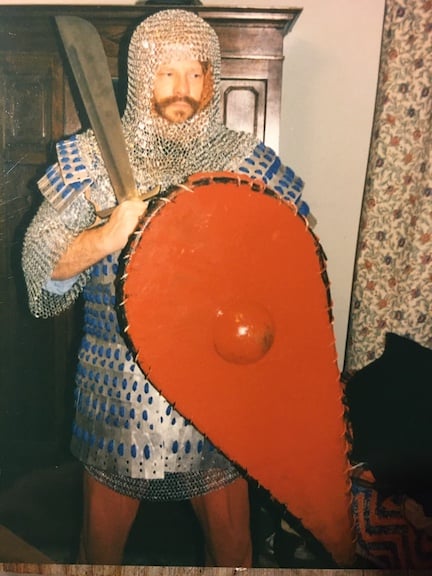
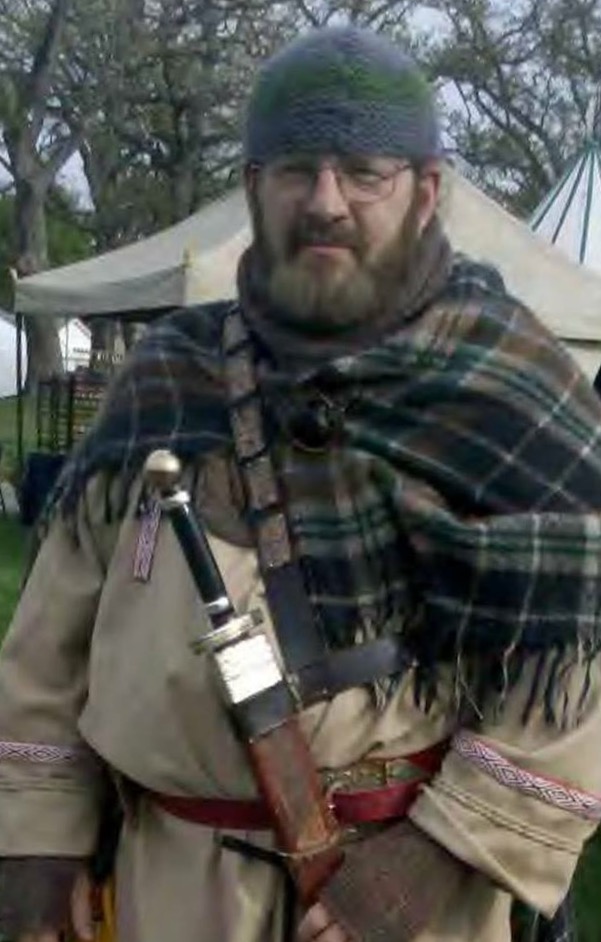
One of the greatest joys in my life has been the study, research, and the implementation of that knowledge realized through creating 'a persona' of a man who 'may have lived' in such-and-such an era. I "do" Gaulic Noble, in Roman Auxiliary Cavalry 32 BCE. Pictish Warlord 289 ACE against Rome, and 685 ACE at the battle of Nechtansmere. Italo Norman Crusader, and Mercenary 1016-1098. Jacobite Scottish Rebel 1745-46. Above pic is the next to last 'rendition' of the Gaul Noble. I'm always upgrading and improving on the Portrayals in many ways: Better historically correct, period-materials, or a more authentic piece of equipment, based or verified by new finds via discoveries, or experts interpretations in archeology.
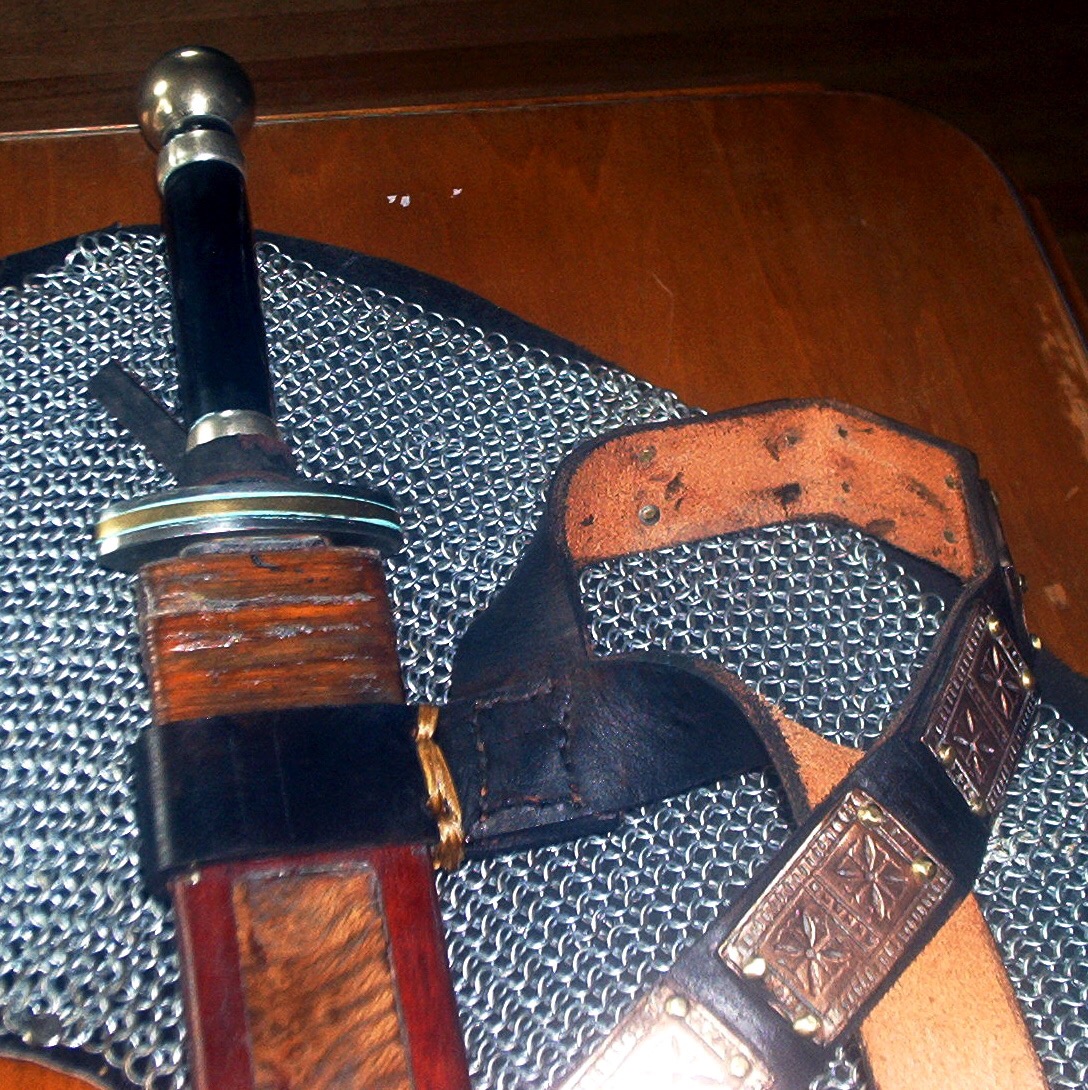
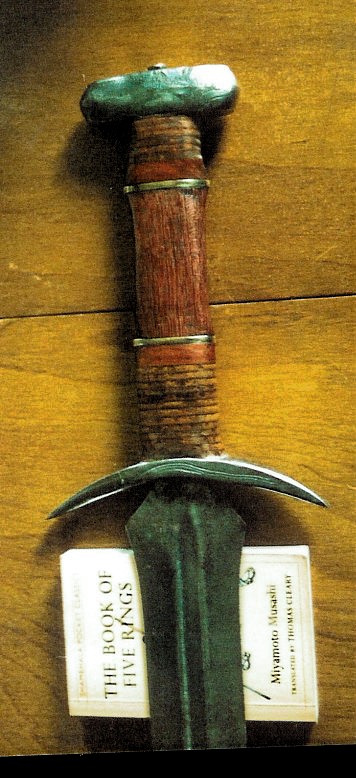
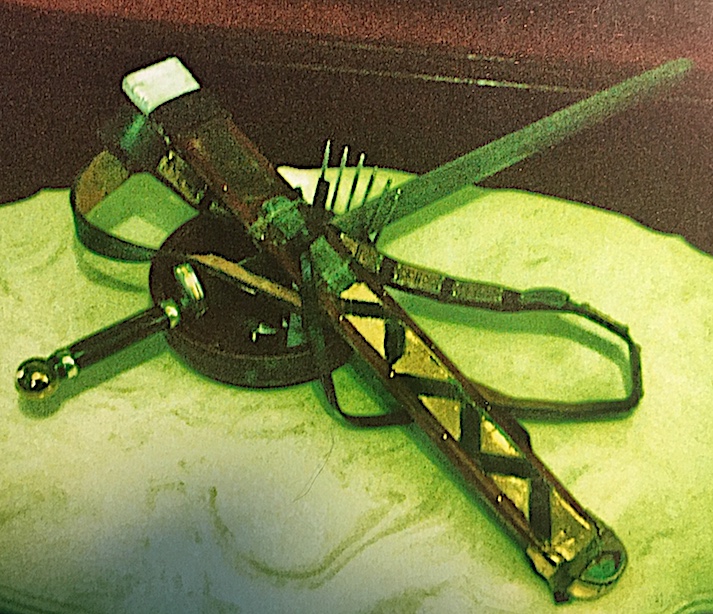
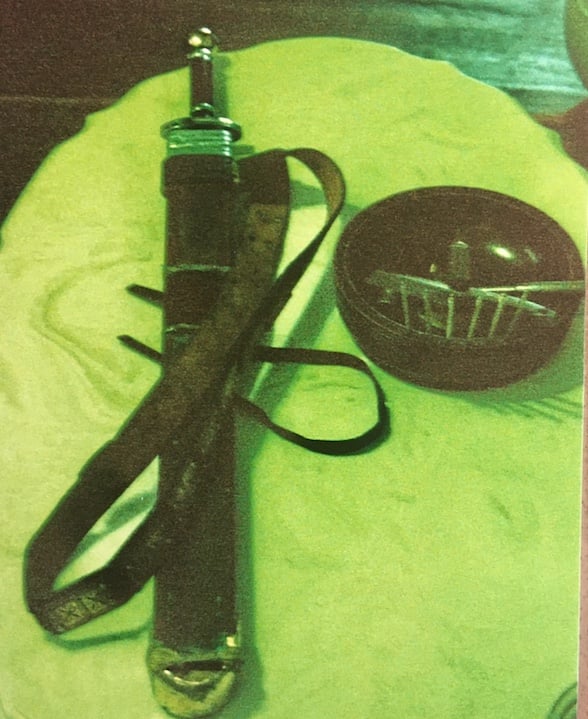
The handle and scabbard details from the above mentioned sword. As far as the blade: It's comprised of 277 layers of 1095 high carbon super improved spring steel, and high nickel alloy 15 n 20. Those roman belt furniture plaques are from Raymond's Quiet Press. What follows in the collage of photo's is a number of shots of that sword, in pattern welded billets, pre-production, and the steps in making it. This is laid out in detail in my How to book: Today's Blacksmith a modern method tutorial on how. to hand forge pattern welded steel.
The end result of a good build. Sword, scabbard, and belt, photographed with my first hammata chainmaille drape. I have since upgraded the drape with a more period correct rig. This maille was butted, and the leather backing, though attested to via a statue of a Gaul Noble of the period, was too thick. Always improving.
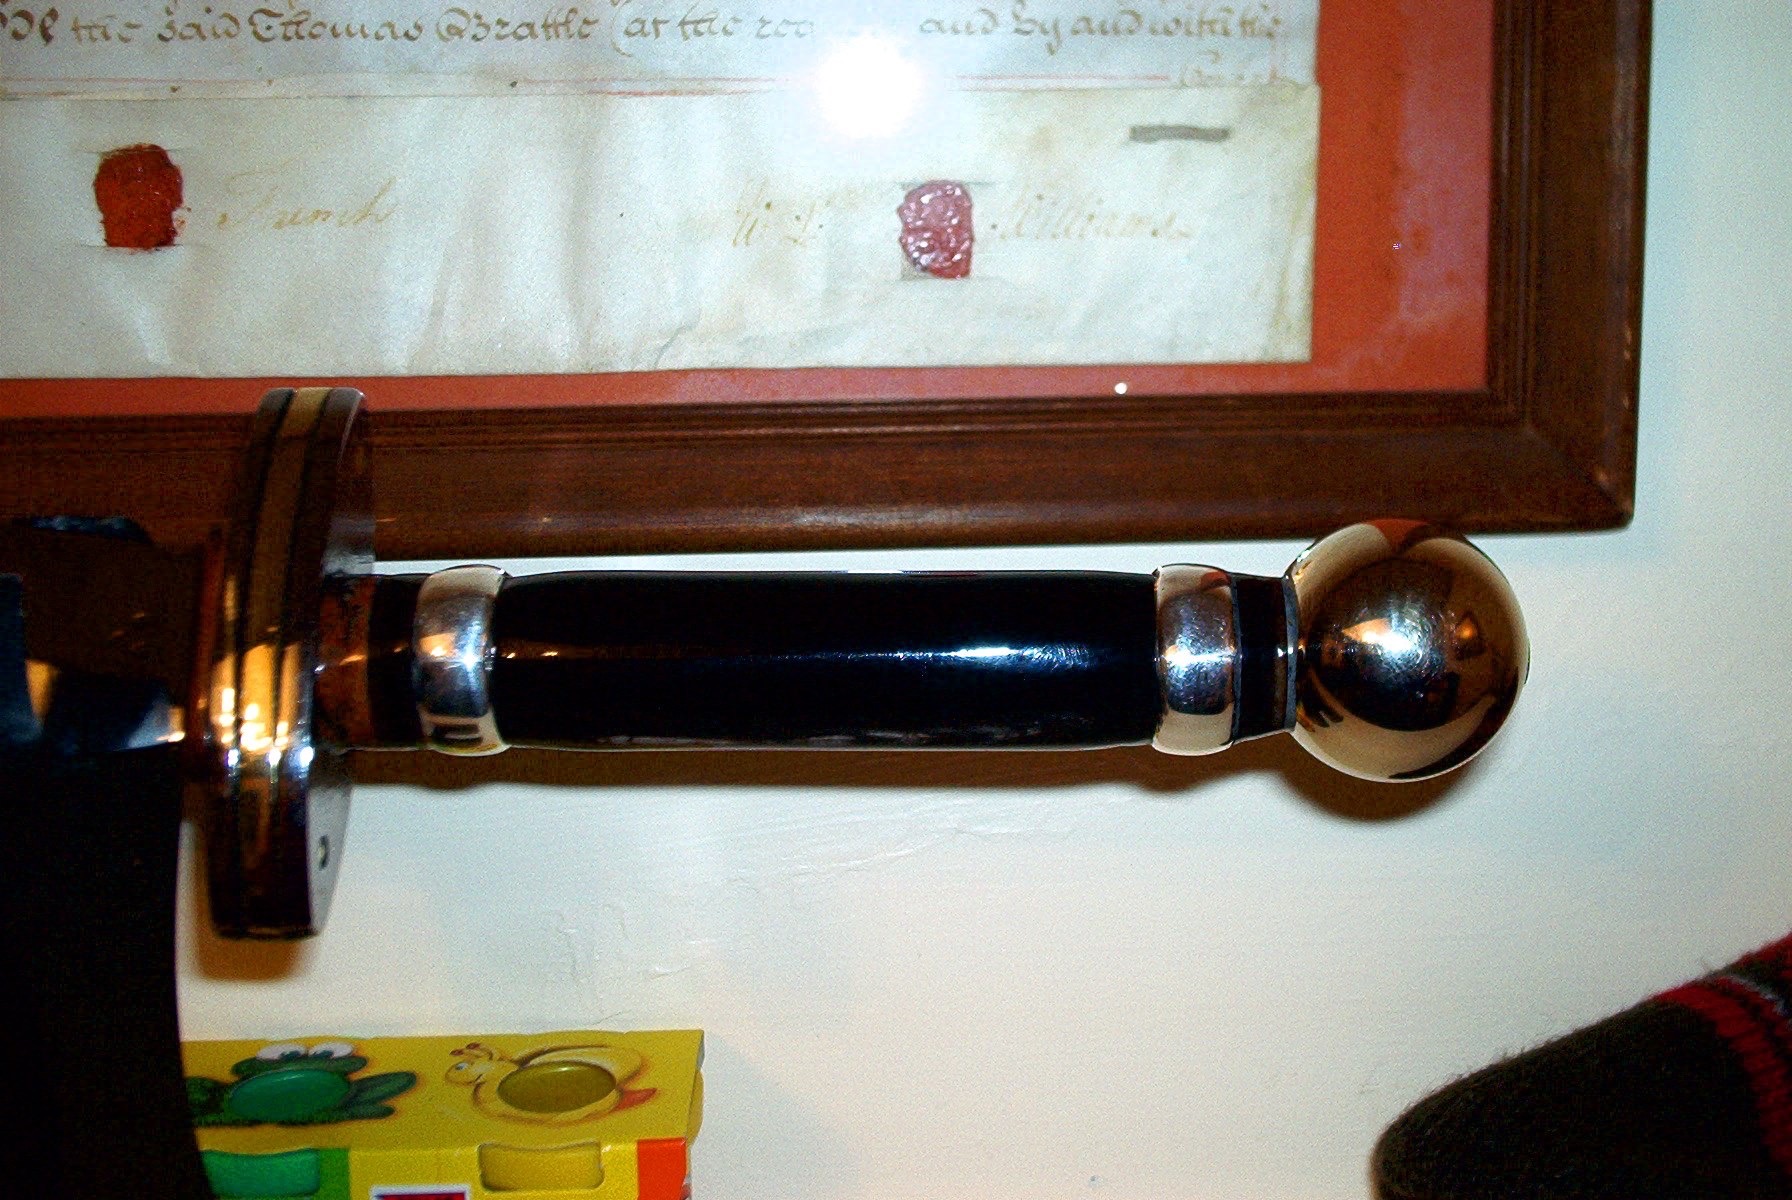
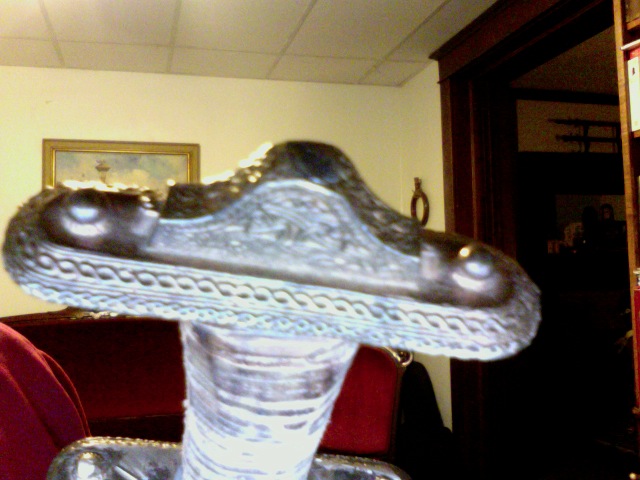
Nice over all shot of the guard, handle and pommel polished. The play dough is free, no extra charge.
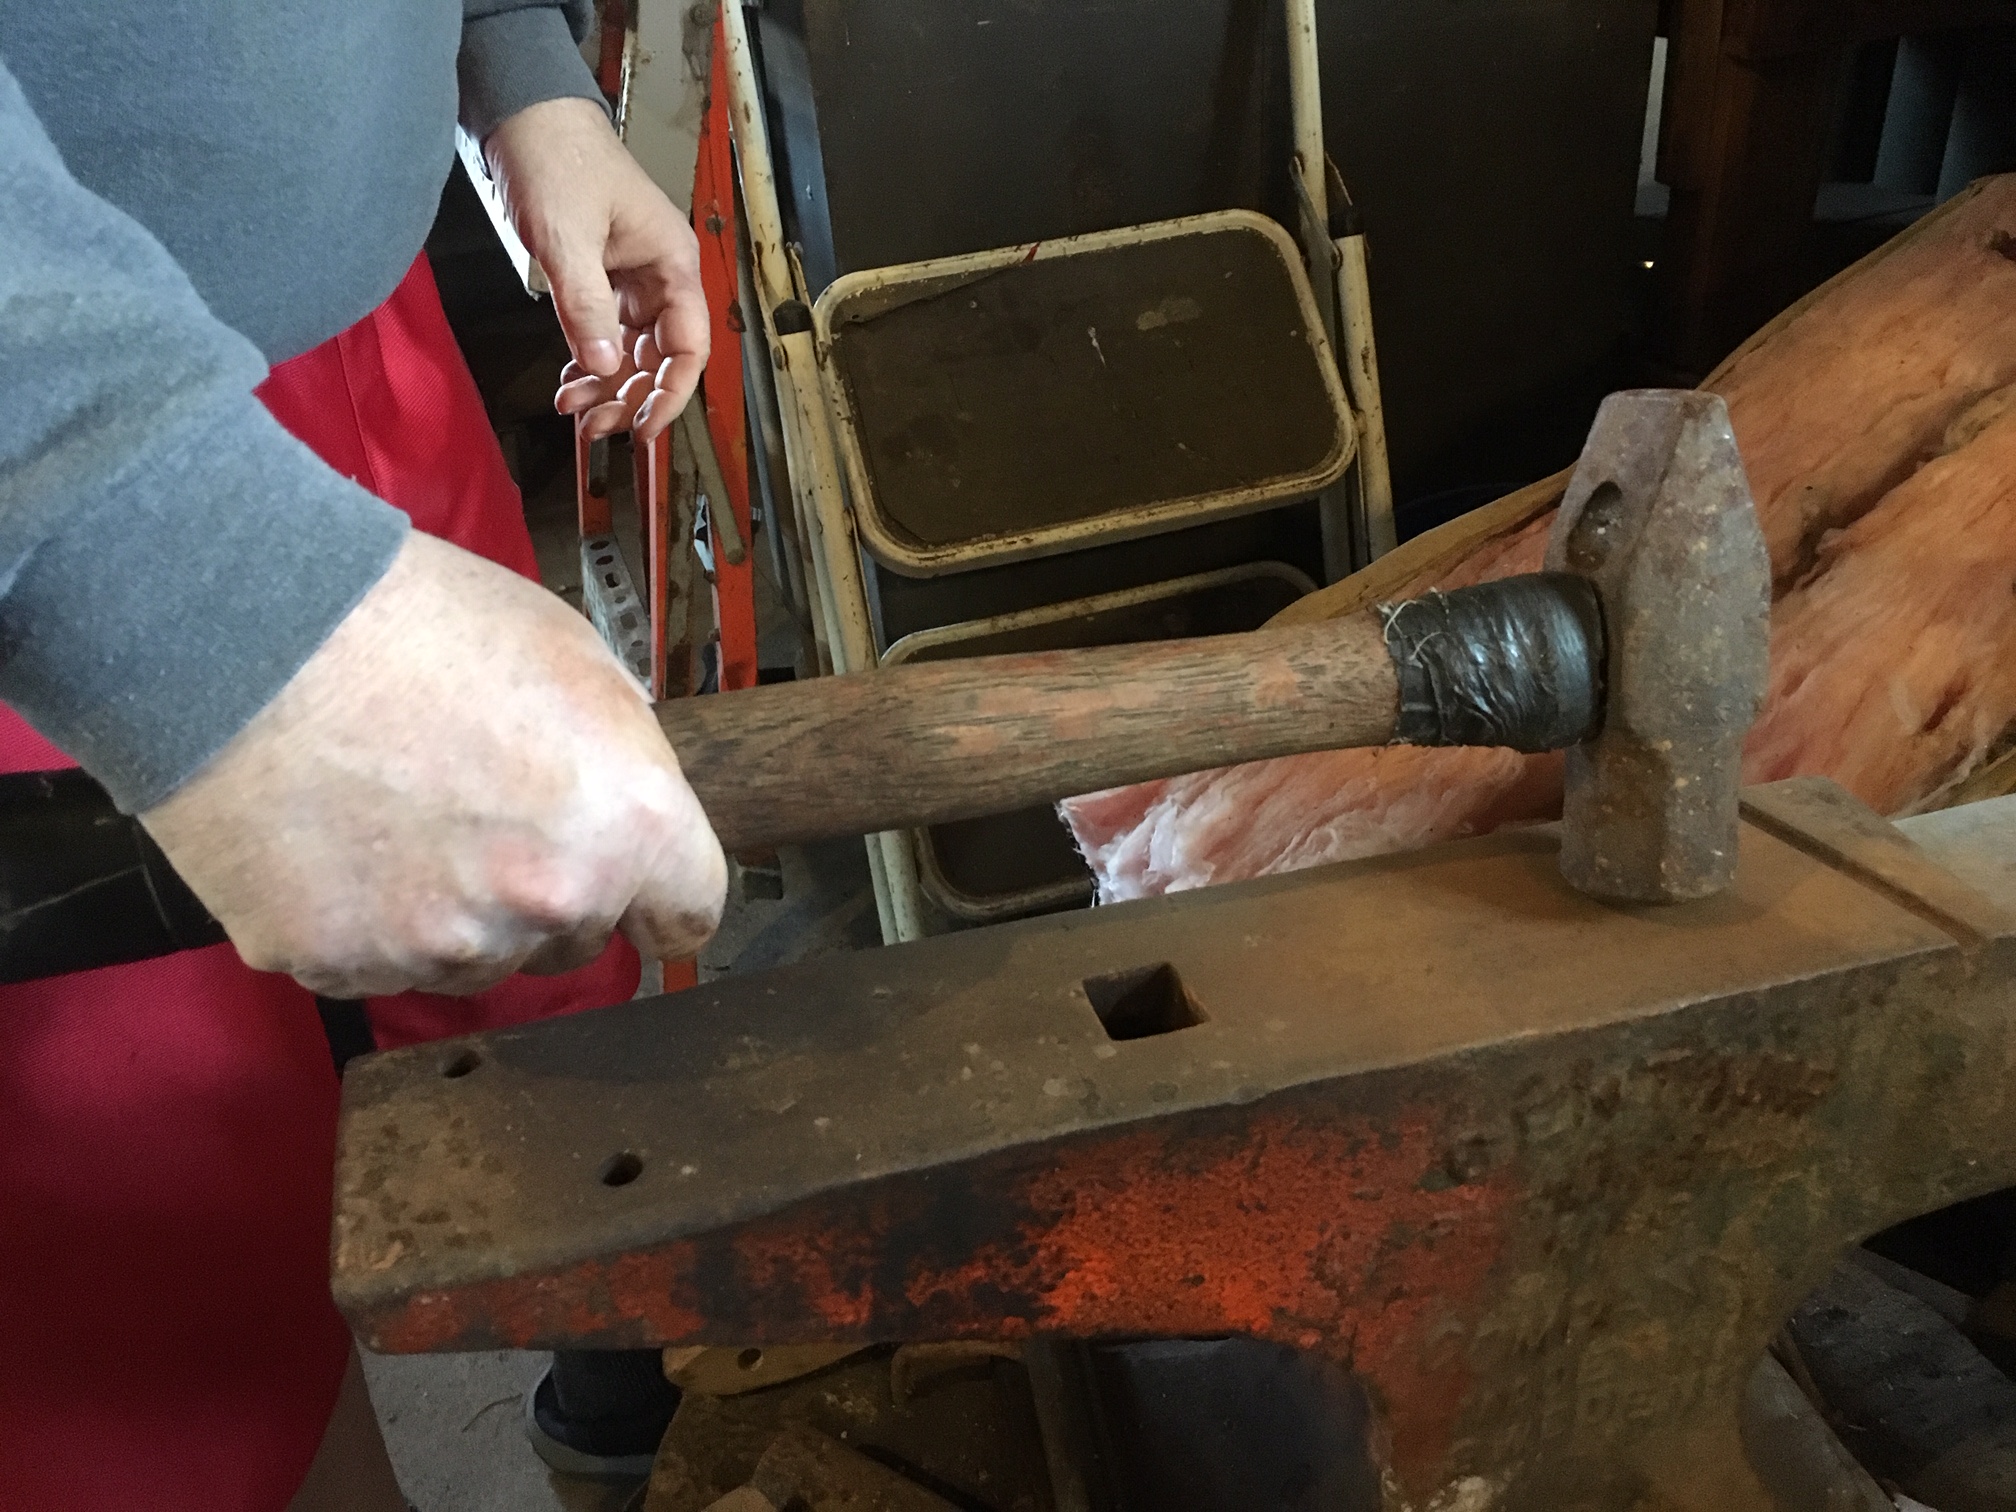
In 1992, before I owned a good welder, and wire tied my 'first off' billet together. I make my own flux out of mule team borax, welders high heat flux, and sand.
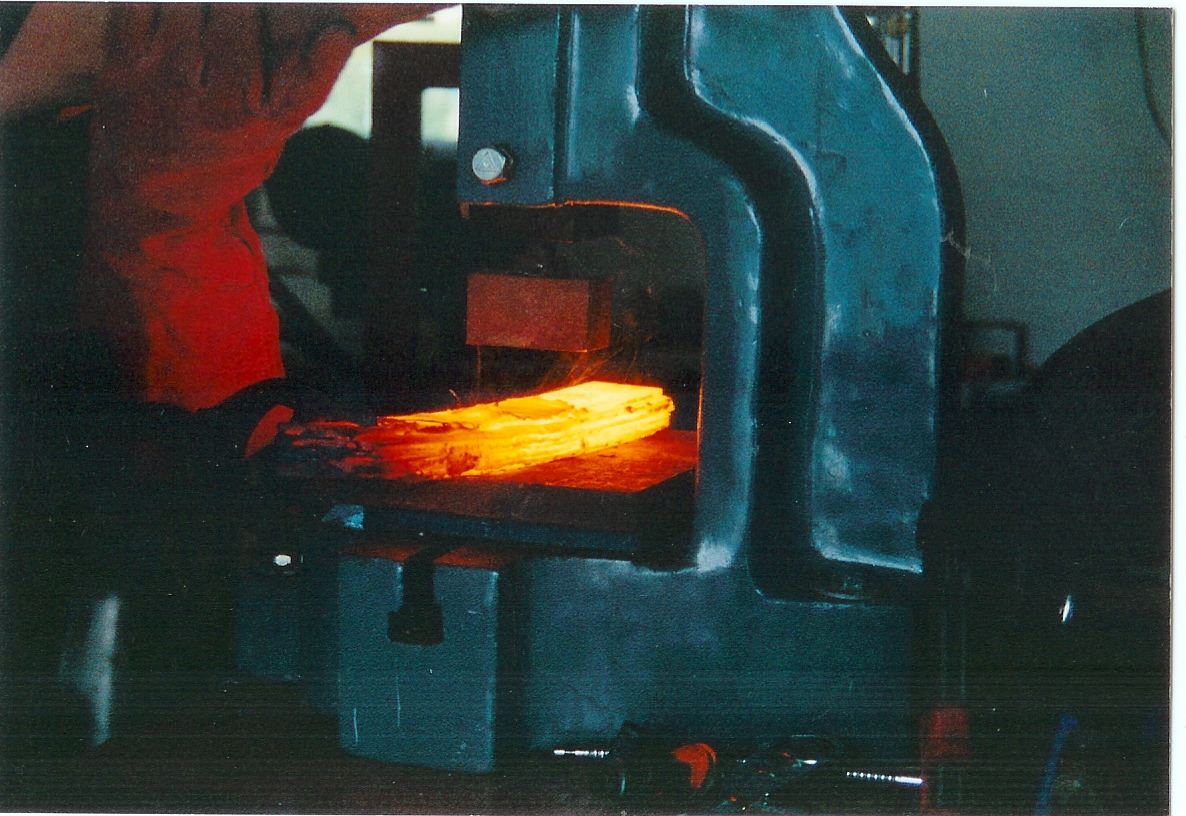

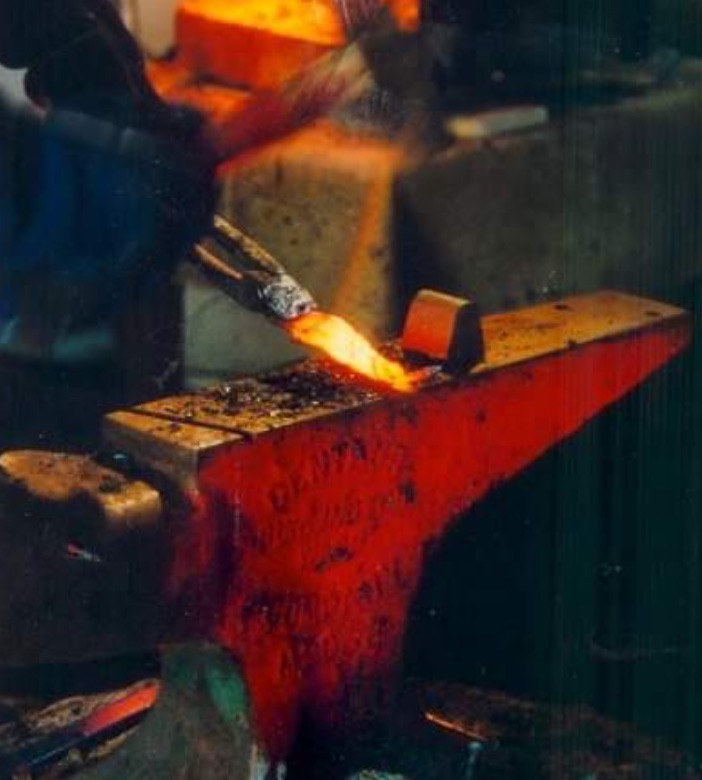
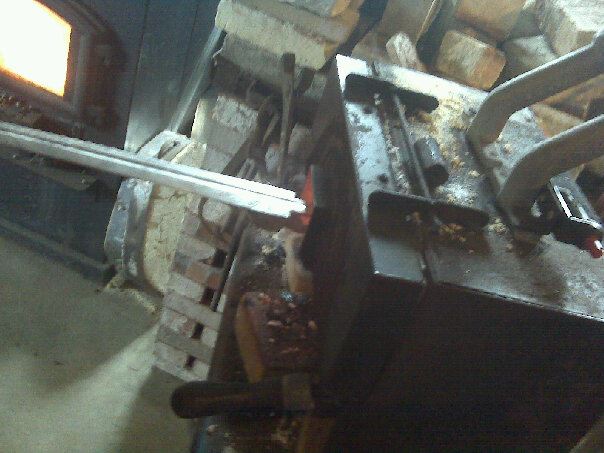
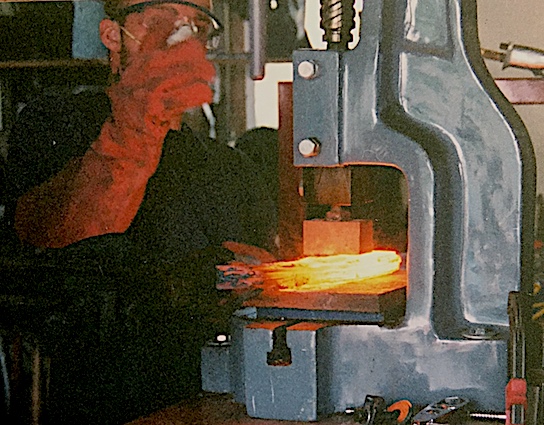
The initial forge welds to any billet are crucial. Here it's It can be done on a power hammer, (pneumatic or electric) but And of course good old hammer and anvil.
being done on a screw press, with preheated dies. special care not to hit too hard is necessary.
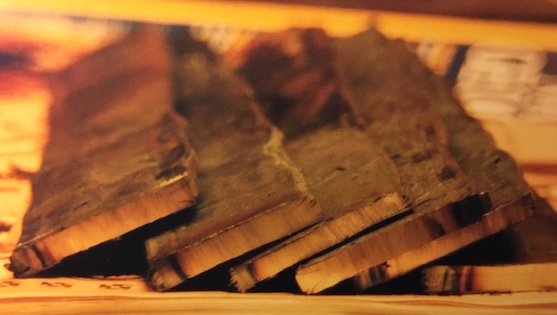
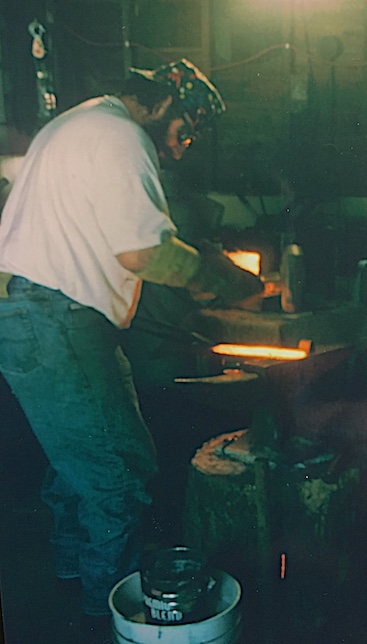
The first five sets (billets) of twenty five to twenty eight layers each are forge welded and ready to be ground clean, stacked again, bound or welded and reforge welded. Then once you have enough layers start drawing out your sword. This is. a shot of clean up back in. the day. You can use 'square wheel,' and many other types of grinders, surface grinders, or wire wheels to clean up slag.
The first five sets of twenty five layers are stacked. and forge welded; and ready to be ground clean, stacked again, bound or welded and reforge welded. Then once you have enough layers, (completely up to you) start drawing out your sword.

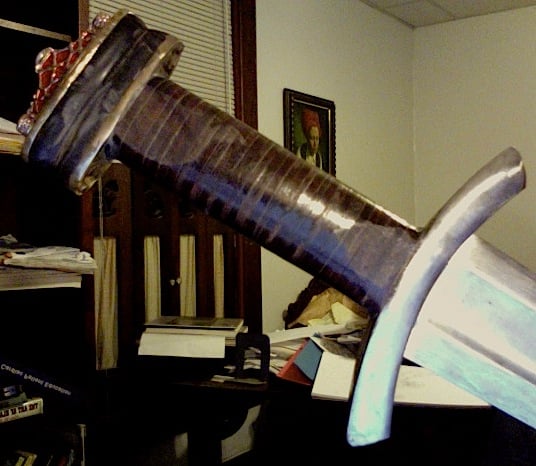
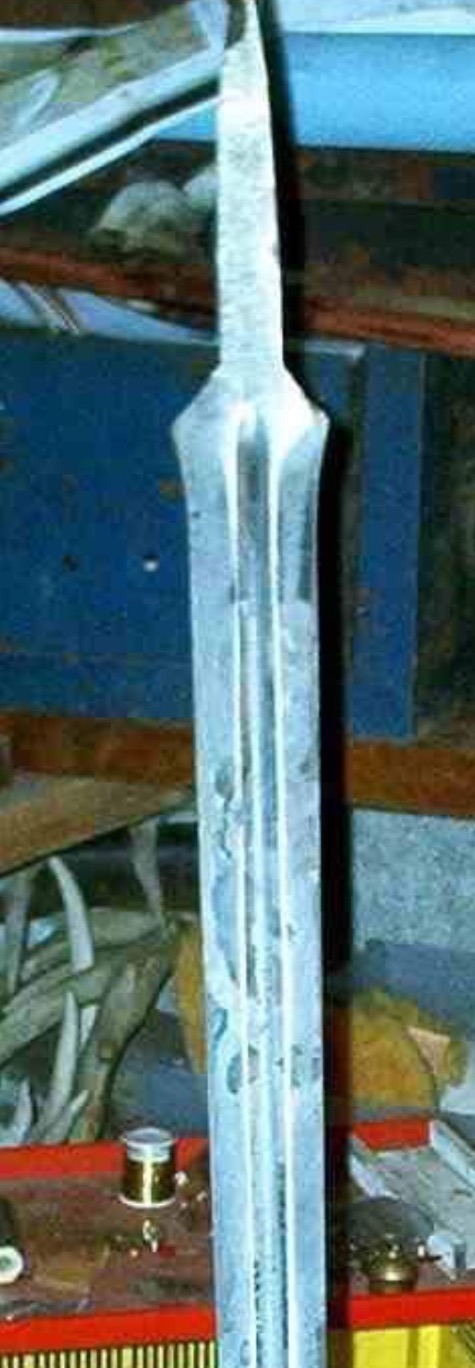
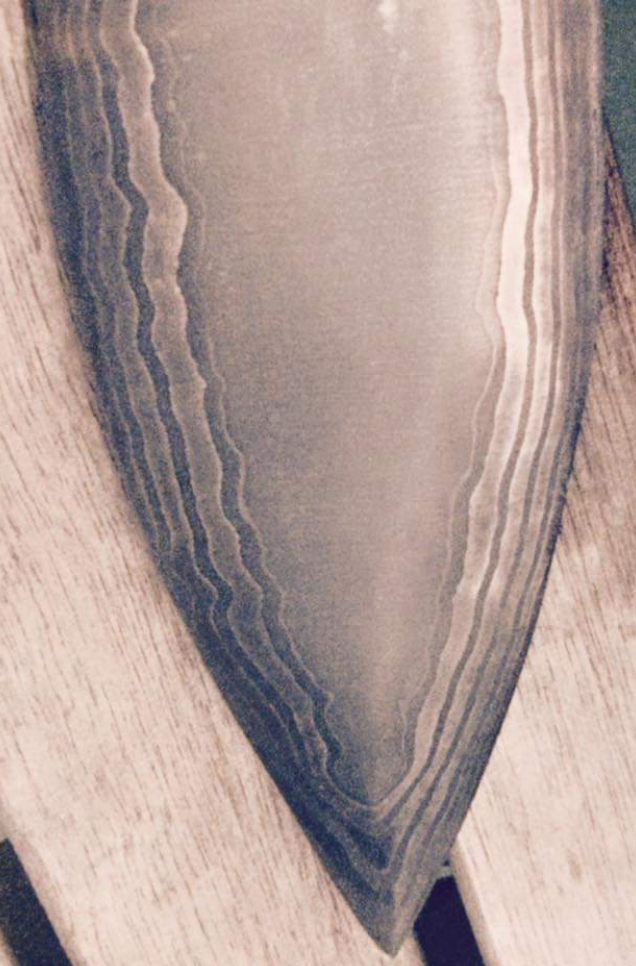
The goal of course is to have a completely flawless homogenous damascus steel billet to work from. Two shots of the same drawn out sword blank. This one was pretty big as swords go. Over a quarter inch thick, three inches wide, and thirty long. This one was a little top heavy as I intended to make a 'leaf blade' profile.
On quite a few occasions I've had other folks who already had a sword blade or blank, and want me to add the furniture. Here I made a powder and scrap damascus guard and pommel for someone who had a Del Tin blade they wanted to save. I used rose wood and horse leather, with brass spacers to make a more fantasy oriented look.
The pommel in both pictures is the same piece. On the left I'd taken powdered 1084 and a bunch of tang cut offs of all styles of damascus' and forge welded them in a steel tubing. The first etch was I thought very rustic and dramatic, the customer on the other hand expressed words like "unfinished." So I punted, and reground and re-etched it to get what you see at right. You also see the way I get my tang to go completely through by drilling a series of holes, and filing them to size and shape lather on.
 .
. 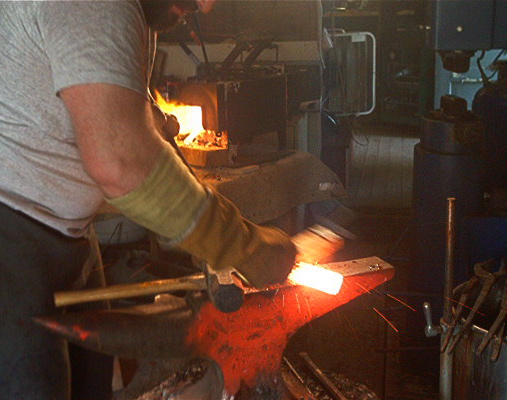
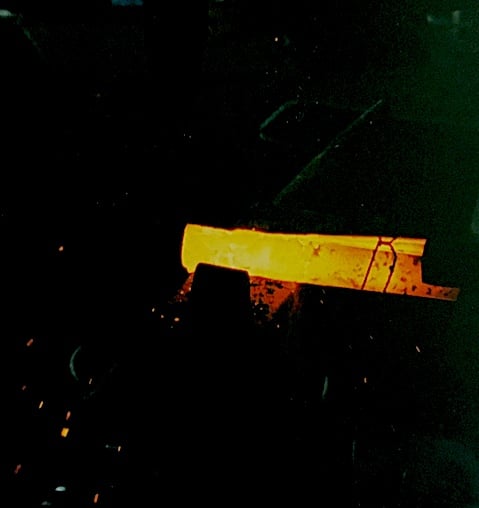
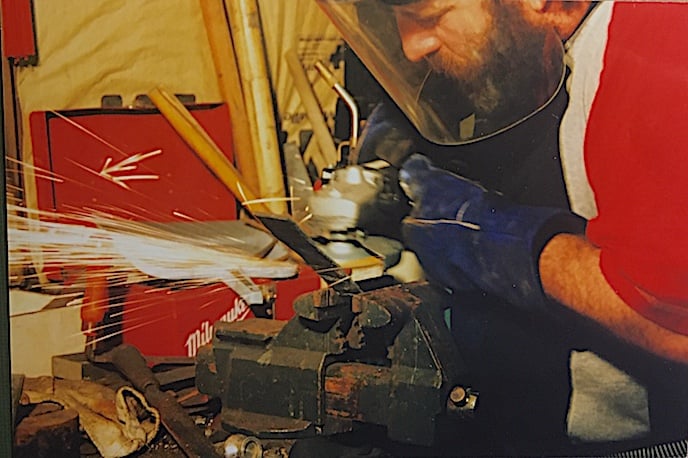
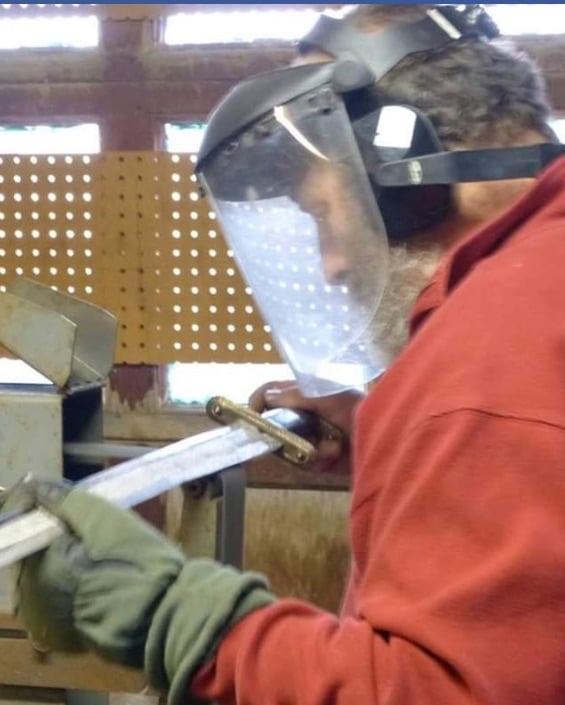
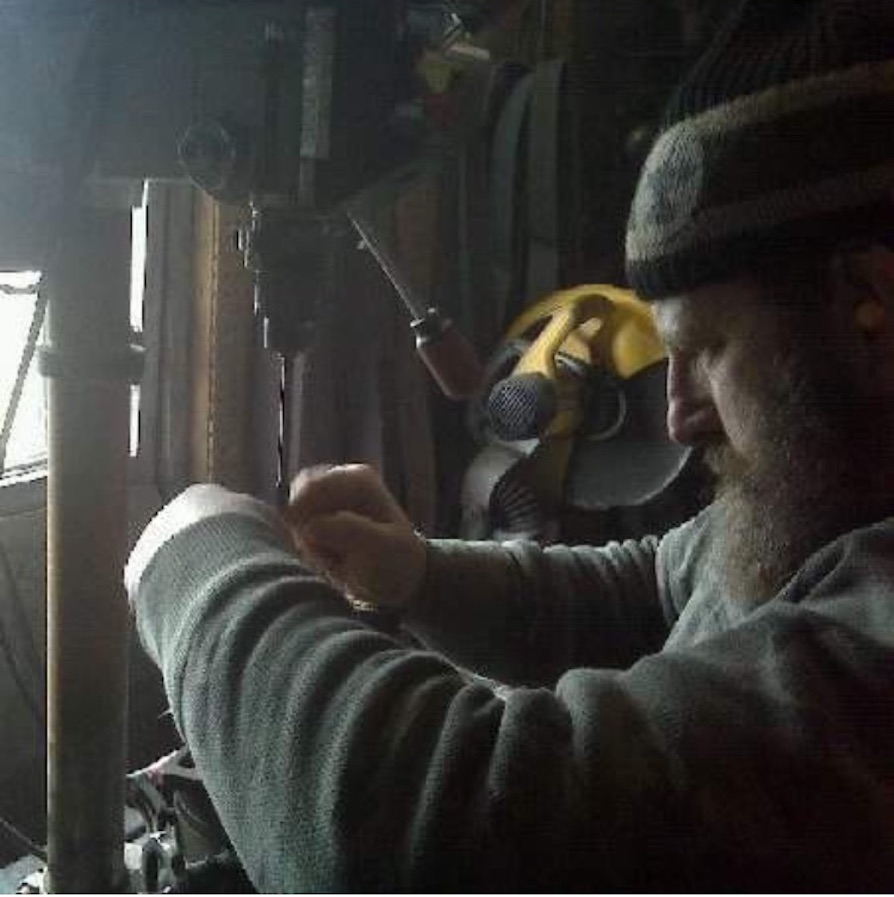
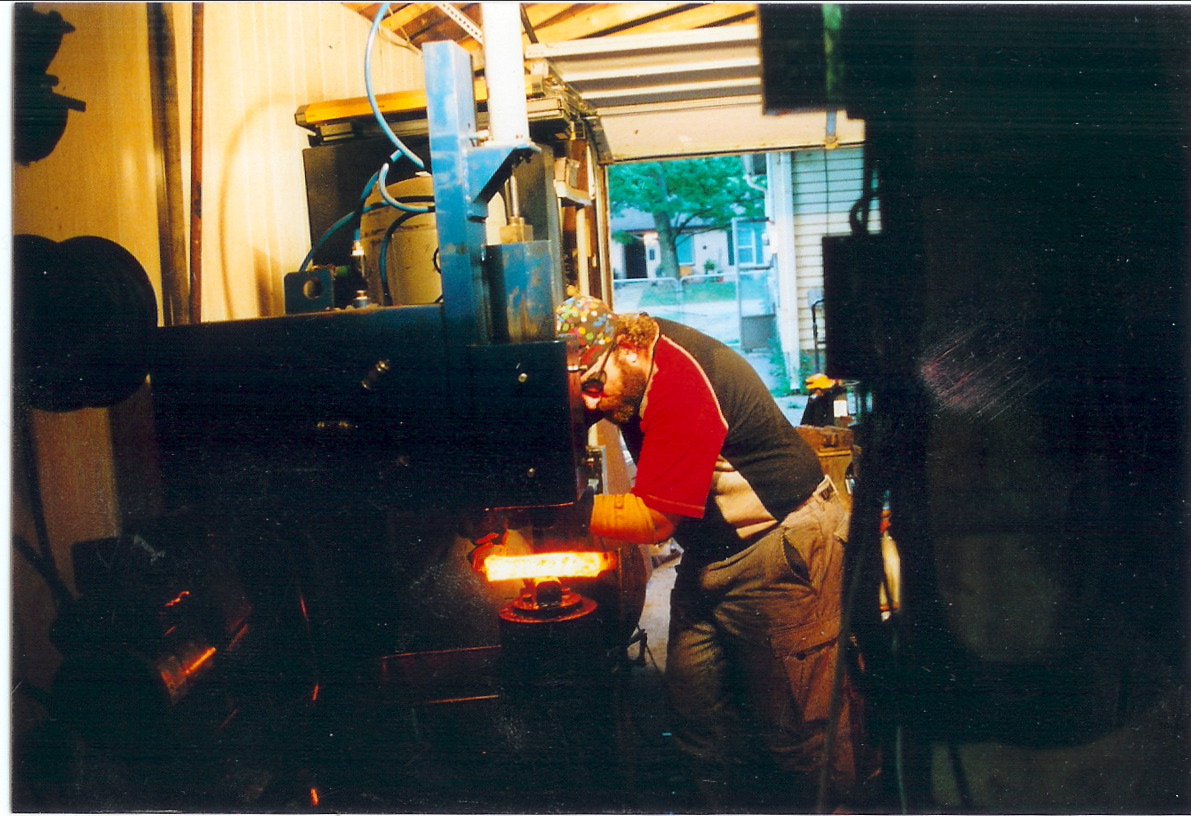
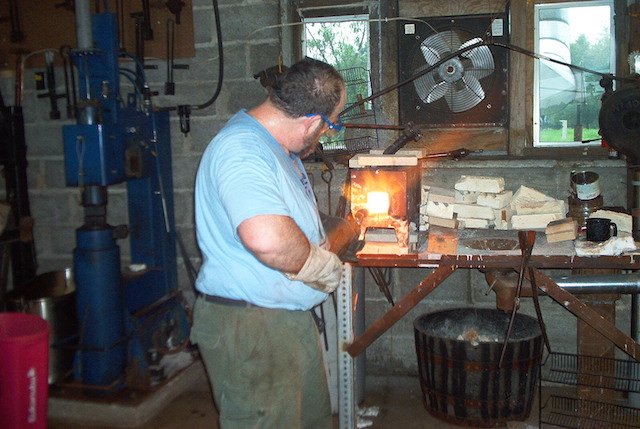
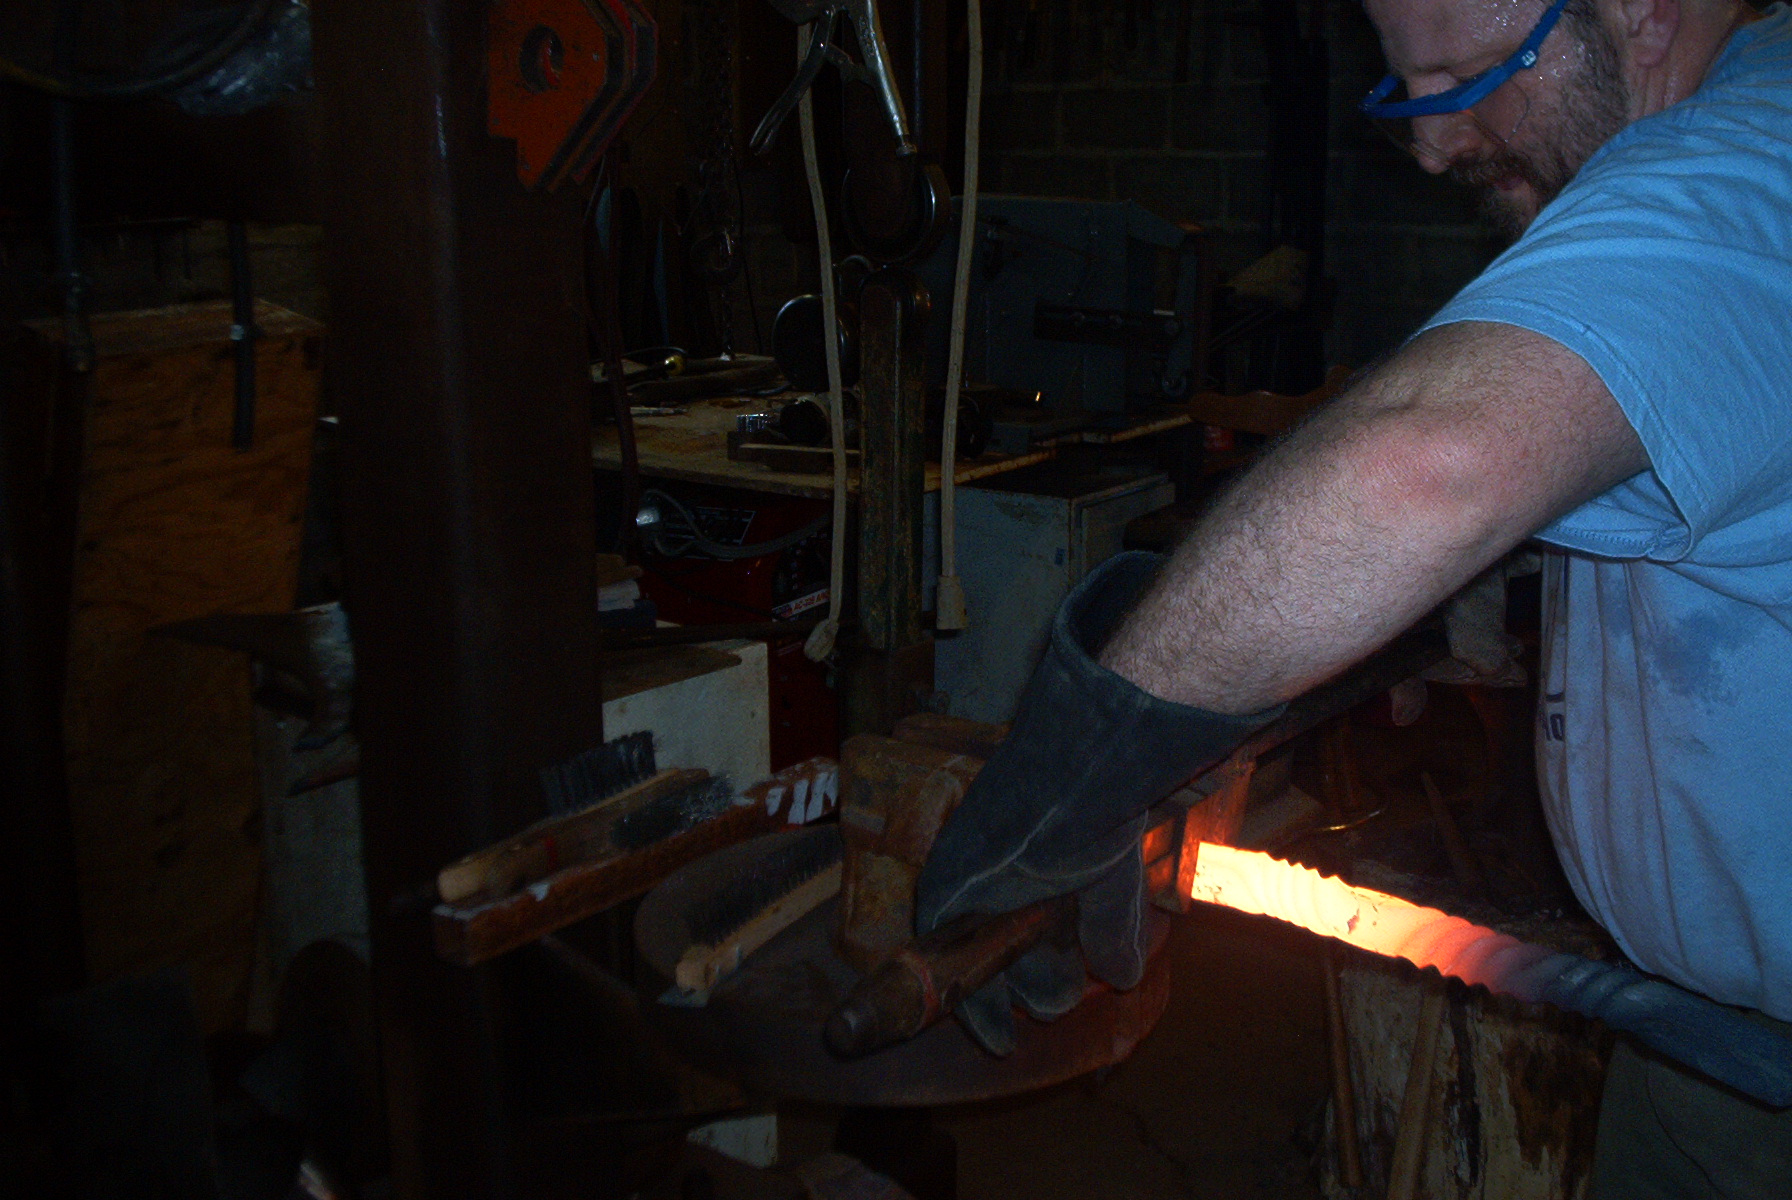
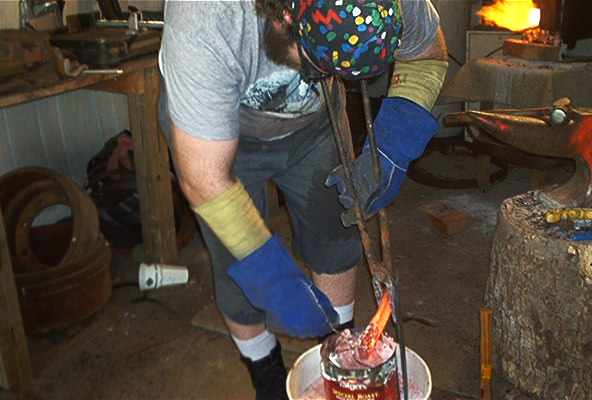
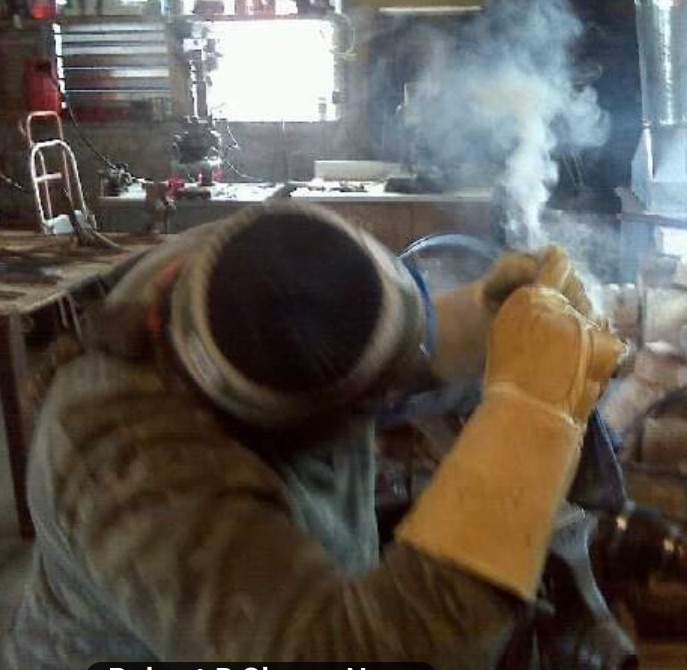
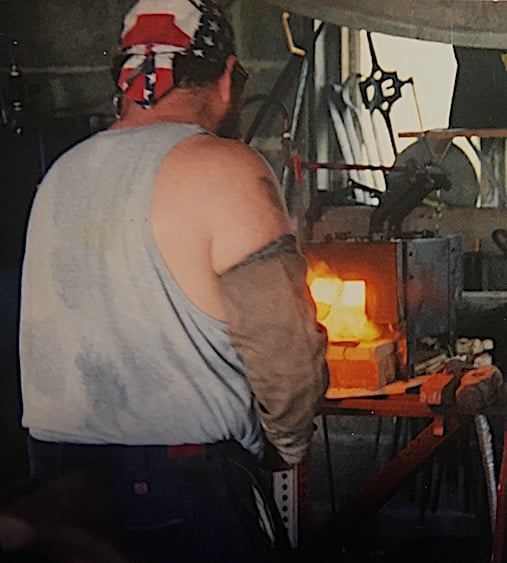
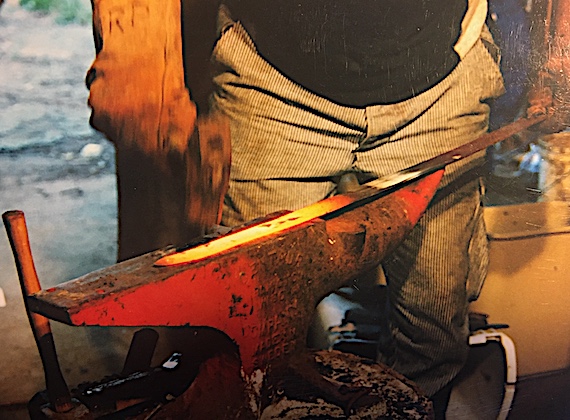
Multiple heats are necessary for any forging practice. Damascus is forge welded at temperatures exceeding 2375 degrees. Special care to not burn the alloy in question is paramount. Multiple fluxings require constant care to wire brush away excess flux after welds. I see other guys in videos doing this bare handed and holding the billet handle without protection. Macho I guess? I always use Personal Protective Equipment (safety glasses, gloves, and kevlar sleeves,) and have always required my Apprentices to do so as well. I personally don't take loosing teeth, eyes, fingers, and toes as a badge of honor, but rather an exercise in stupidity.
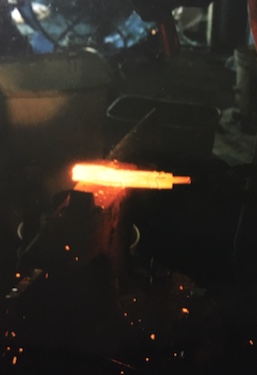
Drawing out a billet into blade, (or any shape) takes time and patience. Many straightening's, and truing is necessary as you go along heat after heat. Finally the blade starts to take on a life of its own and that is always a moment of joy for me. In the above right picture I'm 'packing' the edges.' If this is done correctly it saves less time in grinding later with this method.
Oddly, even though I've spent countless hours, literally thousands; grinding and polishing, I don't have many pictures of me grinding a blade. And yet, it is the most time consuming procedure in the whole process. Here is a shot of me polishing out a flaw after a sword was done. Now, I'd like to give the man credit who taught me how to grind properly, but alas he doesn't want to be connected with a Conservative Baptist, and so it is. But! I do have deep gratitude in my heart for him as grinding is the one skill absolutely necessary in order to to profile, shape, edge, and finish any blade. The metal choise is important. The forging techniques are important, but without proper grinding skills no blade in the modern sense is realized correctly.

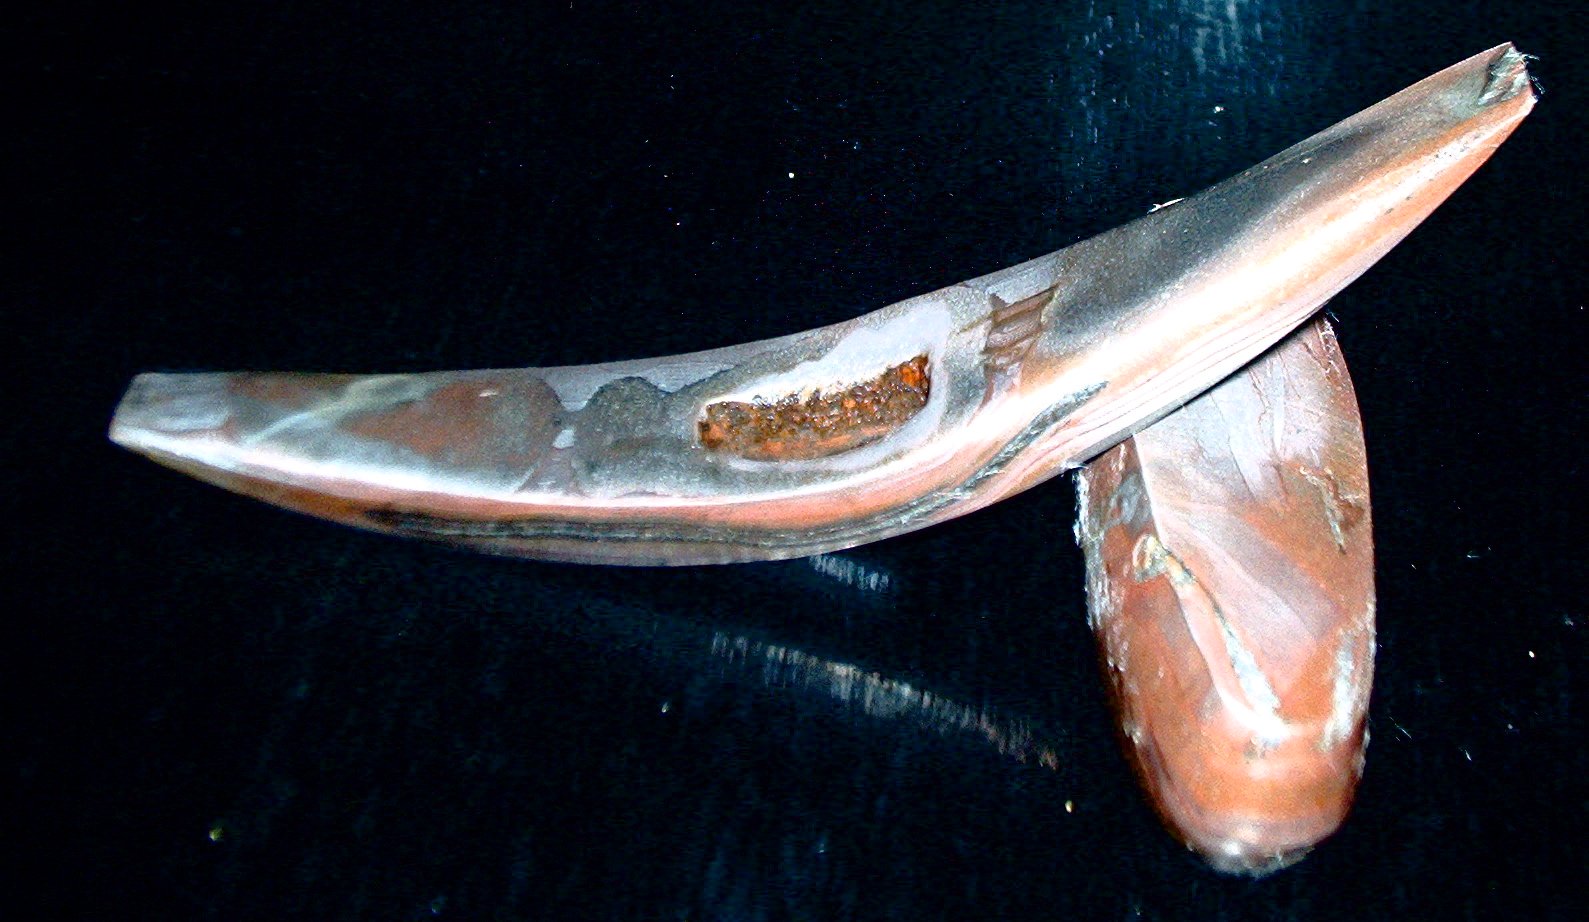
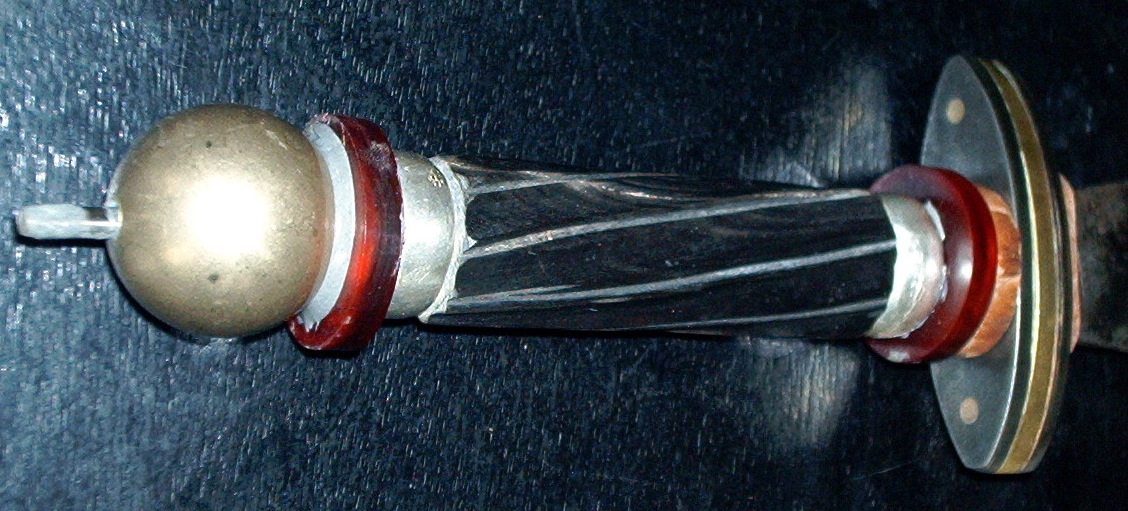
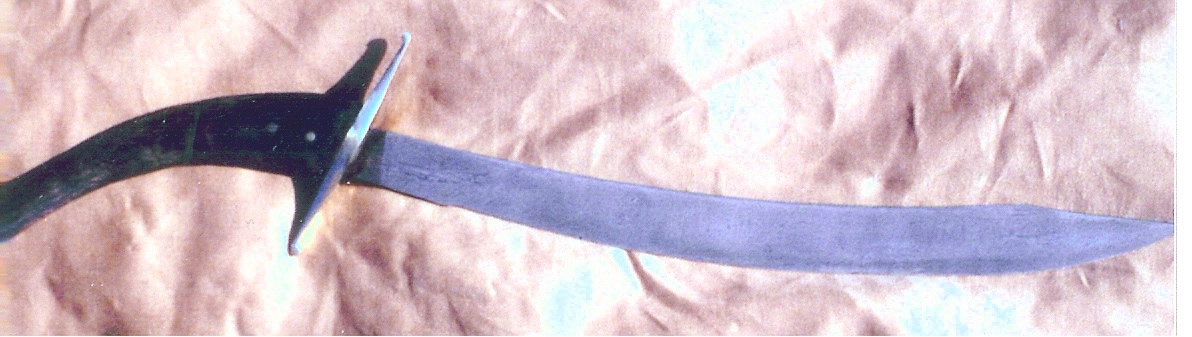
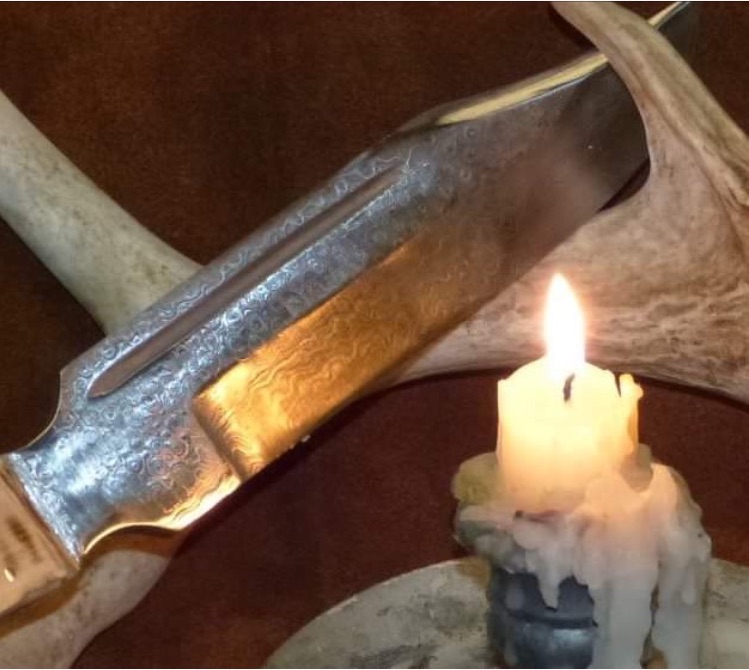
Once drawn out and profiled on the grinder, you choose your type of edge grind, here I chose lenticular as it was period for post La Tene era. But as things were changing in the time of migration after the fall of Rom, I used a boat-shaped sandwiched hand guard of damascus and brass. I used a brass spherical pommel, with dyed horn spacers, silver feral's, and buffalo horn handle.
 .
. 
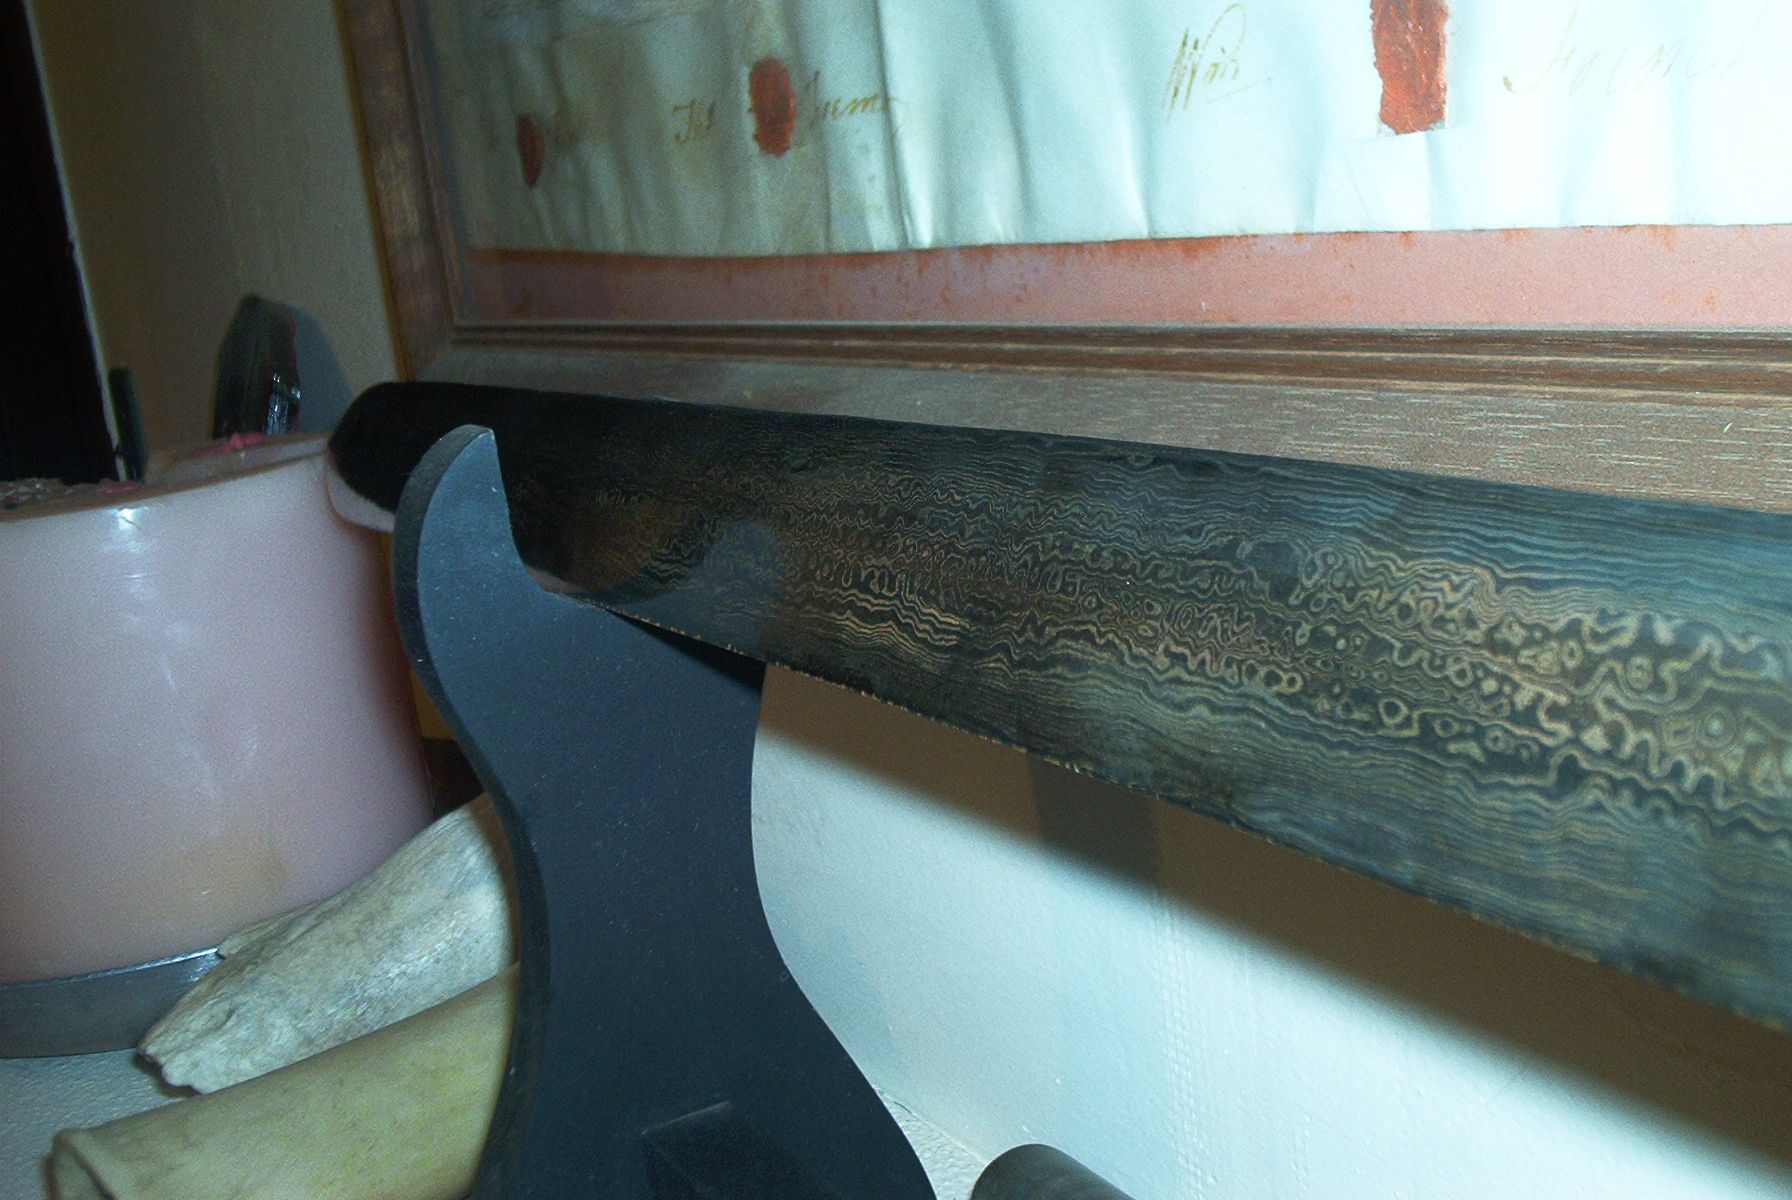
My spatha looking down from the penned pommel showing the under side guard detail. Two shots (with bad lighting) showing the grain and texture of the Celtic straight lame pattern.
Guards, quillions, and furniture.

This is the boiled wax hardened leather scabbard secure, on the damascus guard. The gilded copper scabbard chap bound in raw hide sinew.
Now this is a nice damascus guard I layered with bone, but took back off and repurposed for other uses. It just wasn't right for the blade it was on.

This was a build for a friends sword. His guard and pommel and This is an archers side arm. I used rose wood, blood wood, and leather spacers for the handle, with fancy quillions, hot-bored-wooden-handle (hickory I believe) are being set with and unadorned iron disc pommel.
epoxy.
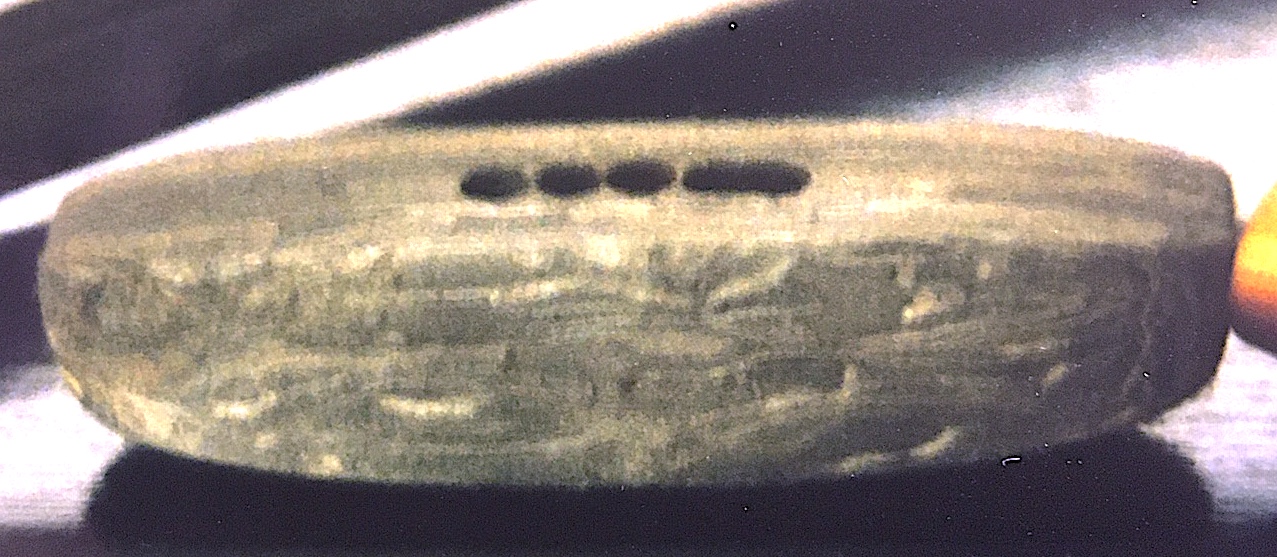
I love leather spacer handles. This is the next to finished look, getting things close to done. The pommel is a Saxon grave find
reproduction by Raymond's Quiet Press.

Here's a nice brass guard and pommel I did for a Dodge City
KS reenactor in the summer of 2001.

Guard and pommel detail. Seax and bowie 'hybrid' I did for a friend. That was thunderforge (TM)
and my last 'store bought' guard. Kinda hooky but it was okay.
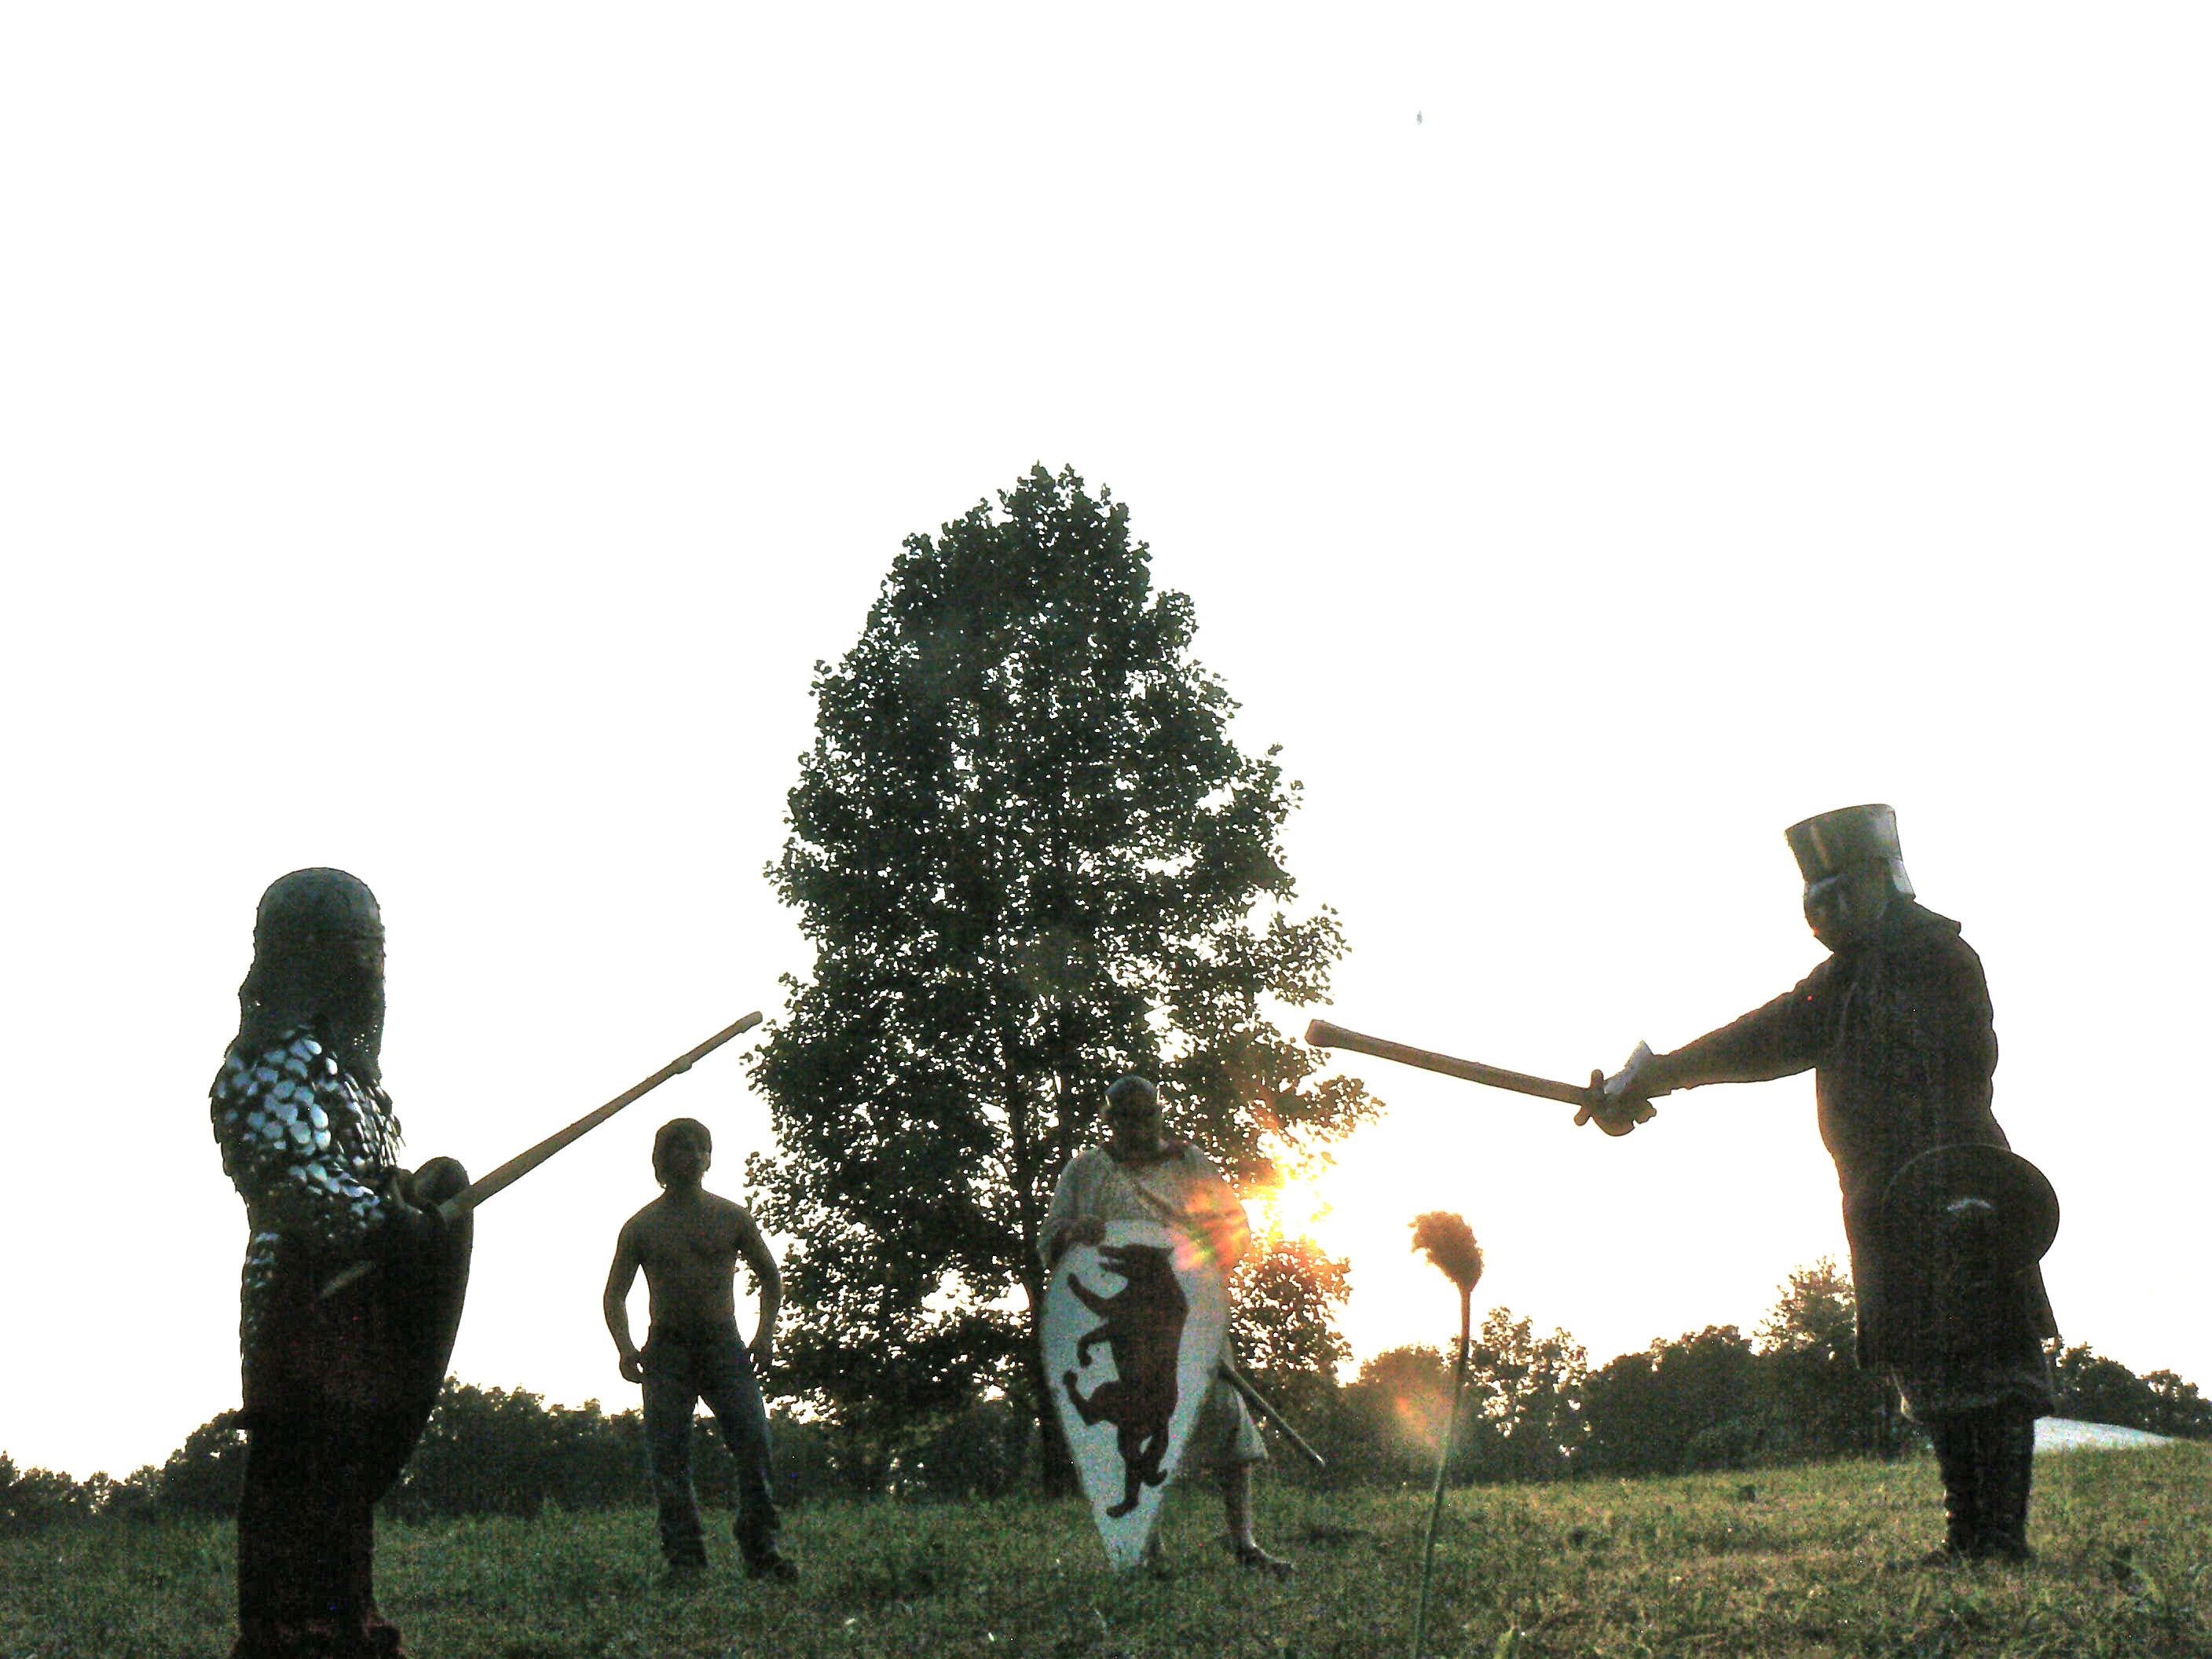
Hydrate often especially on hot summer days.
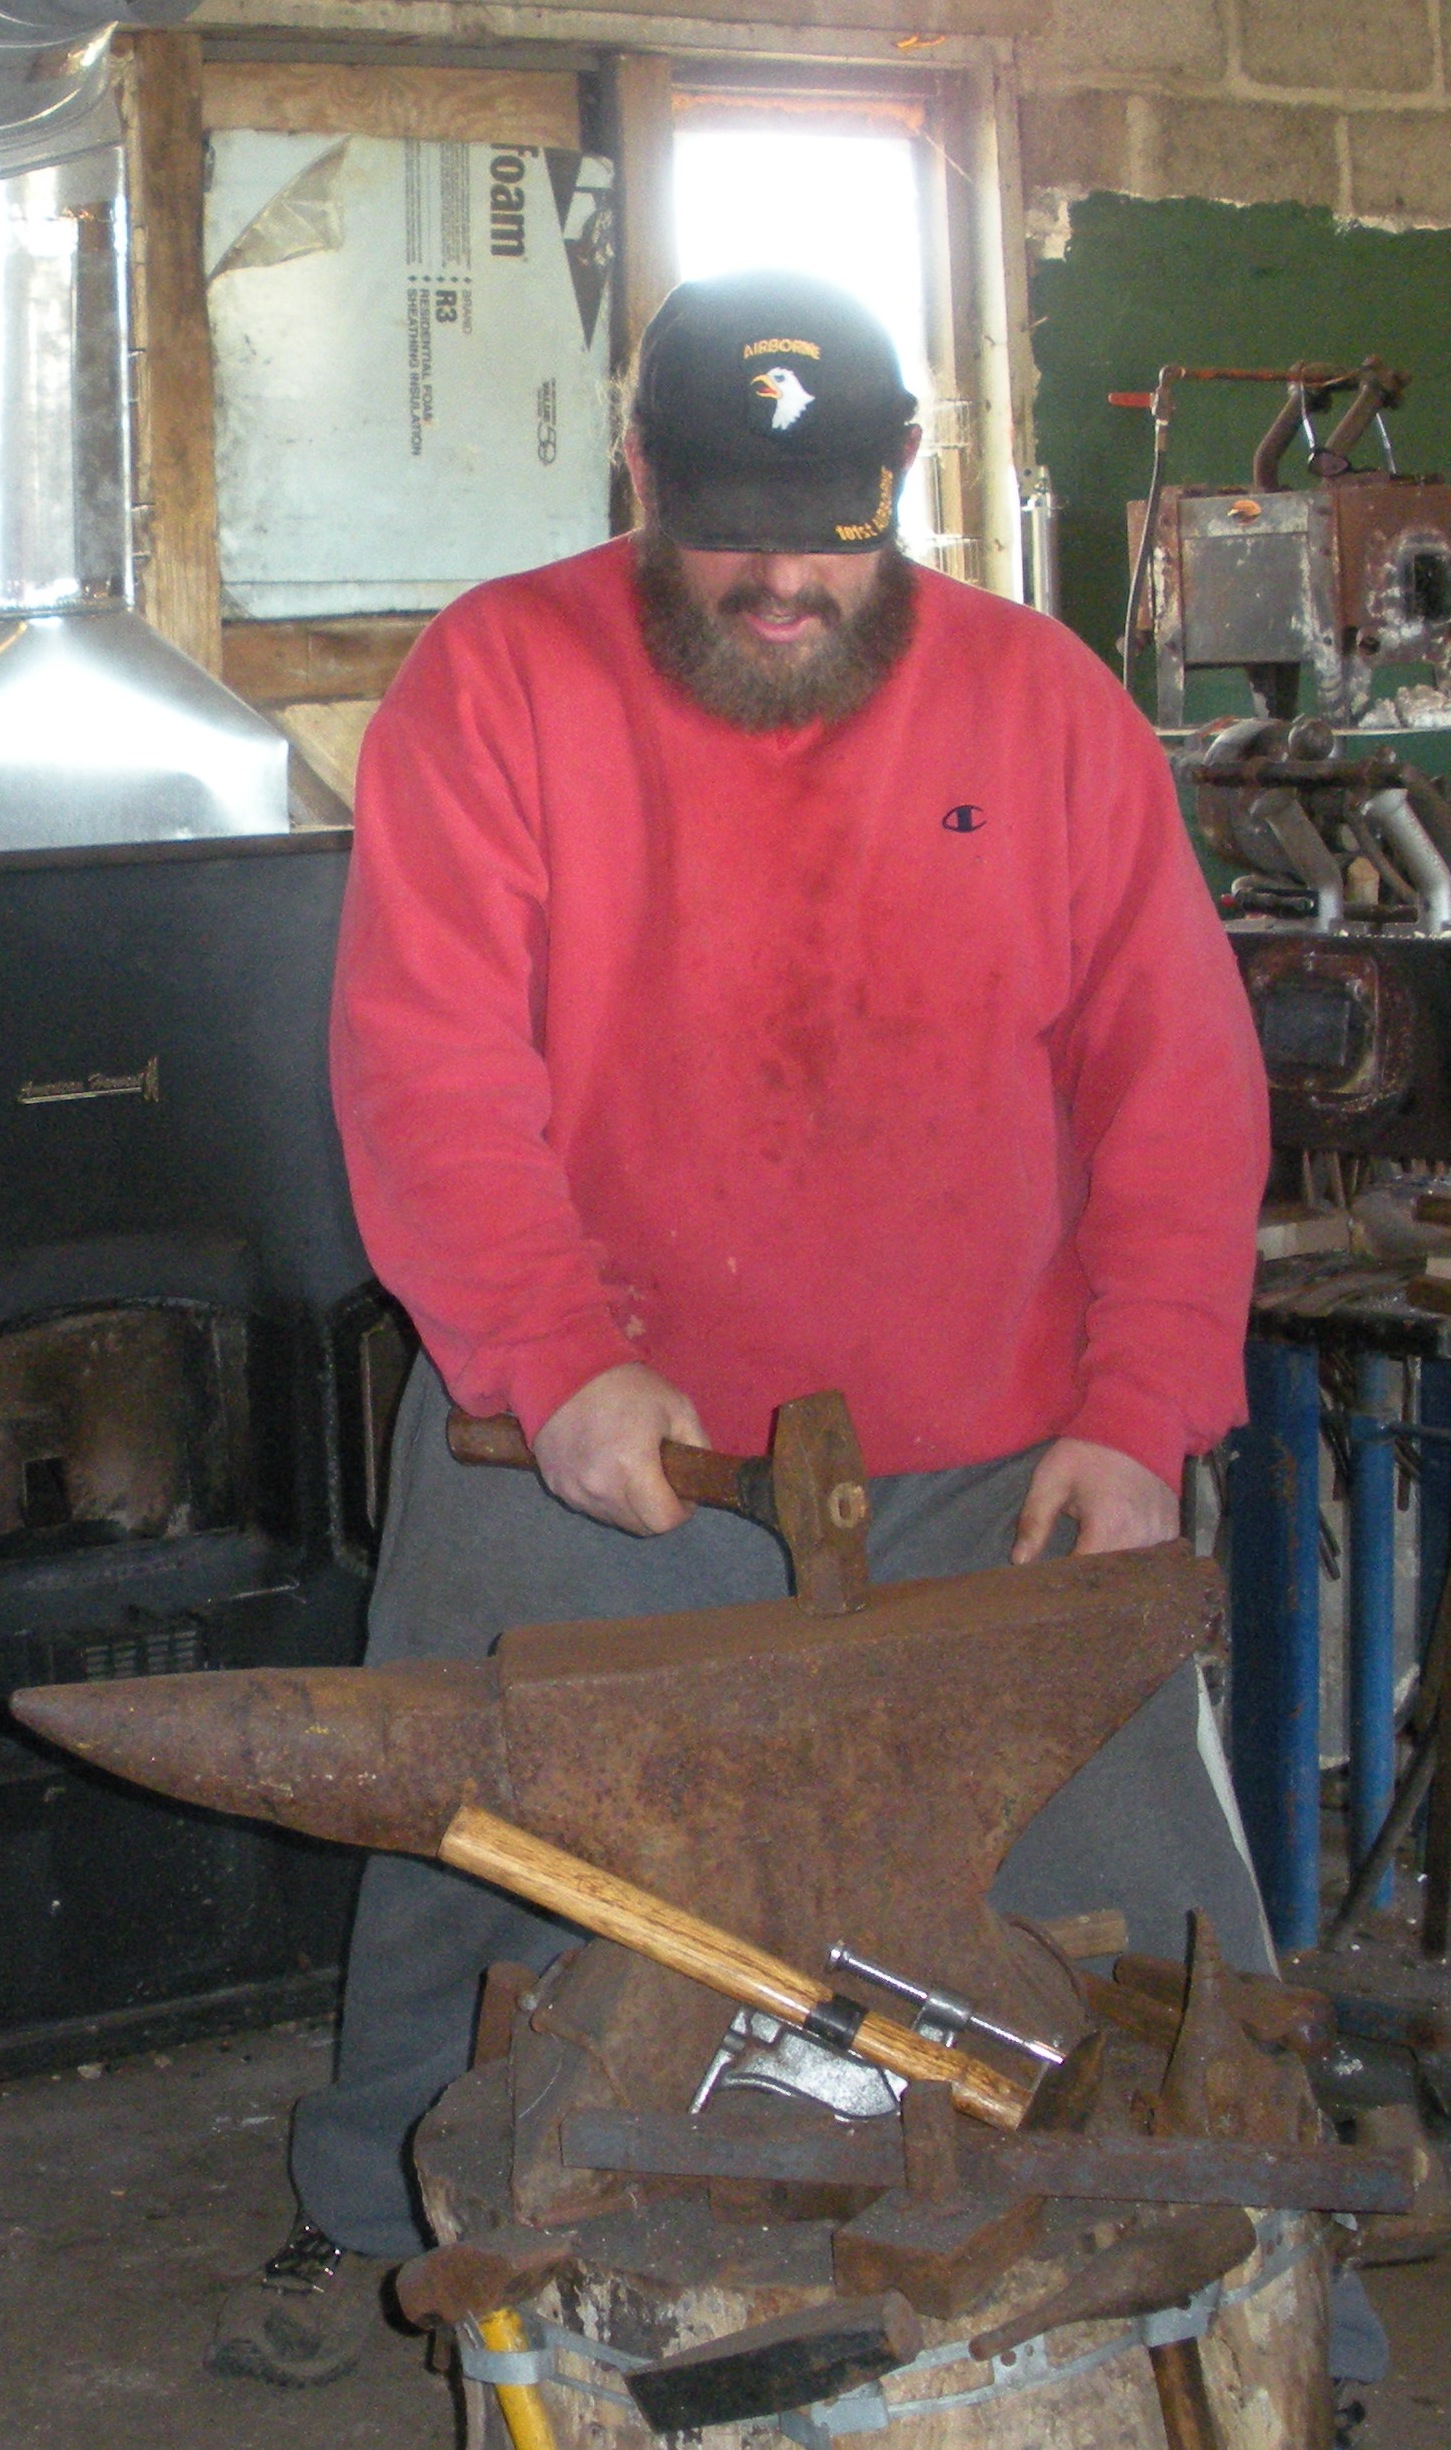
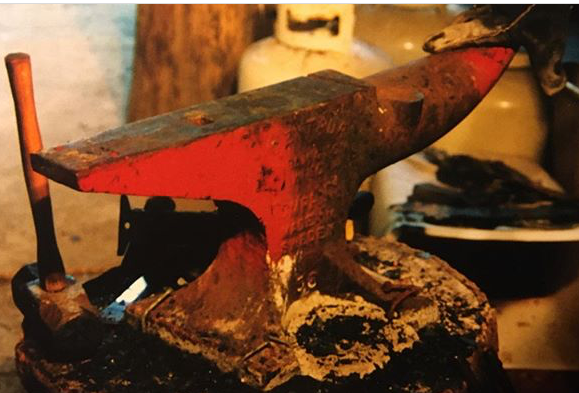
Shop equipment
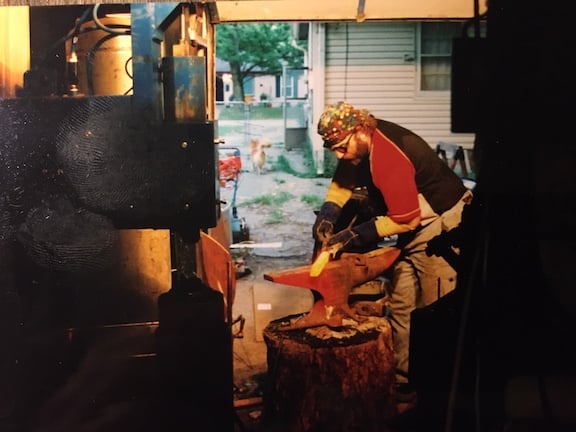
The anvil
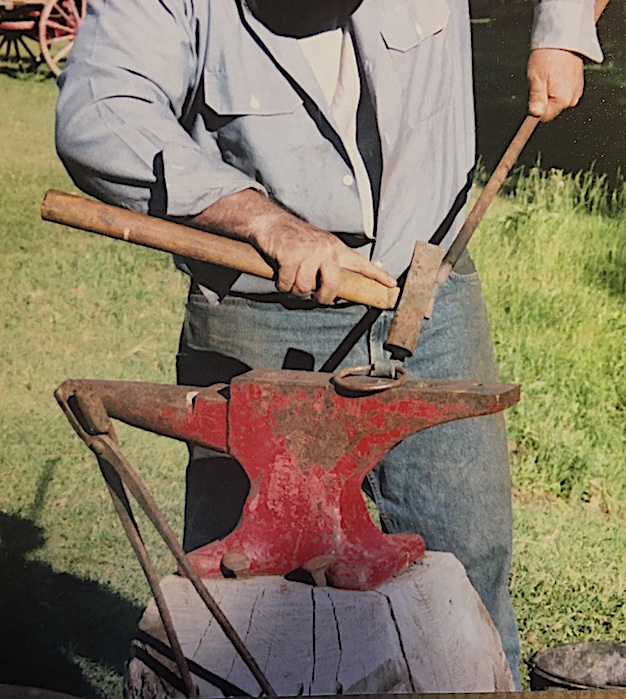
I'm not much of a Generalist smith, but here I am taking a stab I like to explain to my apprentices, (and anyone else who will listen)
at fixing a broken logging clevis. that it is very important to either adjust your stance or your anvil height,
with hammer in hand, to have your knuckles facing down, to be perfectly
parallel with. the anvil table. This reduces hammer marks, and stress, and
saves time on the grinder.
I've had five anvils over the years: This is my favorite. A Centaur Forge Swedish "Cavalry" brand 164 pounder. I've used it primarily for sword smithing though it is a fine Farriers anvil and has been used for all purposes.
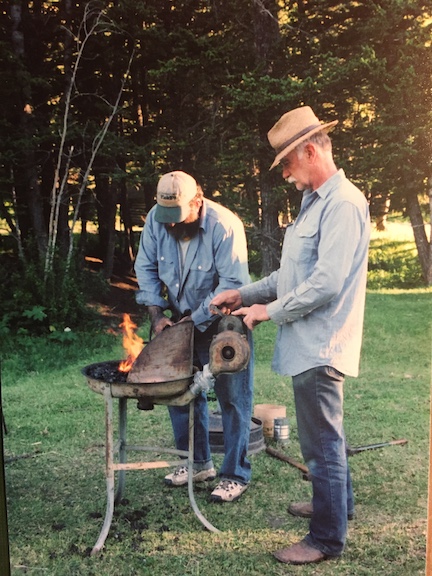
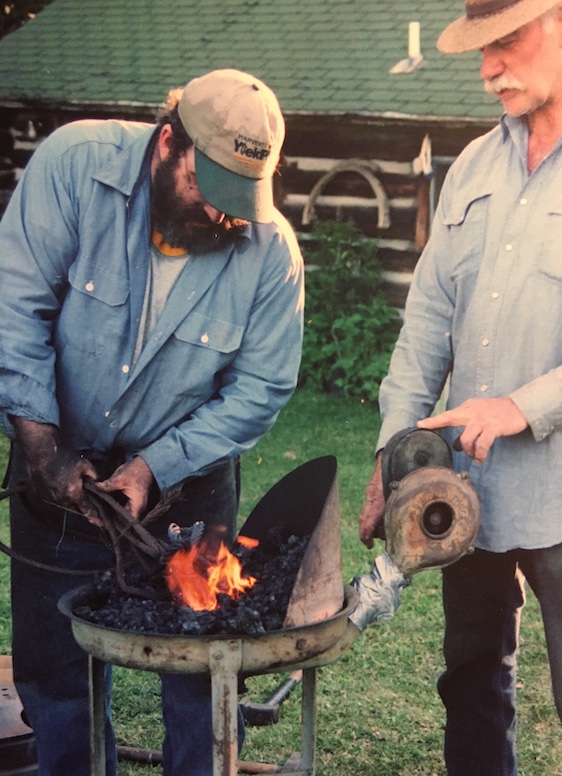
Forges

One of four gas forges I own. That day we were reducing cable.

One of my Helpers watching the heat. View from the back of an NC Tool Inc,. two burner forge.
People ask me what is the most necessary equipment in my shop? After careful consideration I have to say, the drill press and bit sharpener. They are something I can't really do without. I can make do without a proper anvil, or power hammer, swages, hydraulic presses, or store bought forge, but drilling, and even sanding can be done in a pinch on the drill press, and bits go dull no matter the brand or material: So a bit sharpener is very important. Secondly I'd vote vice. You need a good vice, (leg, bench, and anvil vices) to do just about everything with potentially hat steel.
Guillotine and swageing tools in various configuations are great for hand work, treadle Hammers, pneumatic , and hydraulics.

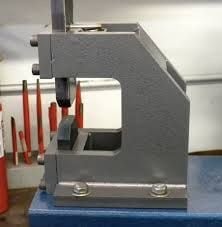
Guillotine tool
Geek, Nerd, or Dork? Dork for sure.
Forging technique
Almost nothing is said these days about the 'right' way to forge since the advent of post early industrial assembly line modernism. Because we don't have hardly any accredited, full time College level BA, or even Technical Associates Degree in Blacksmithing in this country, and haven't for generations. If you're a Blacksmith in this day in age it is because you love smithing. And if you stay in the Iron Game past the beginning stages it's because you found a niche. There's only a few ways to really make it in this profession: Make and sell smithing tools: thus creating more blacksmiths via marketing. Engage in 'Artist Smithing,' like sculpture, or evocative pieces. Get into the highly competitive wrought iron market, and get ready to face the 'foreign cheap labor,' and an abortion of the before mentioned Industrial Revolution, the 'cookie cutter knock off junk mentality, of modern industry.'
My late brother, and many of my cousins, and uncle are great machinist's. Machine's took over in the industrial revolution, and bit by bit, decade by decade hand forging fell away. We've had a number of local and even Nationwide mini revivals over the last century, and depending where you are from there is a small to medium interest in the metal arts,' from time to time. Books are reprinted, and some associations like ABANA, (Artist Blacksmiths of North American) do offer many available publications, hold local and Regional 'Hammer In's,' seminars, Bike and Car Rallies, Fabricator Swap Meets like SOFA, (Southern Ohio Forge and Anvil.) I'm not affiliated with these groups, and receive no monies or kick backs, for mentioning there organizations. You also are likely to find many note worthy blacksmiths, tinsmiths, coopers, spinners, welders, and fabricators keeping the ancient craft alive in the various Reenactment groups. I could site hundred I have met over the last thirty years, in the Rev War, Civil War, and Middle Ages Society's like the SCA, who are consistently producing new blacksmith's of all stripes, Generalist, Armourers, Blade Smiths, and Wrought Iron Accoutrements makers.
I was privileged to teach an accelerated blacksmithing course for Earlham College, of Richmond Indiana for a few years running. Then they dumped the program, and lost a very fine Professor Dr. Nathan Jones. I said all that to say this: The right way is the safe, efficient way. There's more than one way to skin a cat, and there's more than one way to grind a blade, or peen a rivet, so long as it is safe, and efficient I wouldn't waste you my energy correcting you.

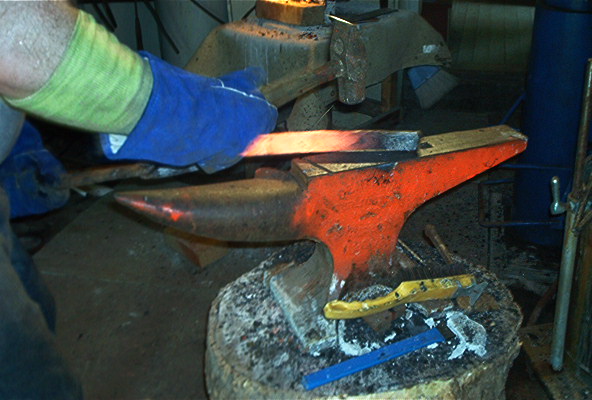
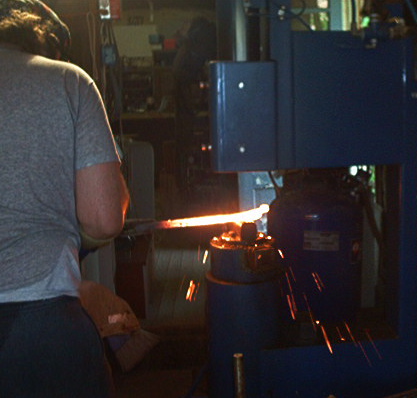
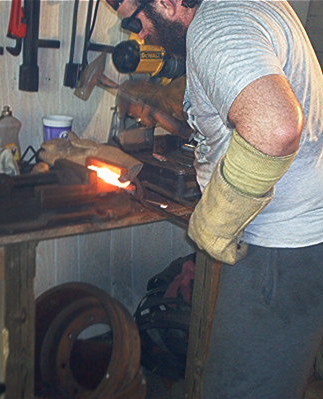
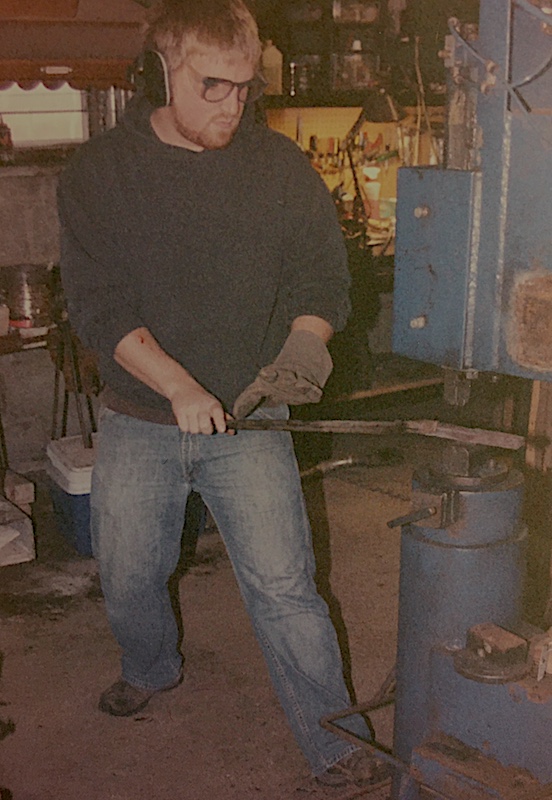
Once I have the many sets of layers, or have cut and folded many billets, I begin the process of drawing them out. Sometimes on the power hammer, sometimes. on the hydraulic press, and somethings with hammer and anvil , with or without swage tools, or a combo of all three methods. Here you are only hampered by lack of forethought. I have the kind of mind that sees things before they happen. I know what 'direction' I want my lames to travel, and I know what type of steels I'm dealing with and there properties; that comes from years of coppious reading, and decades of time, working with everything from high carbon spring steels to exotic alloys. I chose my pattern in my mind, before starting to manipulate the grain.

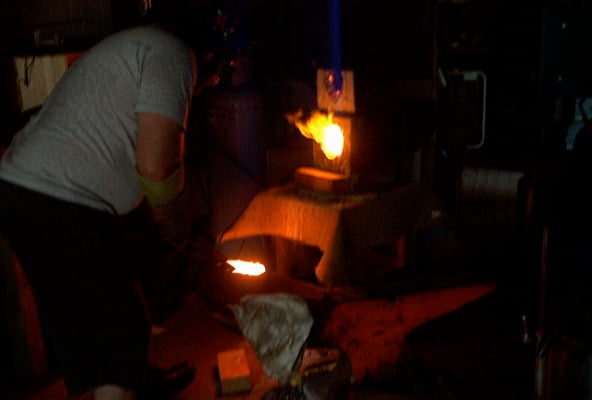
Here I am after the final draw, using a cold chisel and cutting my damascus billets by hand. After re-stacking the several billets, here I'm forge welding them once again using the Big Blue pneumatic power hammer.
Working in the white heat temperature ranges if very tricky and takes some practice. I stay with the forge at all times, and use proper didymium glasses and safety glasses and at least welders gloves at all times. One the right i'm twisting a damascus bar pryer to

Sometimes I come into a deal where I get ahold of a Deepeka, Del tin, or United Cutlery blade with scratch and dent, or factory flaws, and repurpose them for my own uses. This falcata I got for like $100 bucks. After fixing the handle and knocking some rust off of it, it has served my Iberian Persona well.
Very nice Del tin vanadium blade I remade for a customer. This is after a trip to the blueing salts bath.

Here are the pommel and guard for that sword. I used scrap pieces adn 1084 powder to create a nice random pattern.

Not a good pic but the only one I have of the finished product.
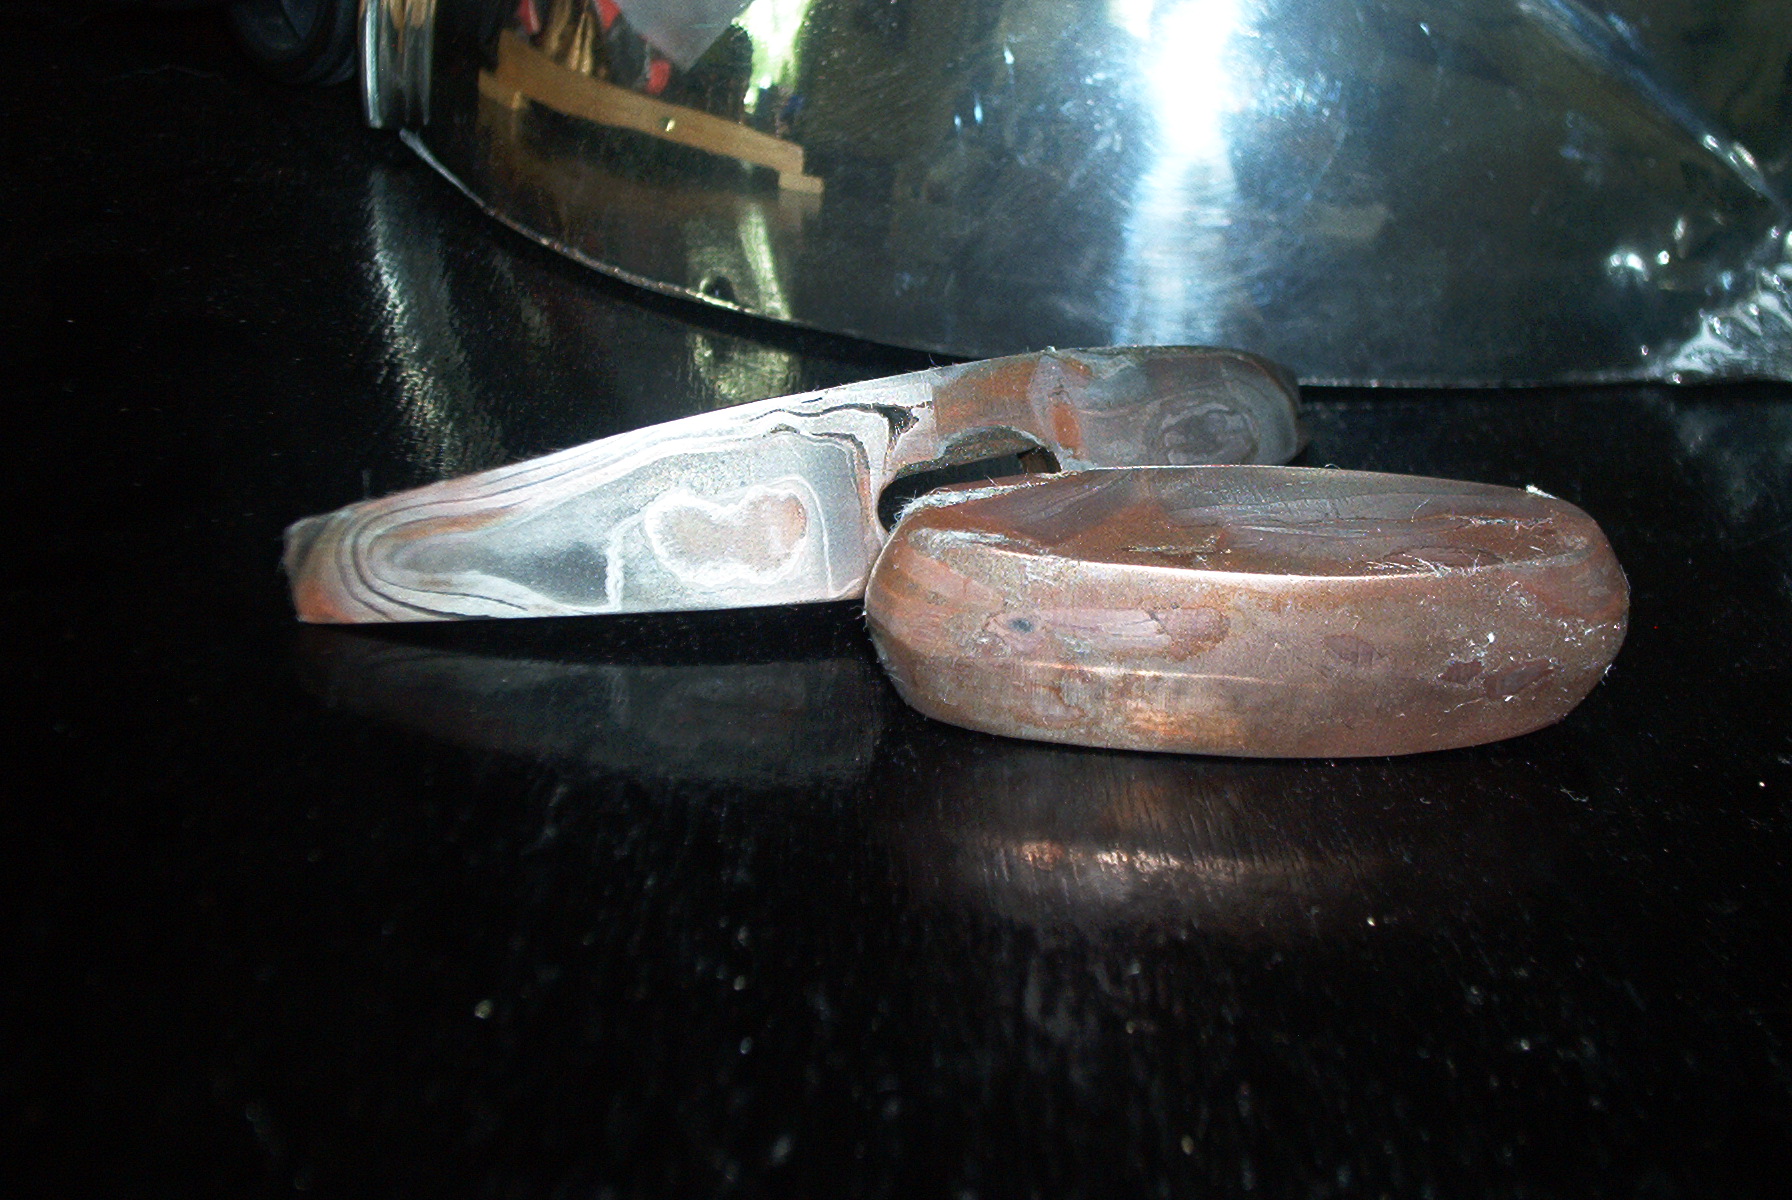
Another low layer count pattern. I used 1050 moderate carboon spring steel and high nickel content 15 n 20. Pretty.
 .
. 
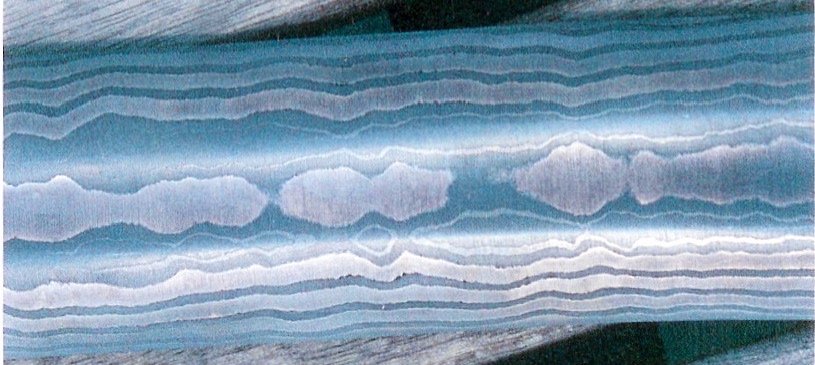
And here we see some close up's of the top pictured leaf blade sword.

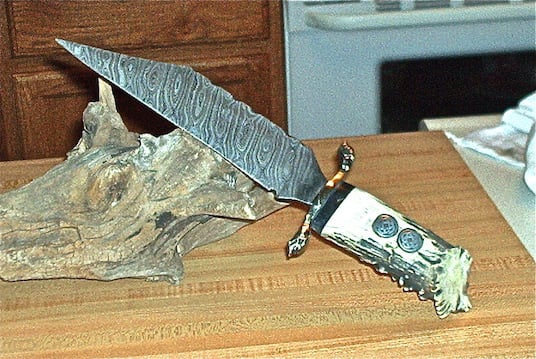
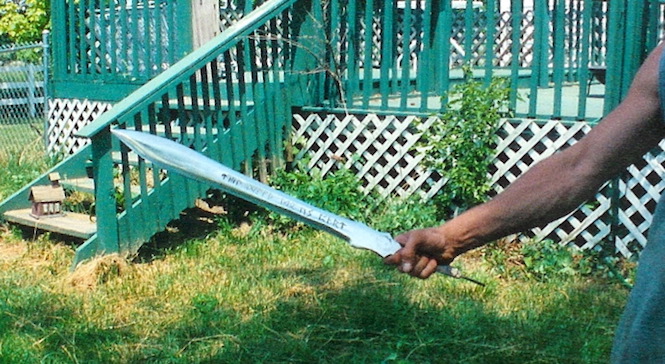
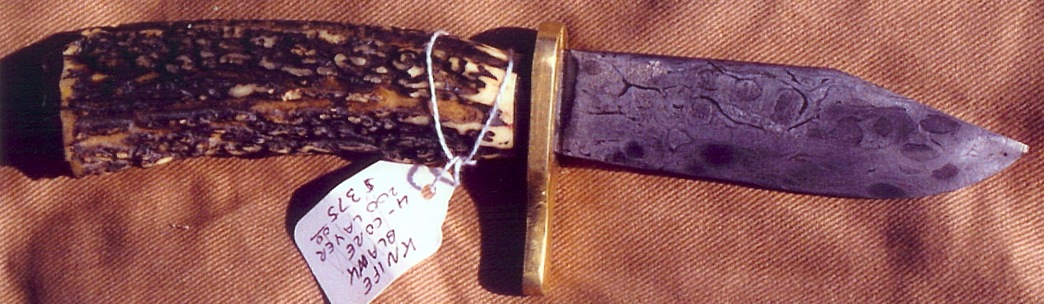
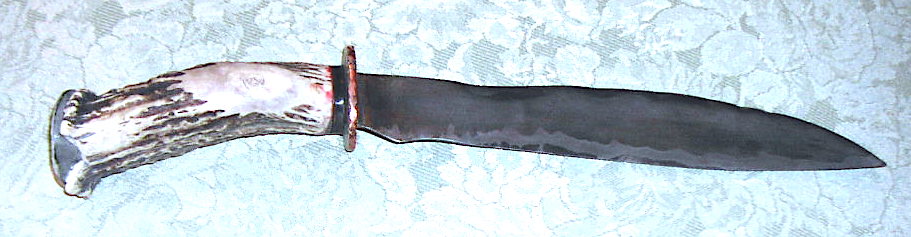
One of my first trys at a period dagger. A little too thin, but passible Scottish Jacobite dagger, with the badge of teh Clan Hay in the end of the stag handle.
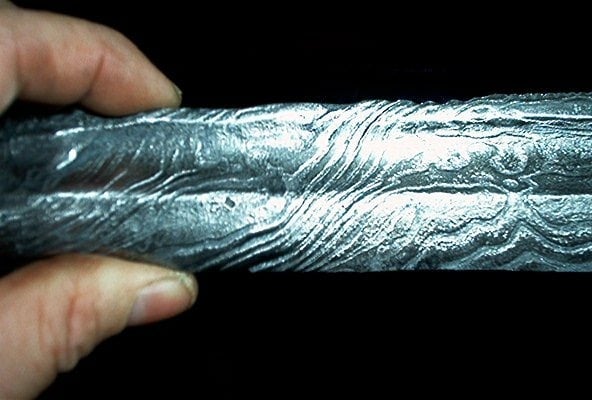
The damascus had some slag inclusions, but it was one of my first successful forge welds.

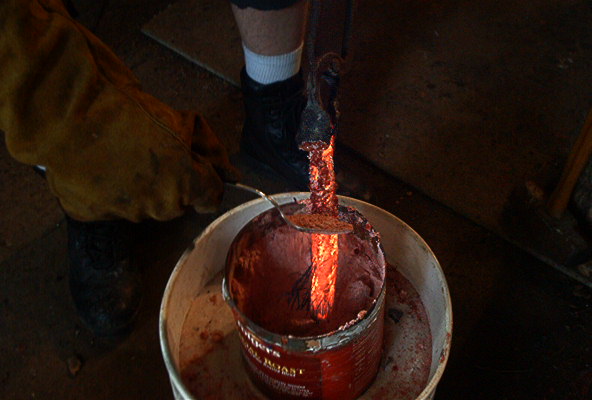
Reducing bridge cable into a tight bond for forge welding. Fluxing it up ready to weld.
Tighter shot of the same operation. By tightening the cable, and reducing the grain it makes it easier to forge weld. Below are some blades I've made using this material.

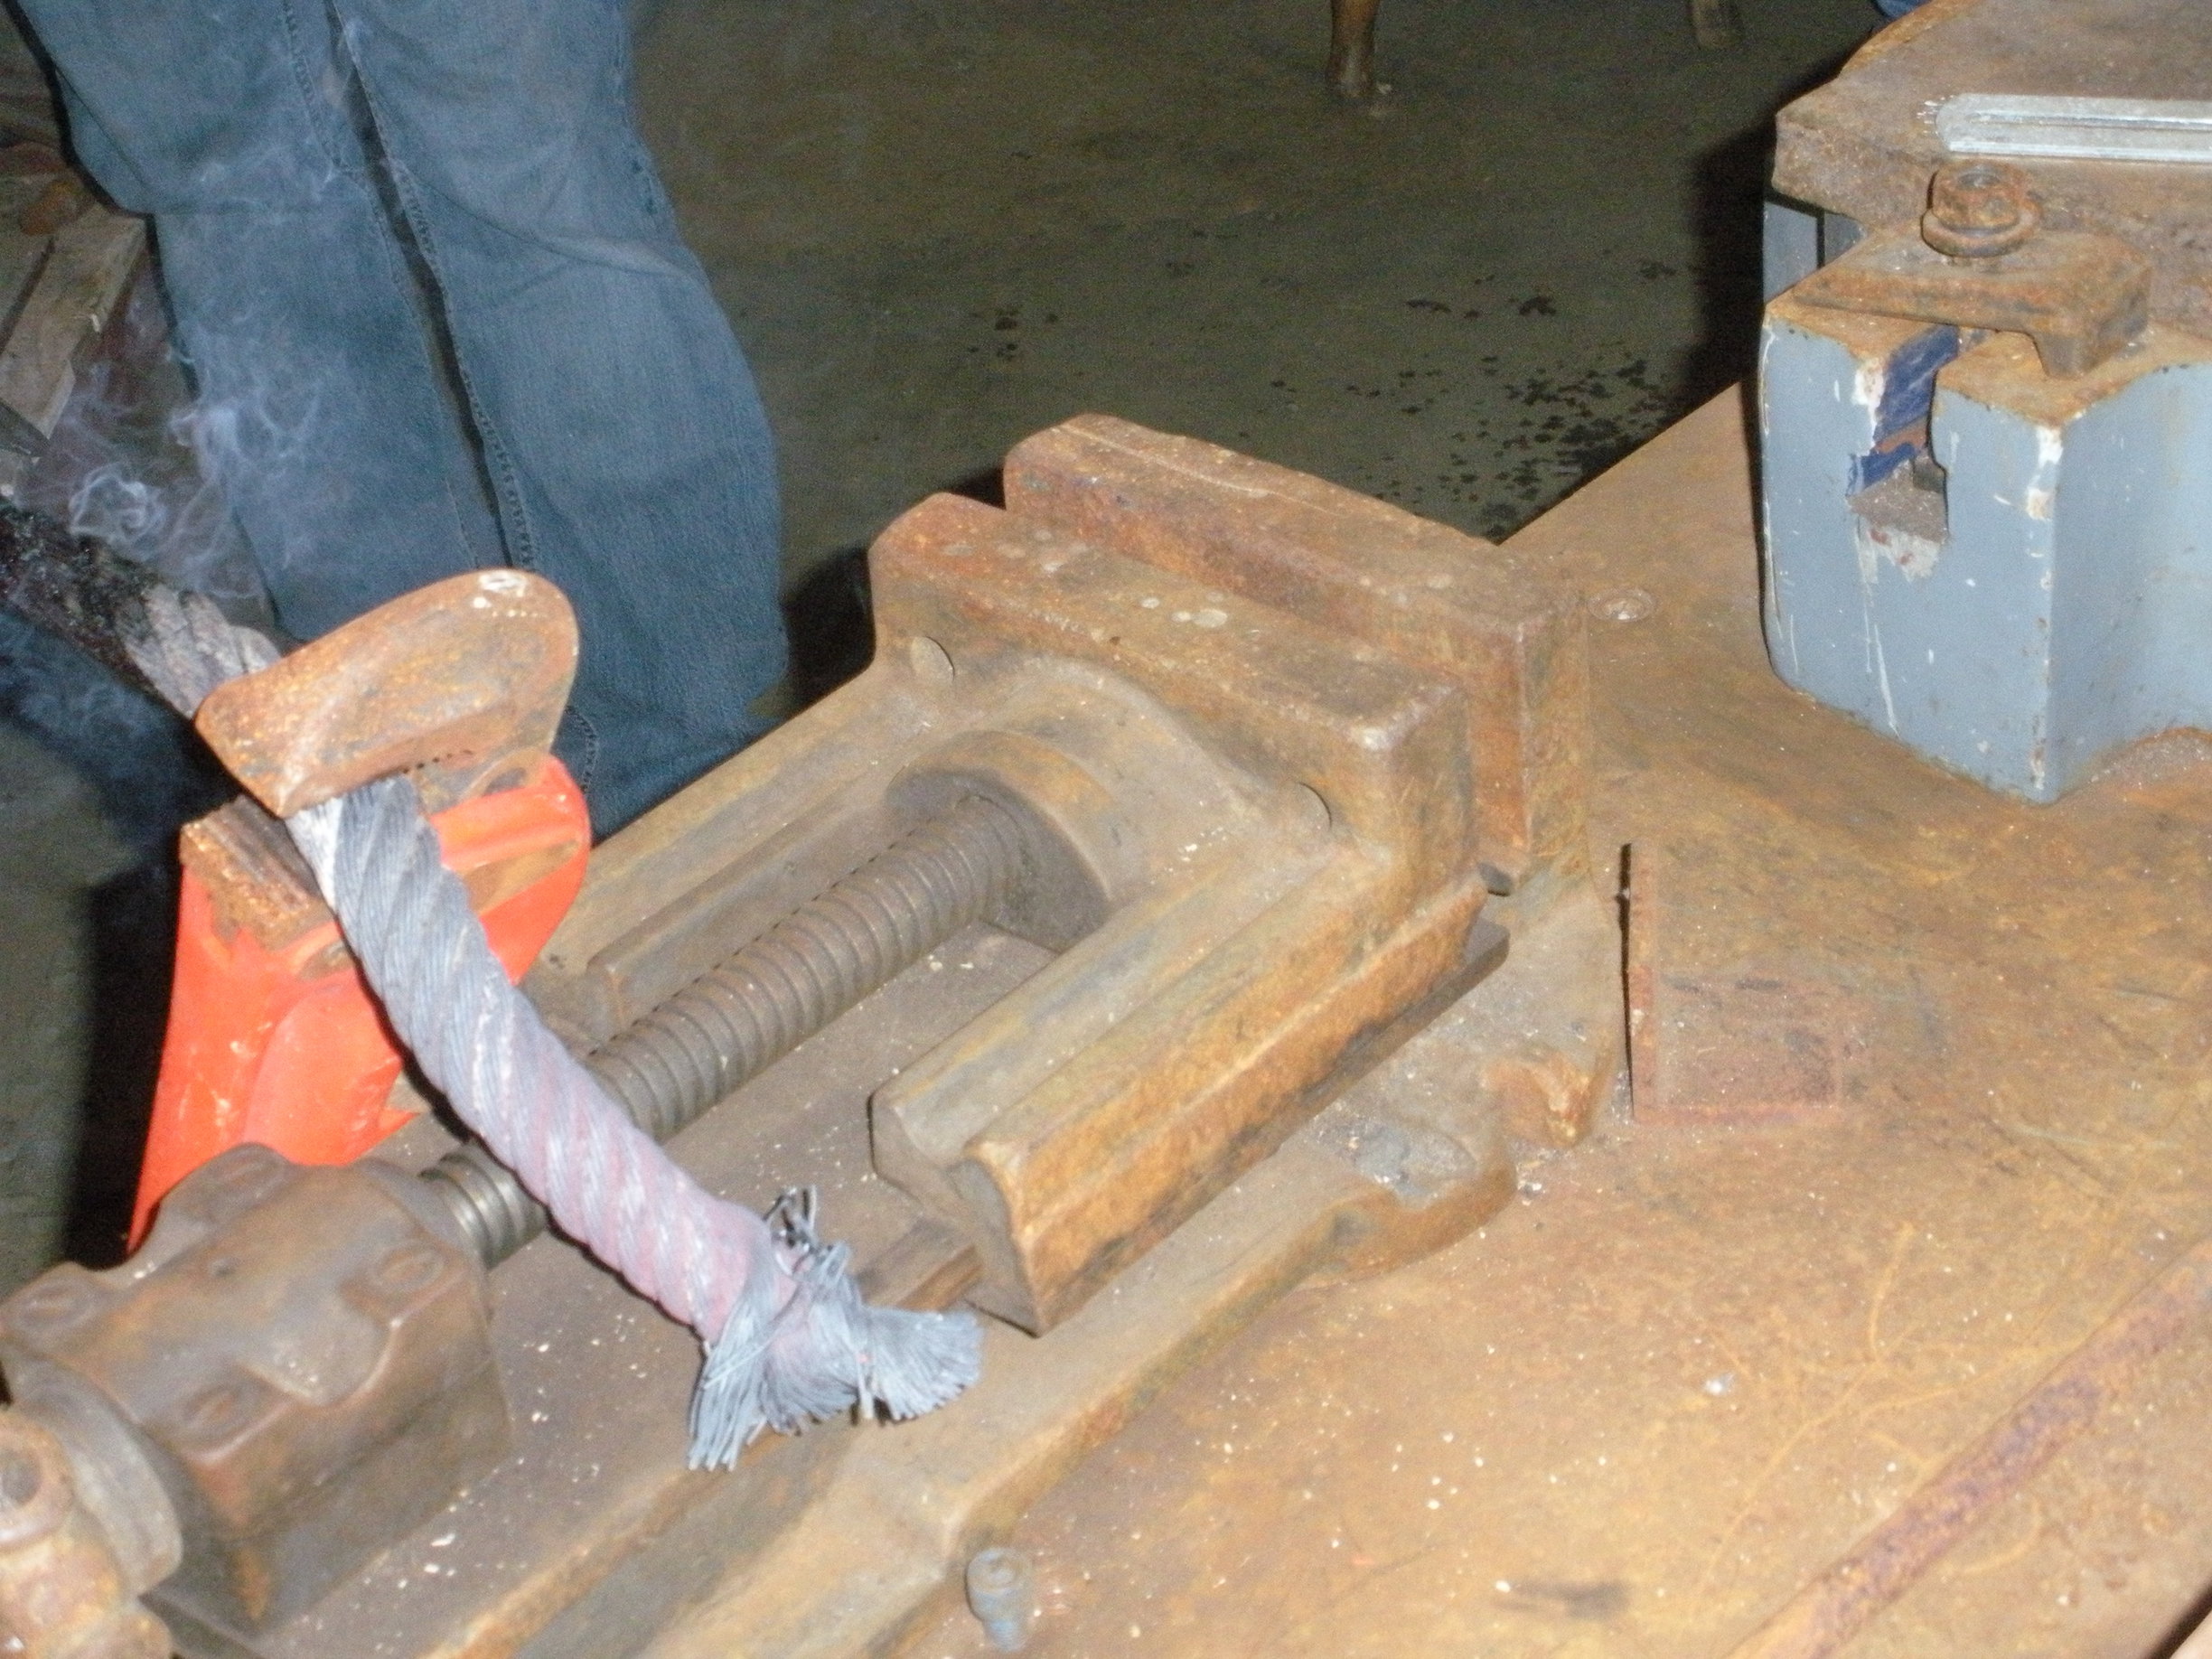
Welding up some cable in a swage.

I really liked this one. Gun blued it.

This was my first run at a wakisashi. Not really knokwing enough about the type at. the time, I aimed for a more "fantasy" version, This was the sister blade to the 'tanto' below.
Nine metal tanto I sold at Pennsic 31.
Handles
Handle in mid-production: Buffalo horn, silver furls, dyed horn. Powder damascus, and cut off scraps for a hilt and pommel.
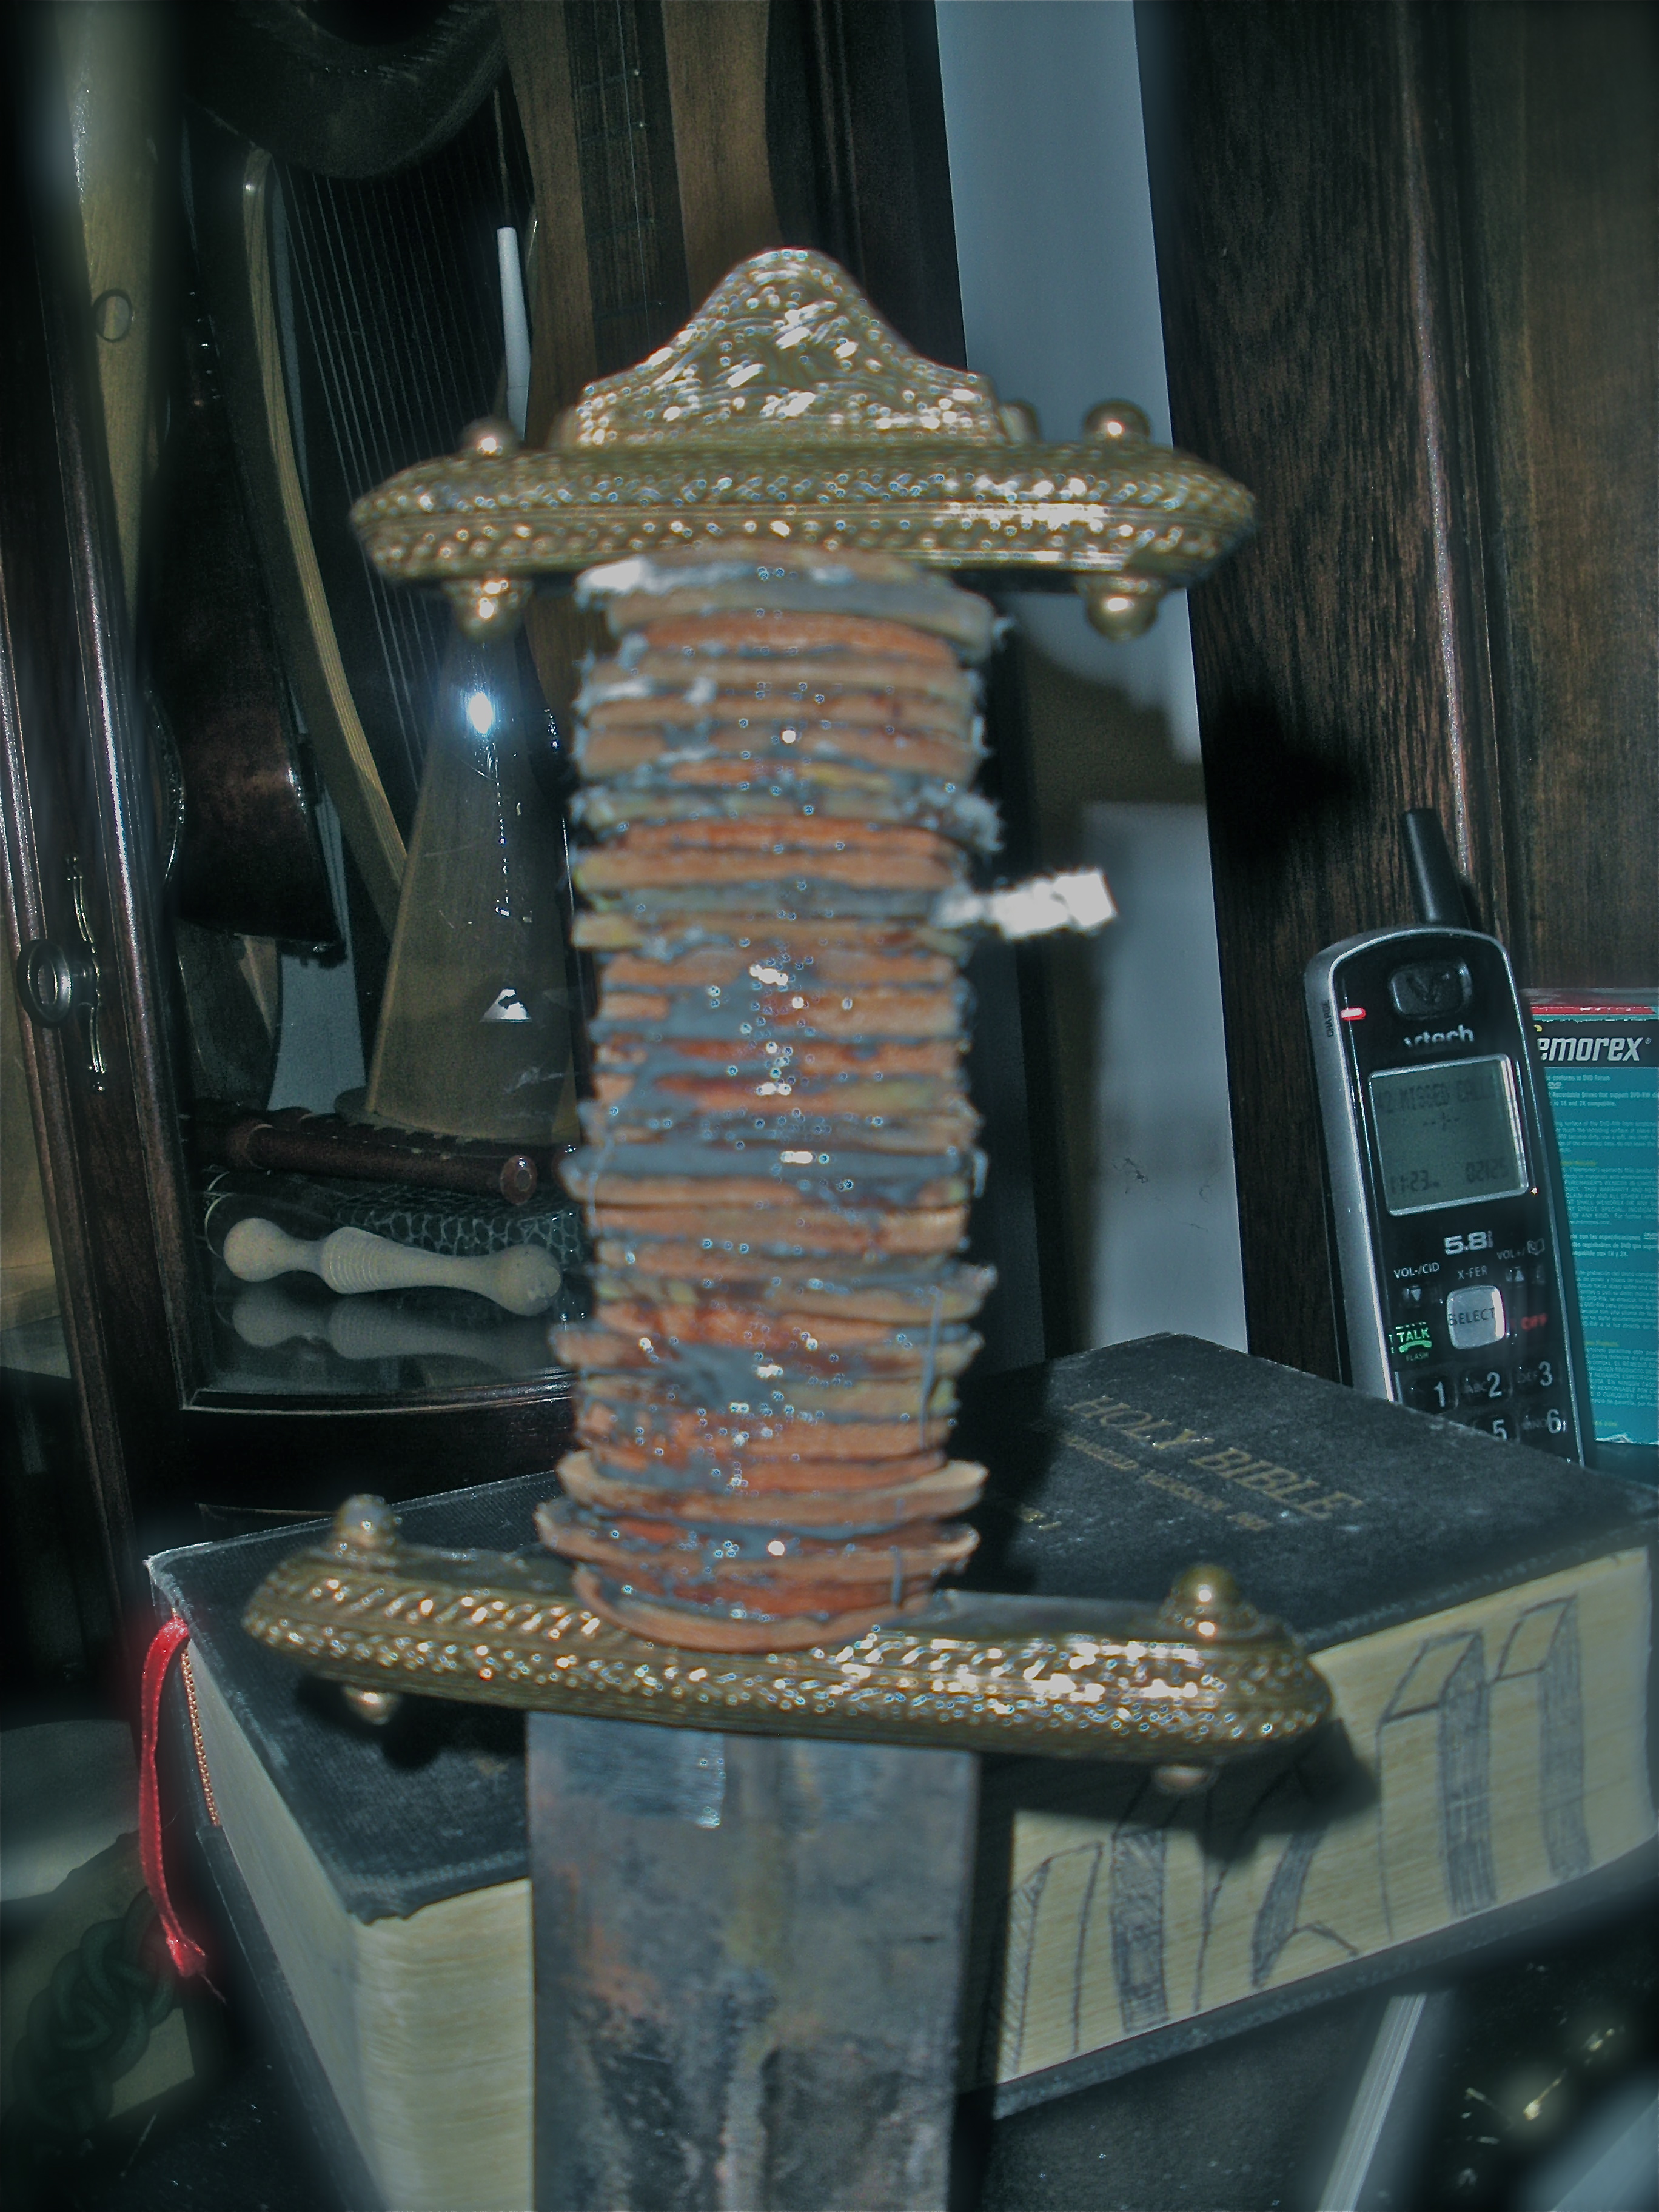
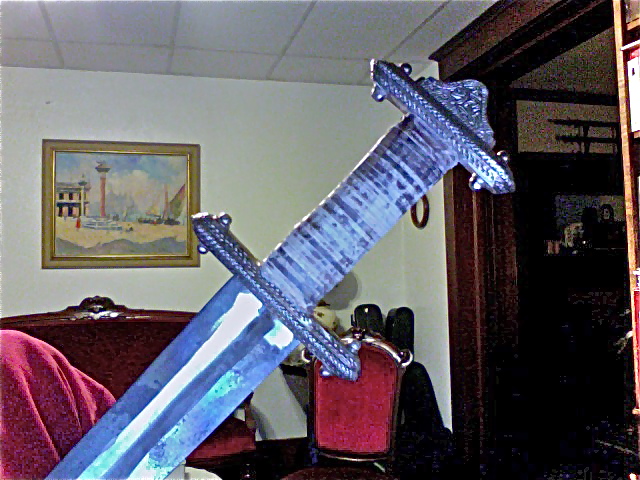
Photo courtesy of Ms. Ruth Kingman
Another handle done with reproduction Valsgaard guard and Rough cut of the same blade. Nearly finished. Polished with yellow dye.
pommel, using horse and cattle leather interspaced.

My very first sword. S-7 steel. Not perfect by any stretch, Chain saw blade damascus with a stag horn handle and brass guard.
Rosewood handle. Steel pommel with a certain coin in the
pommel per the customers request.

Here an old sword gets. a new guard, handle and pommel. This is the epoxy stage with new spacers to be ground. and polished after shaping and grinding after the glue dries.
First off, this pic stinks. The shadow over the handle destroys the handle line. Polished black and sand white buffalo horn was beautiful: The above blade was a ton of fun. The blade was 1 1/2 inches swelling to almost 2" near the tip, about 22" over all. I never sold it, as my buffalo horn handle, and goofy brass guard was not really period correct, and the epoxy wouldn't adhere very well. My guess is it got too cold in the shop that winter, or my 'hardener' was the wrong chemical makeup? So I ended up cutting this up into guards and smaller seaxes. I made this as I went from butcher shop, to butcher shop in Indy for quite a few weeks, beg, borrowing, and rummaging through trash bins collecting 'meat cutters blades.' The are very thin, probably 24 gauge, and serrated with little half moon scallops. I forge welded the whole bundle, over 300 blades, and got this. Sad the pic doesn't really do it justice, it was like, (said LIKE) wootz. Very tight grain. Almost identical to what I'd seen in Indian and Muslim blades of the period.

Here's an example of a blade I did for someone who had a pre purchased modern blade they wanted handled, (not period at all, stainless) but wanted me to put on a quasi 'period look,' so they could wear it in costume. They said they wanted 'preplanned flaws in it.' So I left a little gap in the handle. Regretted it immediatily. I say, "Is this what you wanted?" "Yeah, that's great." Then presumed to start talking shit about me. I never let that happen again.
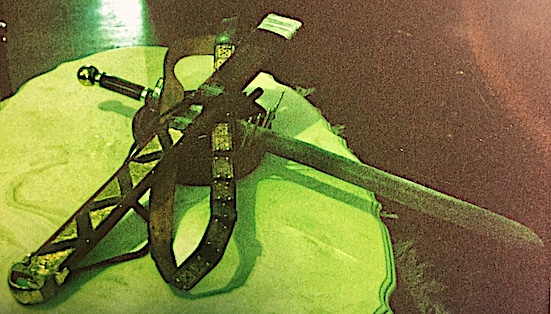
As you can see I REALLY love leather spacer handles. I had an old 1940's Estwing hammer from my Grandpa with leather spacers handle and though used constantly for sixty years was still tight and in good working order, and an old WW II Kabar with the same. They hold up for decades under constant use. On the left is the above mentioned Del Tin fantasy blade, and on the right my personal full-contact-fighting-blunt sword I used during my Wuffingas Historical Reenactment Club fights. Still have it, though it's been re-handled twice. Once I screwed up, and left it in a place in storage where it got water logged, and then later I broke the tang and had to shorten it by three inches. Grown men, hitting each other with 100% full power tends to break even the best made weapons.
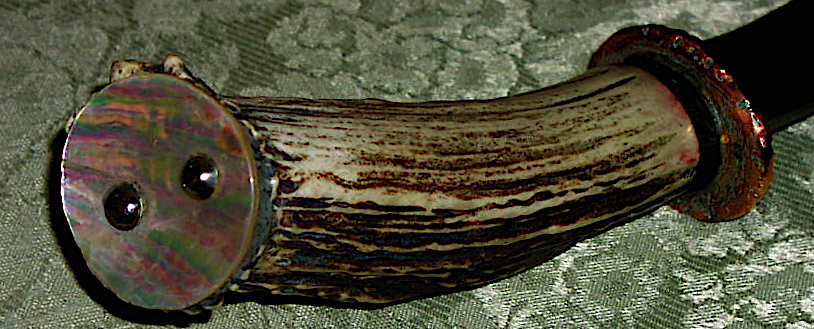
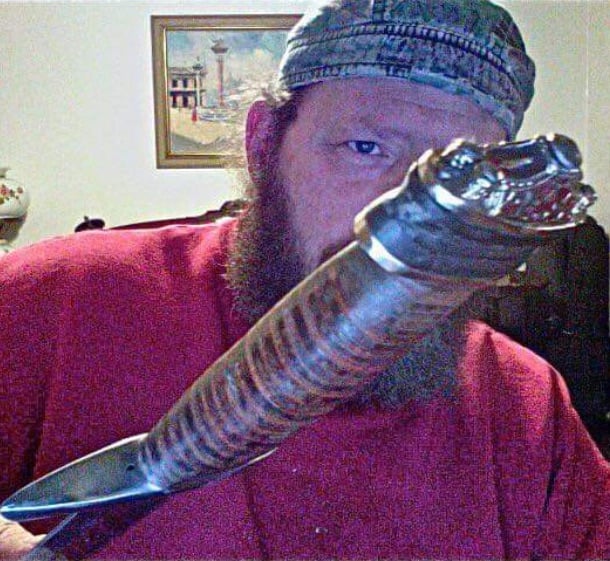
Stag handle with mother of pearl cap, niobium guard.
Kit Helmets, and home grown.
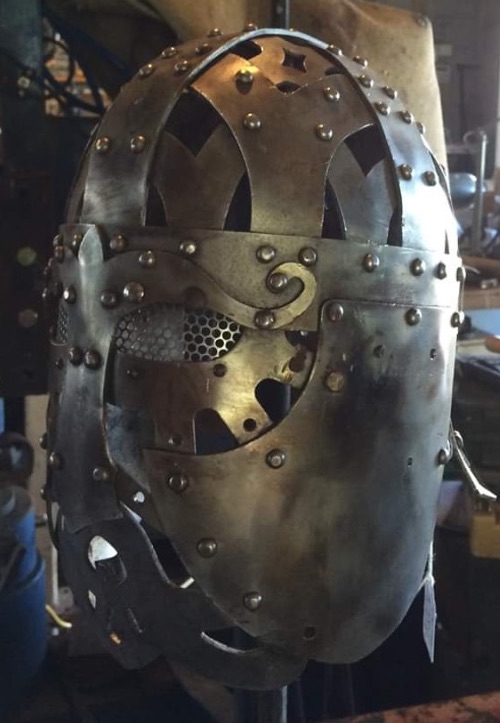
This is a pre Viking era kit. You can get this at Gray Cat Armory for a base price This is a helmet done for live steel fighting. The top was a 12 ga
of about $120 in mild steel. Mine is 12 ga. stainless so about $200. stainless. I did. the back drape and face plate in 14 ga stainless.
Takes about ten hours to built the first time.
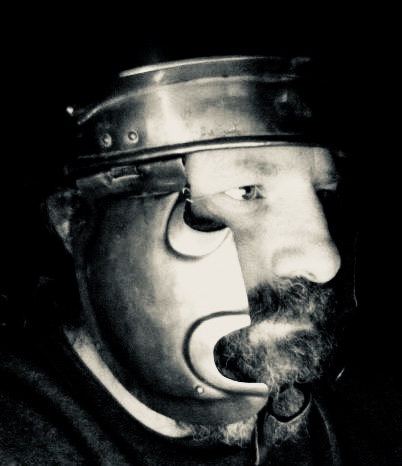
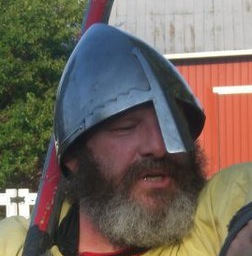
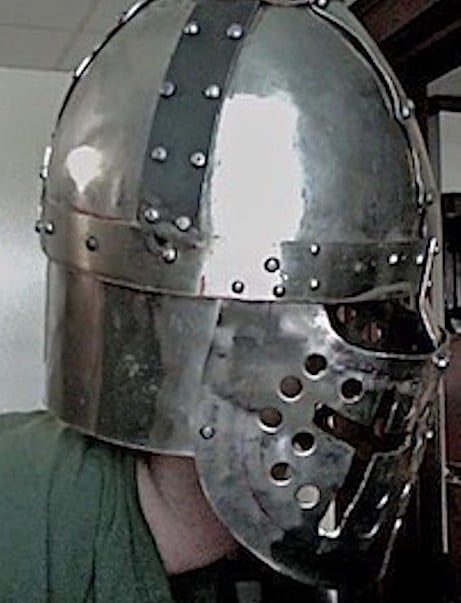
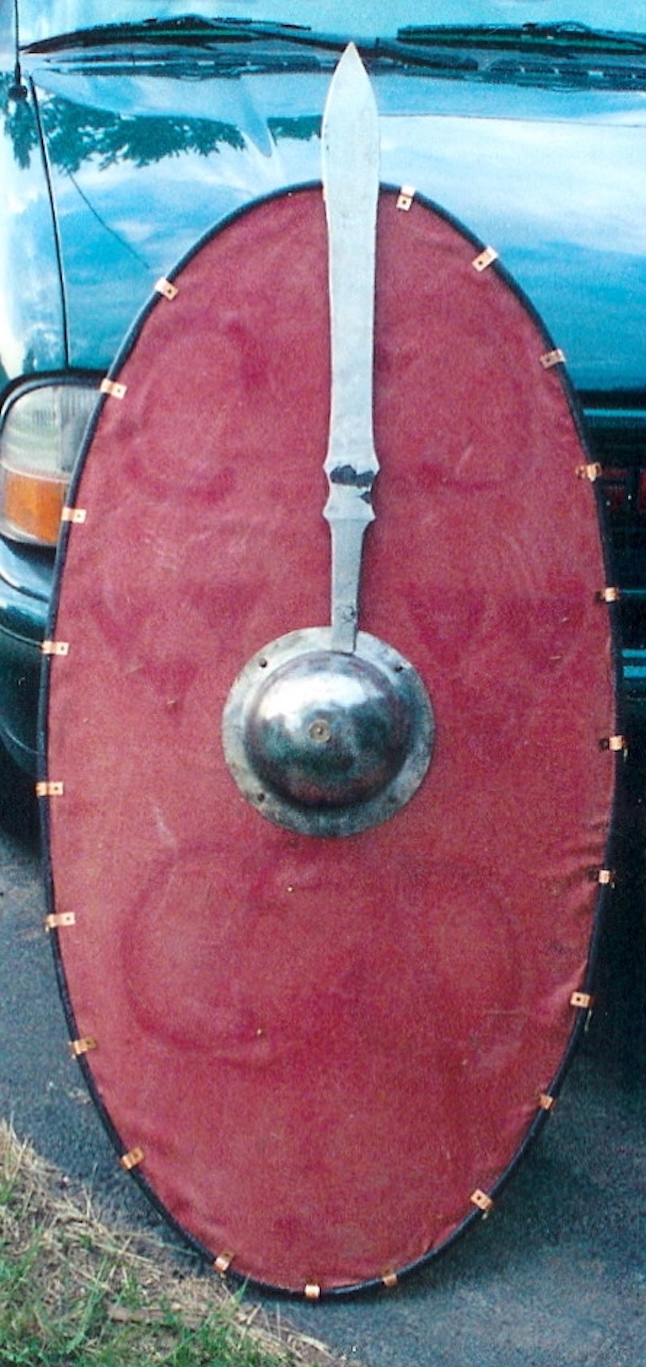
I guess I got used to having that brain bucket on my head in the Infantry, but I just love helmets. On the above left is my old Valsgarde Zwiehammer kit helmet, and on the right a crusader era round top heklmet for a friend in Wuffingas. I traded the helmet for a nice kite shield. I have a new valsgarde kit from a guy in Florida not yet assembled. I want to turn it into a late Roman era design.
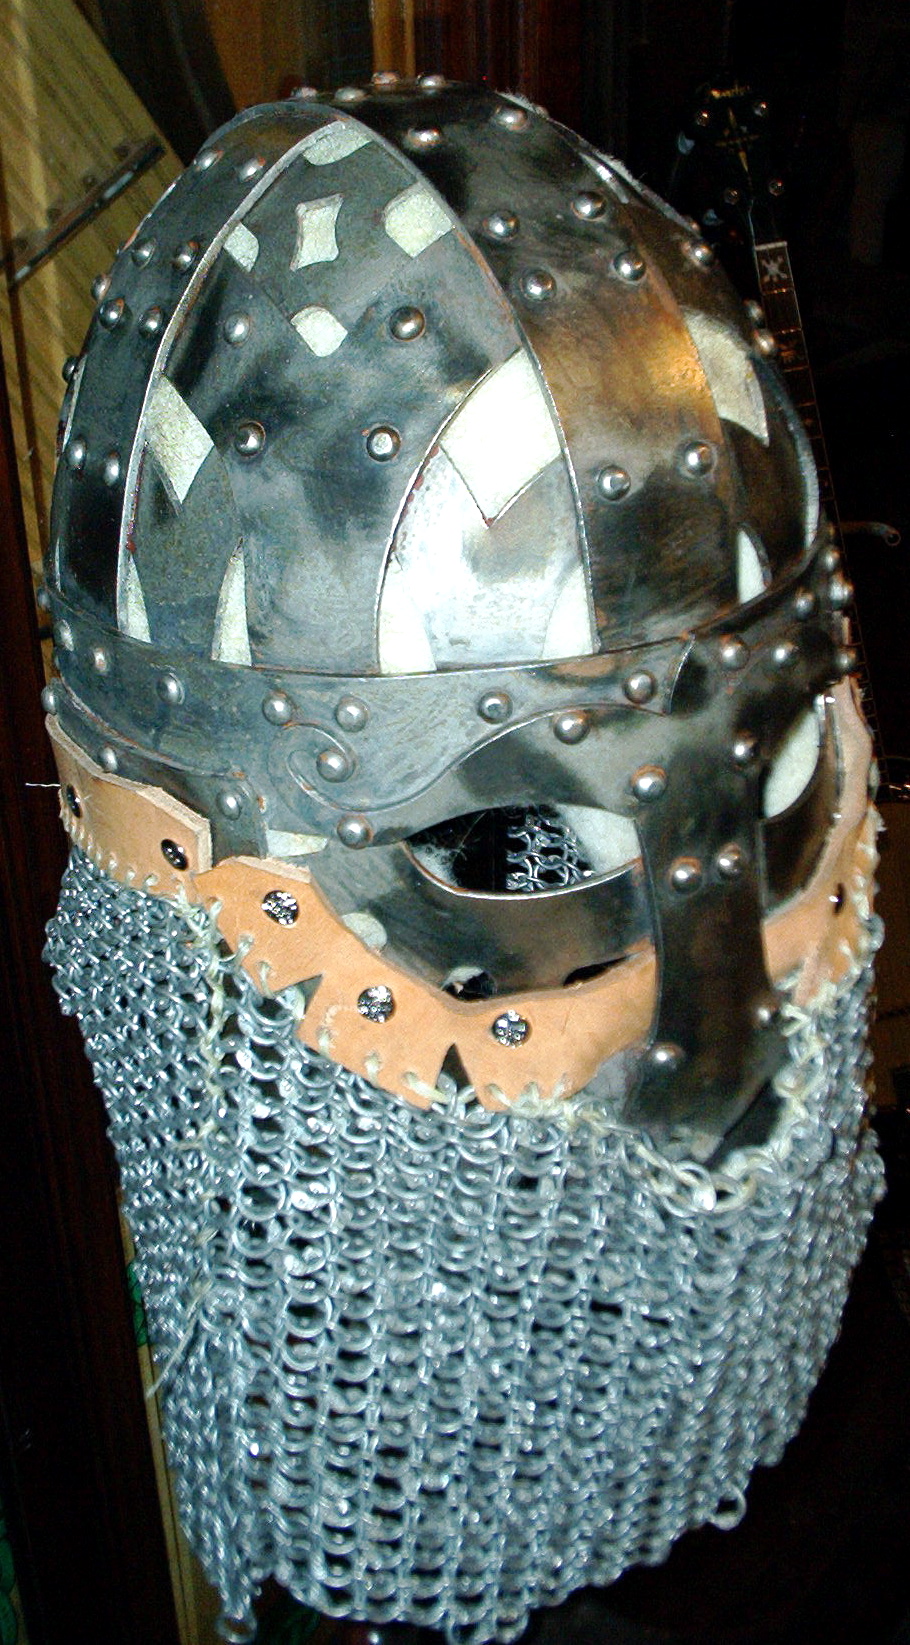
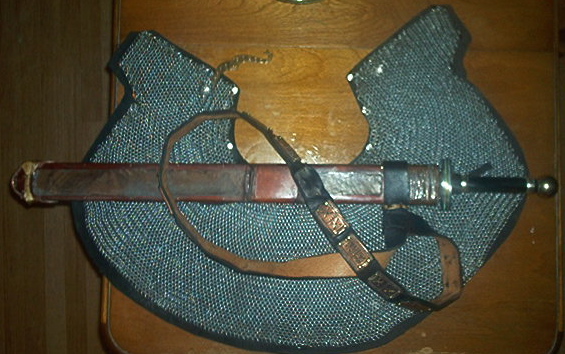
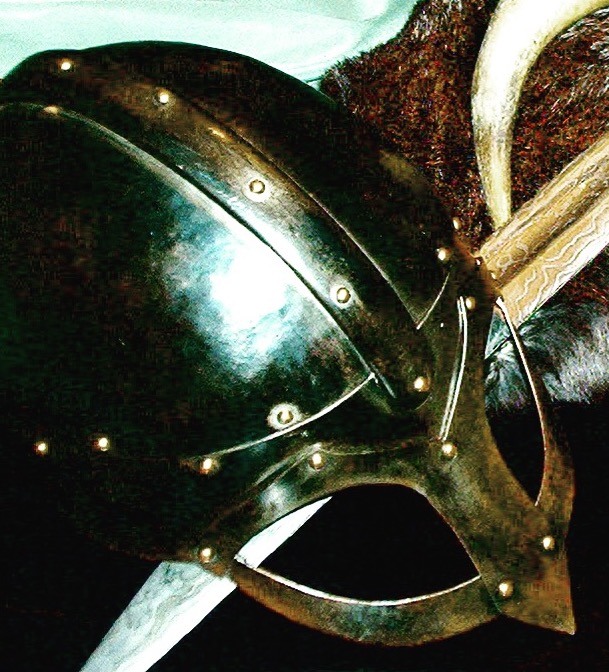
Same Valsgarde helmet with chaine maille drape.
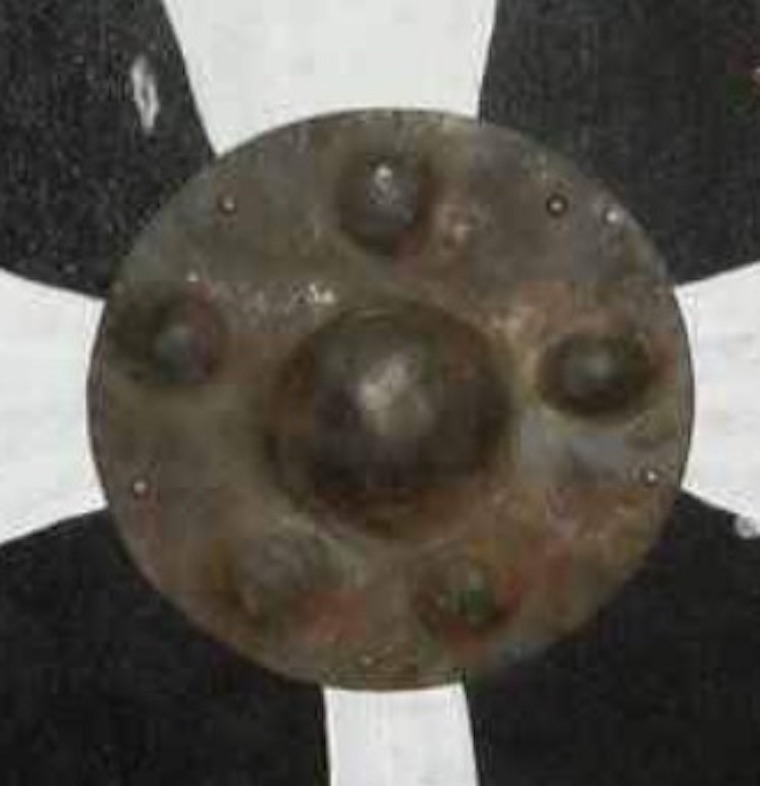
Shield boss
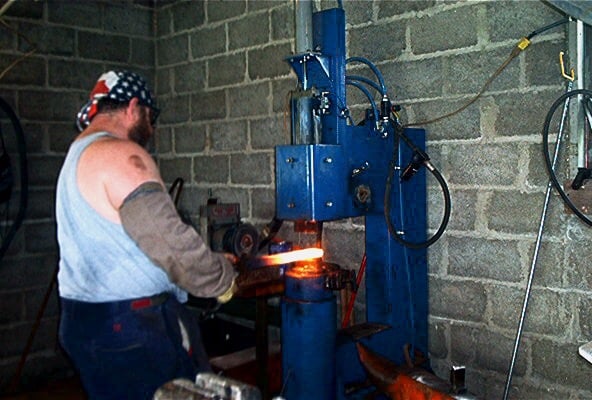
Drawing out with a power hammer obviously has its advantages. I you intend to work full time, 40-70 hours a week, yoiu need. to invest in an electric, pneumatic, or hydraulic unit. I have both

Seax I did for a viking impression.
 Smile
Smile
 Attention to detail has always been my strong suit.


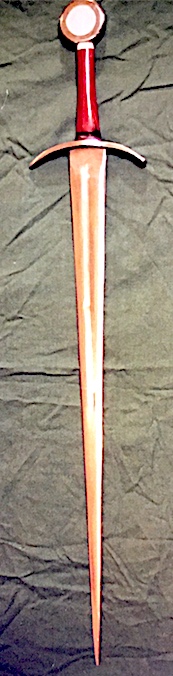
My first or second actual "stab" at swordsmithing.
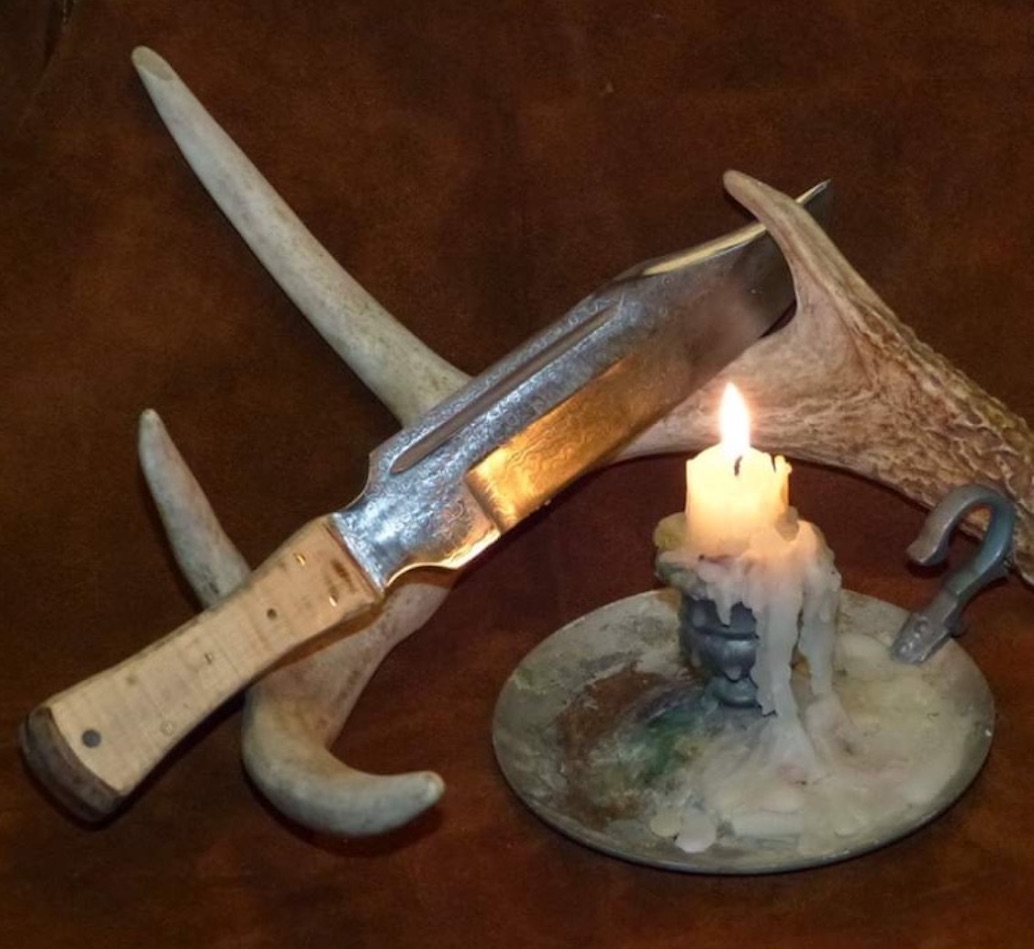
Photo by Ruth Kingman
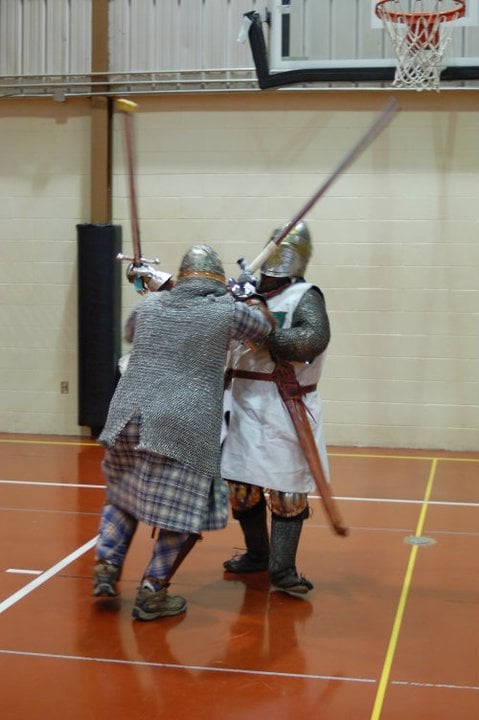
Reenactment and Reenactors.
Link, to Wuffingas Historical Reenactment Guide.
 .
.